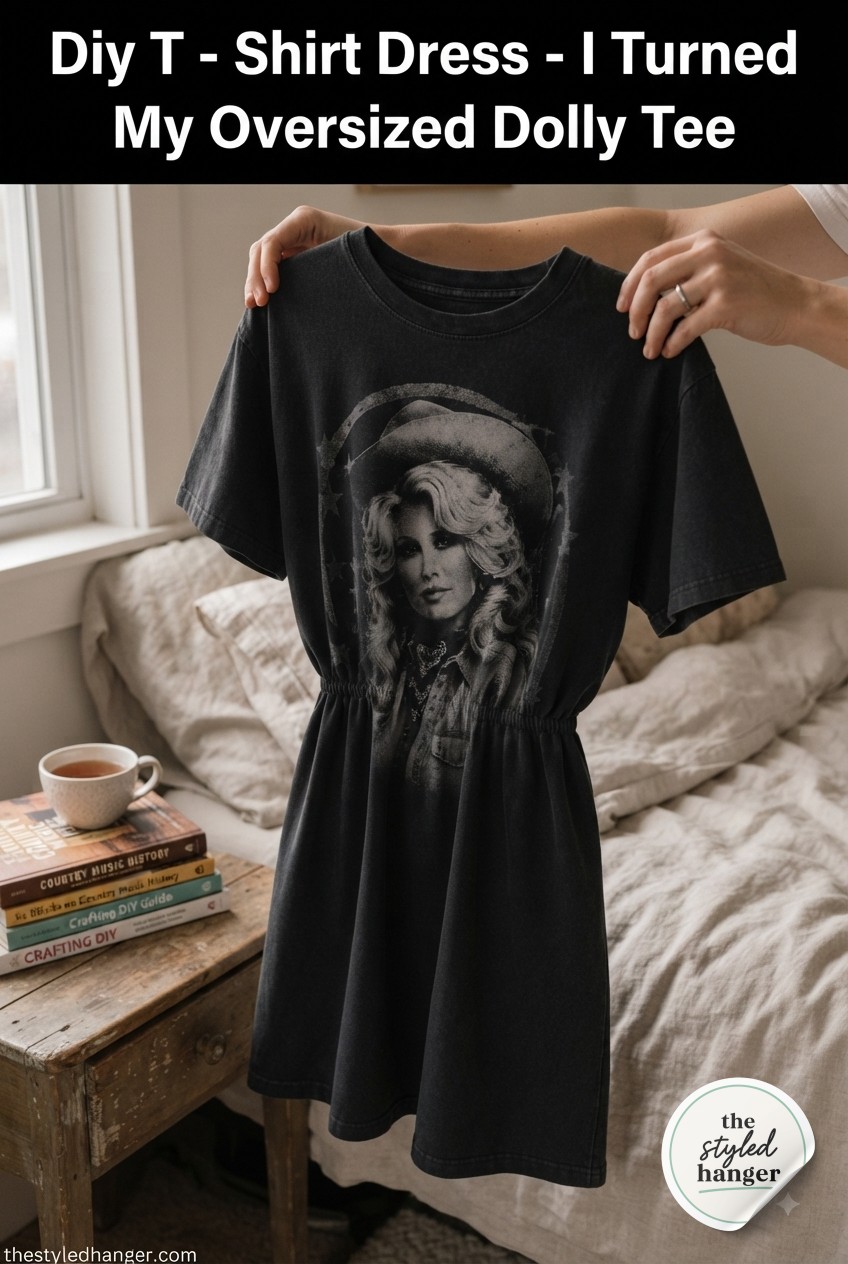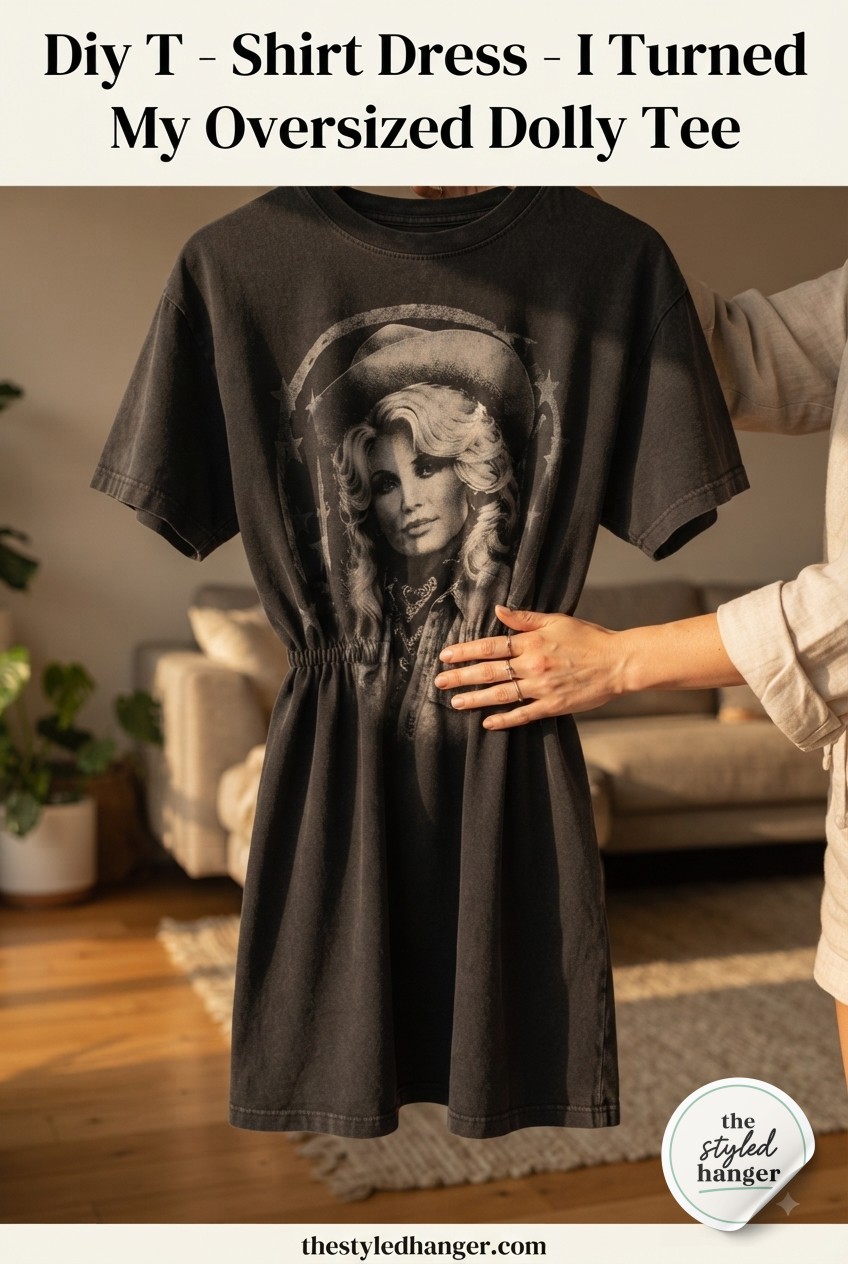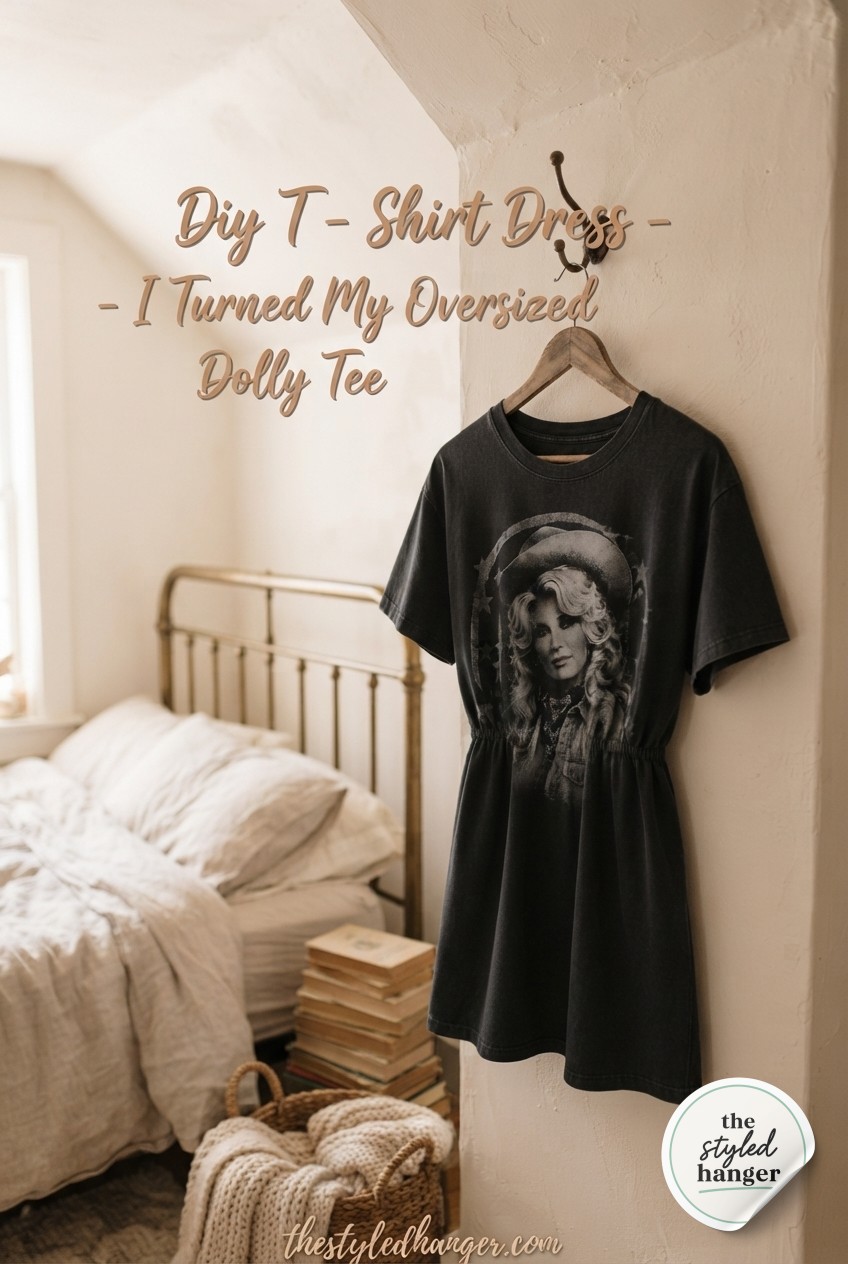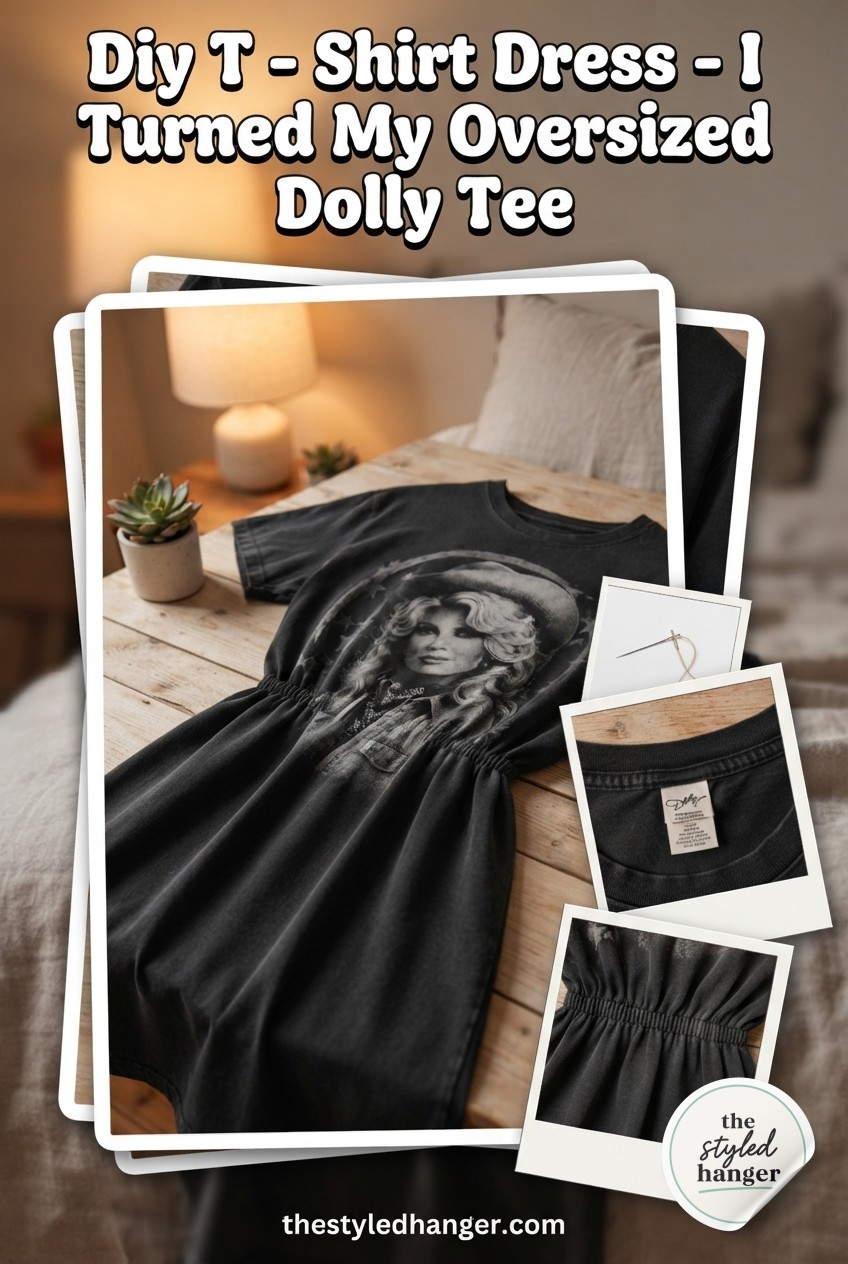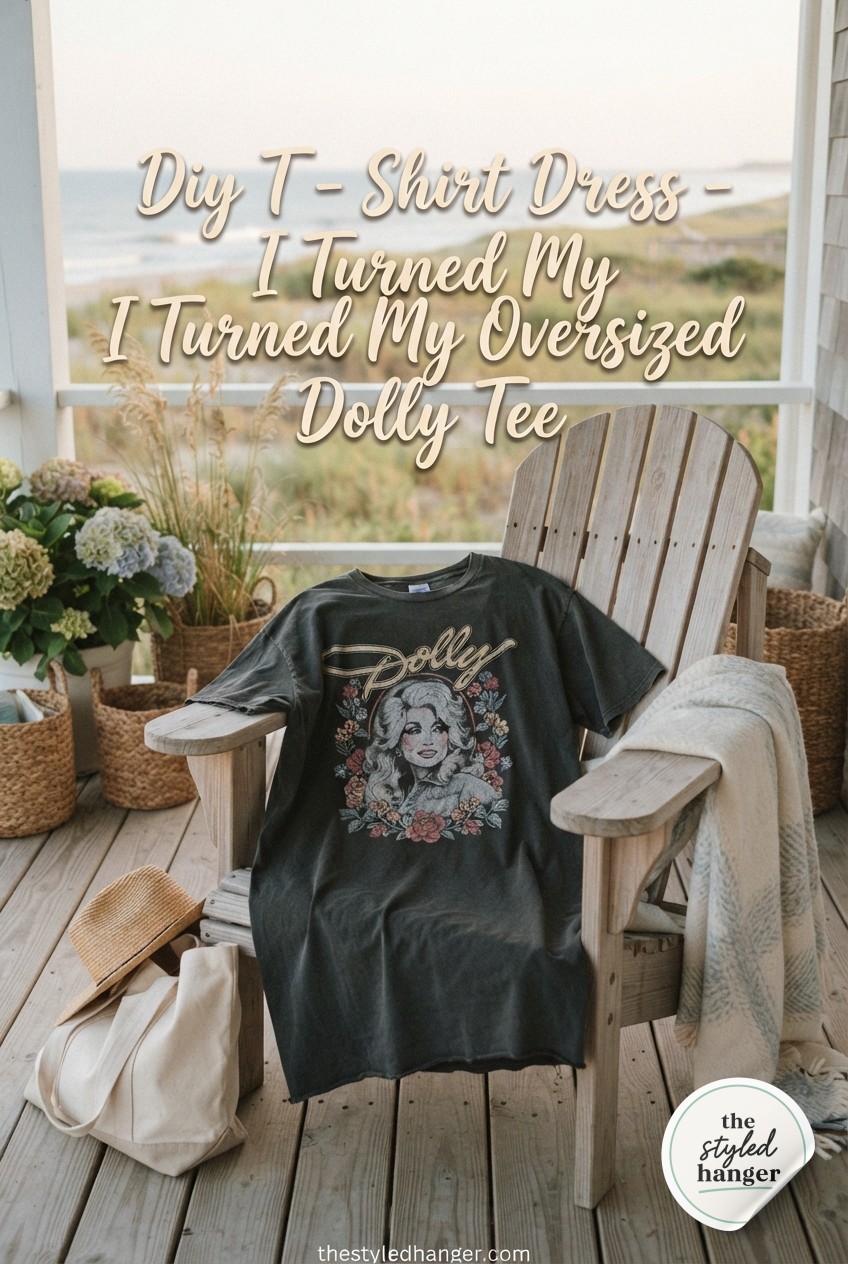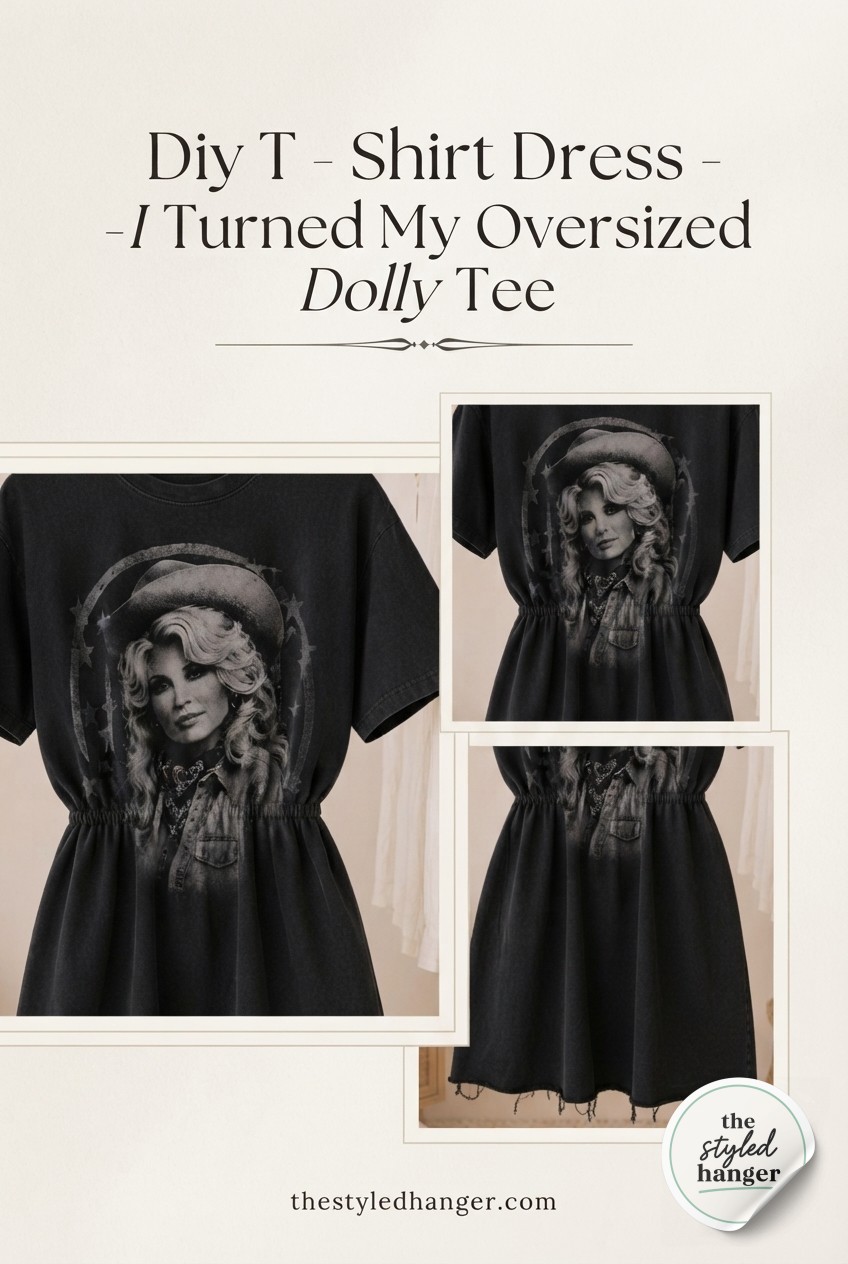
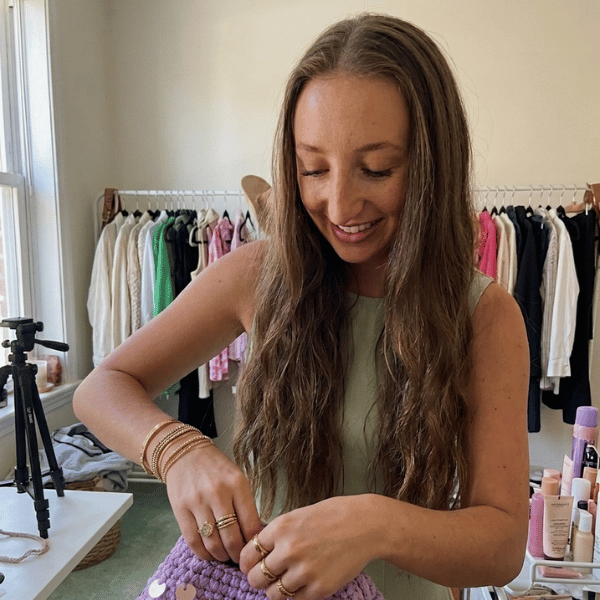
Every closet swap party ends the same way — someone brings a graphic tee three sizes too big and nobody wants to let it go, myself included. So instead of banishing my oversized Dolly Parton tee to sleepwear, I took it to my mom's old Singer and built it into a proper t-shirt dress with a defined waist and clean hem. No zipper, no pattern, and the whole project fits into about an hour at your kitchen table.
Start With the Right Tee (Not Just Any Tee)
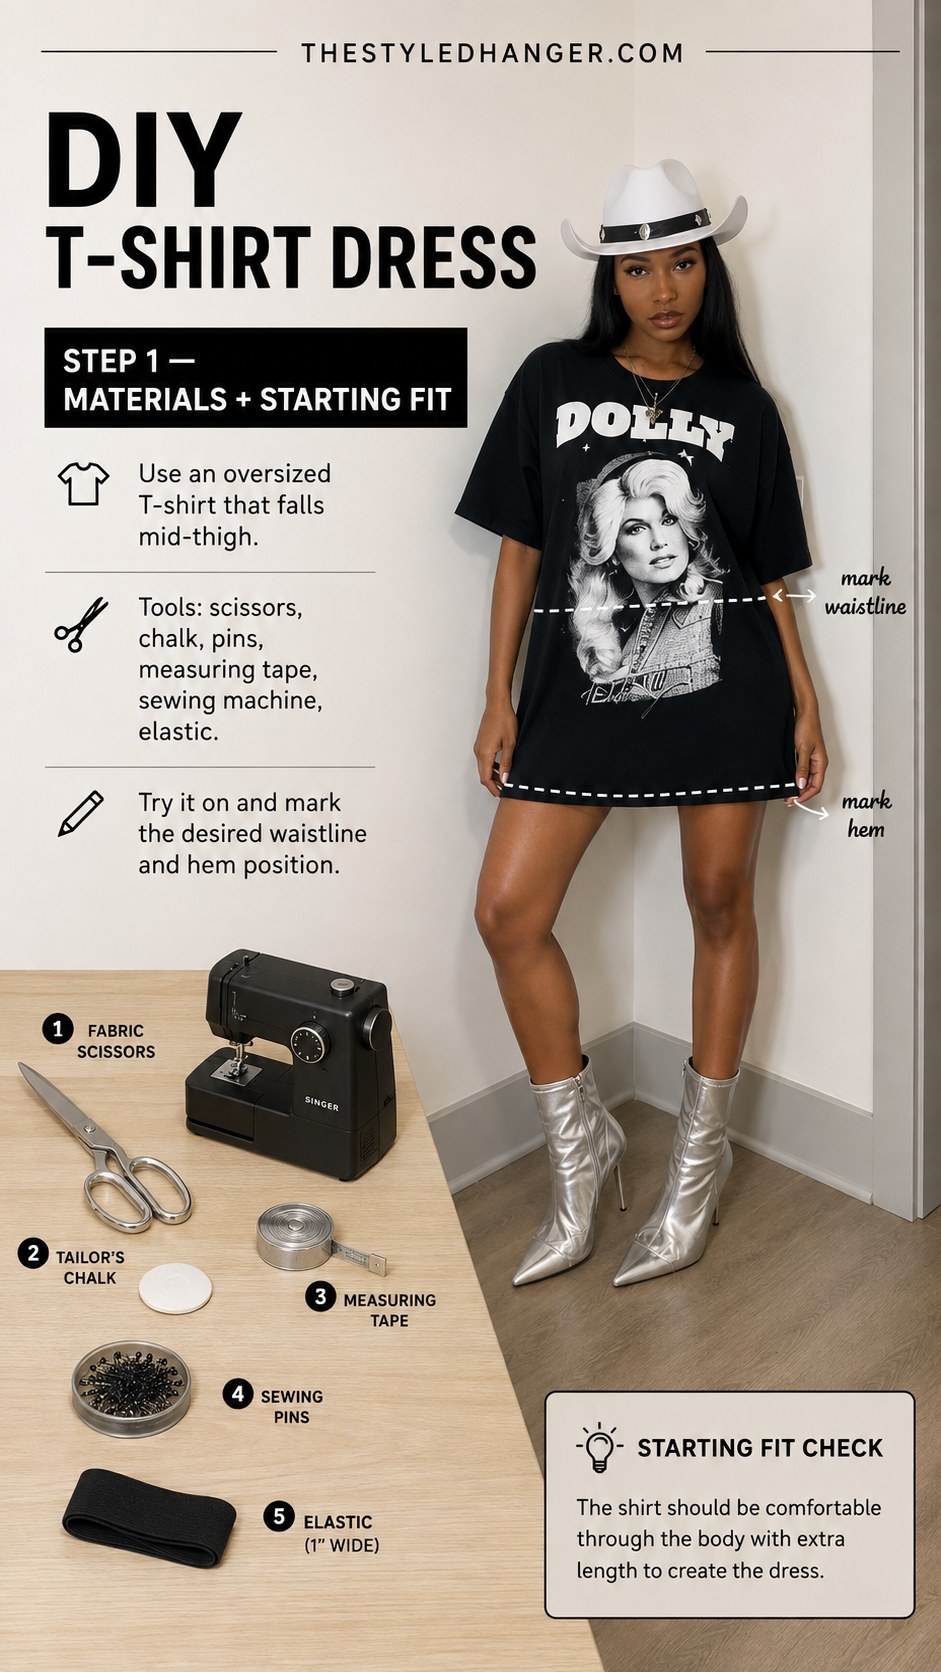
This whole project lives or dies on the shirt you pick. Mine is an oversized graphic tee that falls mid-thigh on my 5'4 frame — heavy cotton, a little worn in, the kind of tee that has extra room through the body instead of clinging. That extra fabric is exactly what becomes your skirt.
- Try it on first. Mark your desired waistline and hem length with chalk while you're actually wearing it — don't guess on a flat surface.
- Check the fabric weight. Thin, worn-thin tees can work, but anything with holes or heavy stretch will fight you later.
- Gather your tools now. Fabric scissors, tailor's chalk, sewing pins, a measuring tape, your sewing machine, and one inch of elastic — laid out before you cut anything.
If the shirt is comfortable through the body with room to spare, you're in good shape.
Mark the Shape You Actually Want
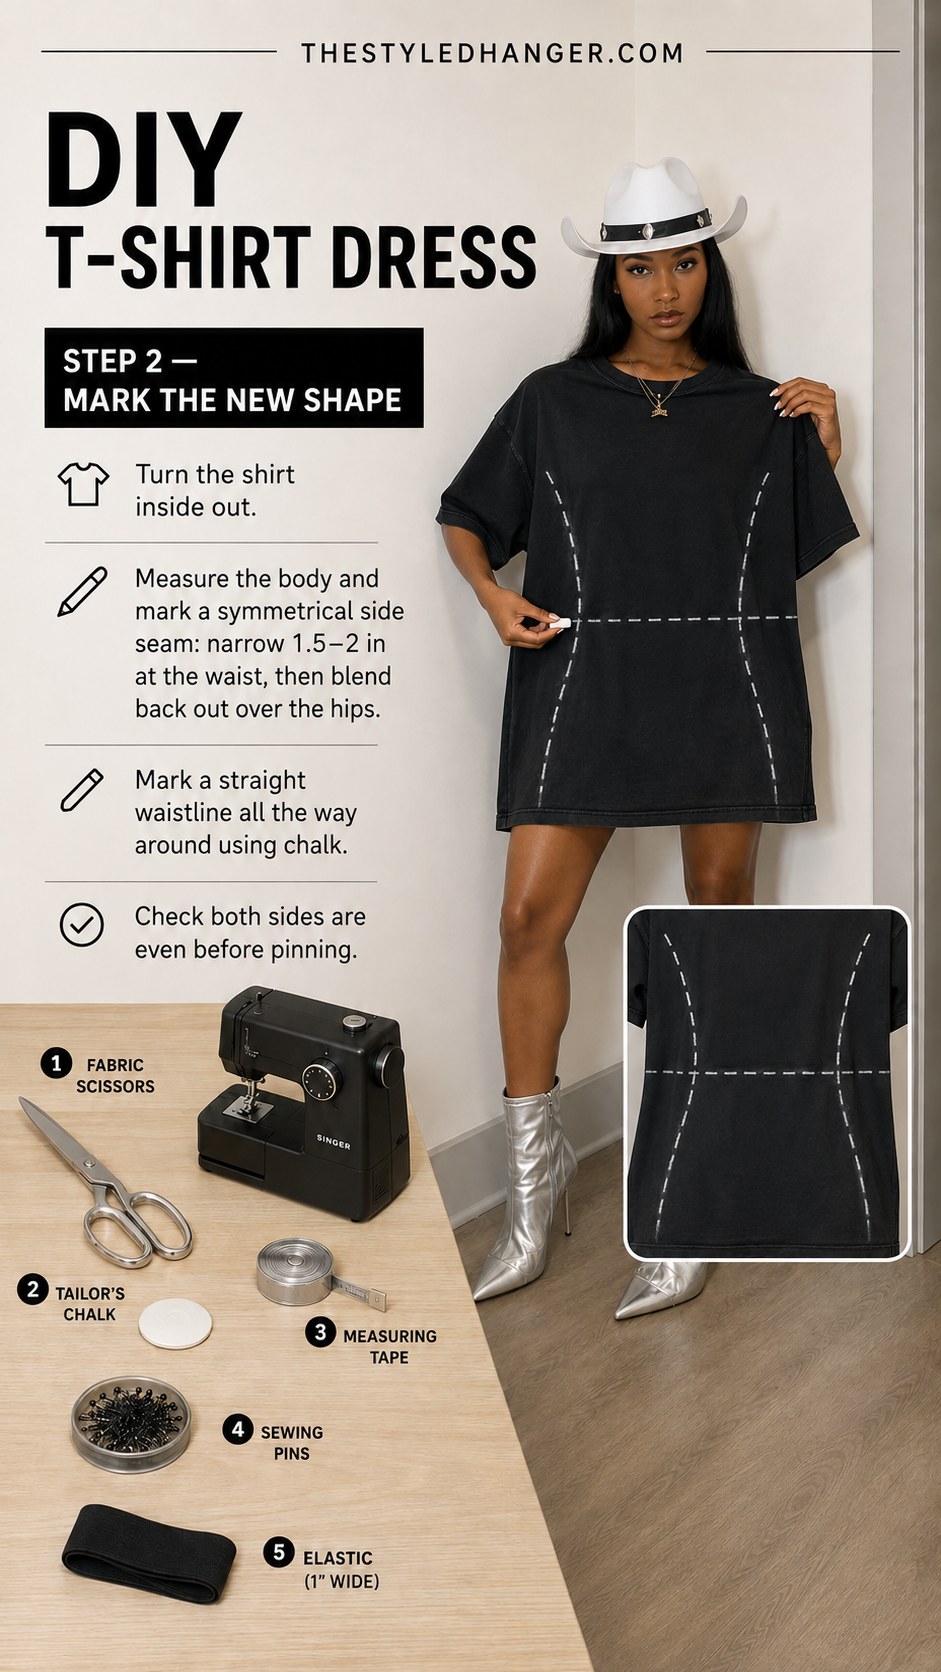
Turn the shirt inside out — this is the step people skip and regret. With it inside out, you can see and feel exactly where you're taking fabric in.
What I marked on mine
I measured my body and marked a symmetrical side seam, narrowing 1.5 to 2 inches at the waist on each side, then blending that line back out over the hips so it doesn't look pinched. I marked a straight waistline all the way around using chalk, checking both sides against each other before I trusted the lines.
This is the part where the tee stops looking like a tee and starts looking like a dress pattern. Don't rush the checking — a half-inch difference between your left and right seam is invisible on the table and very visible on your body.
Pin It, Then Actually Live in It for a Minute
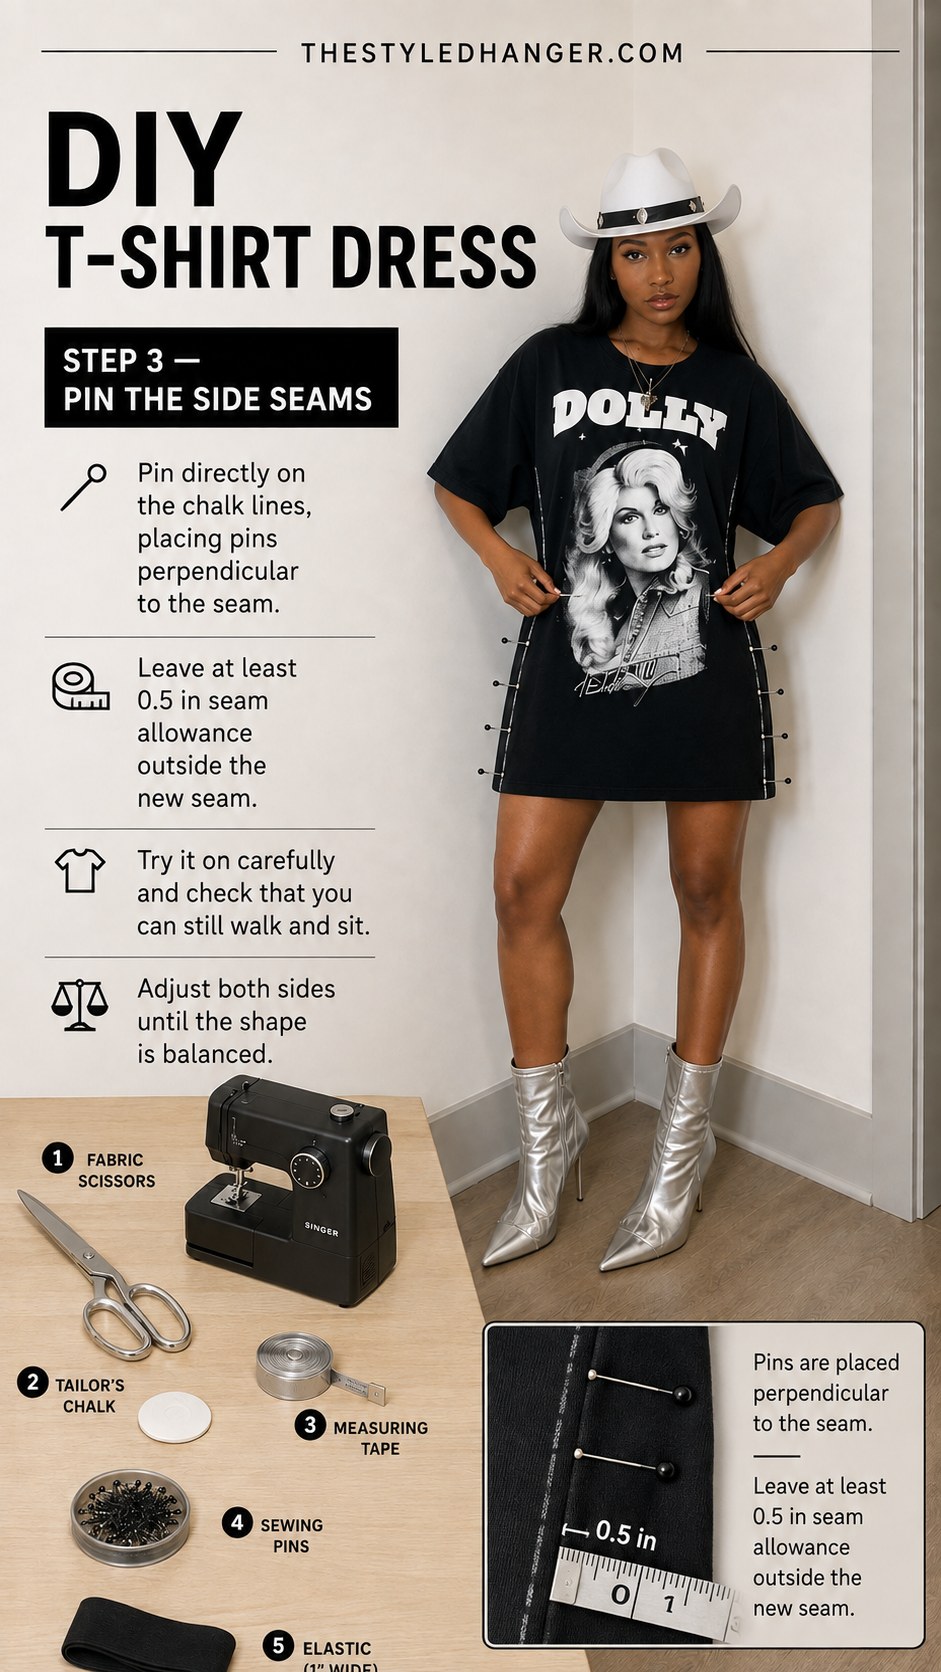
Pin directly along your chalk lines, placing each pin perpendicular to the seam — it makes sewing over them so much smoother later. I leave at least 0.5 inches of seam allowance outside the new line, because you can always take more in, but you can't add fabric back.
Here's the step I actually insist on: try the dress on while it's pinned. Sit down. Walk around your apartment. Reach for something on a shelf.
My stylist years taught me this the hard way — a dress that looks perfect standing still and pinned in a mirror can still trap you the second you sit down in it. Fit isn't just shape, it's movement.
Adjust both sides until the shape feels balanced, not just symmetrical on paper.
Sew the Side Seams and Trim the Excess
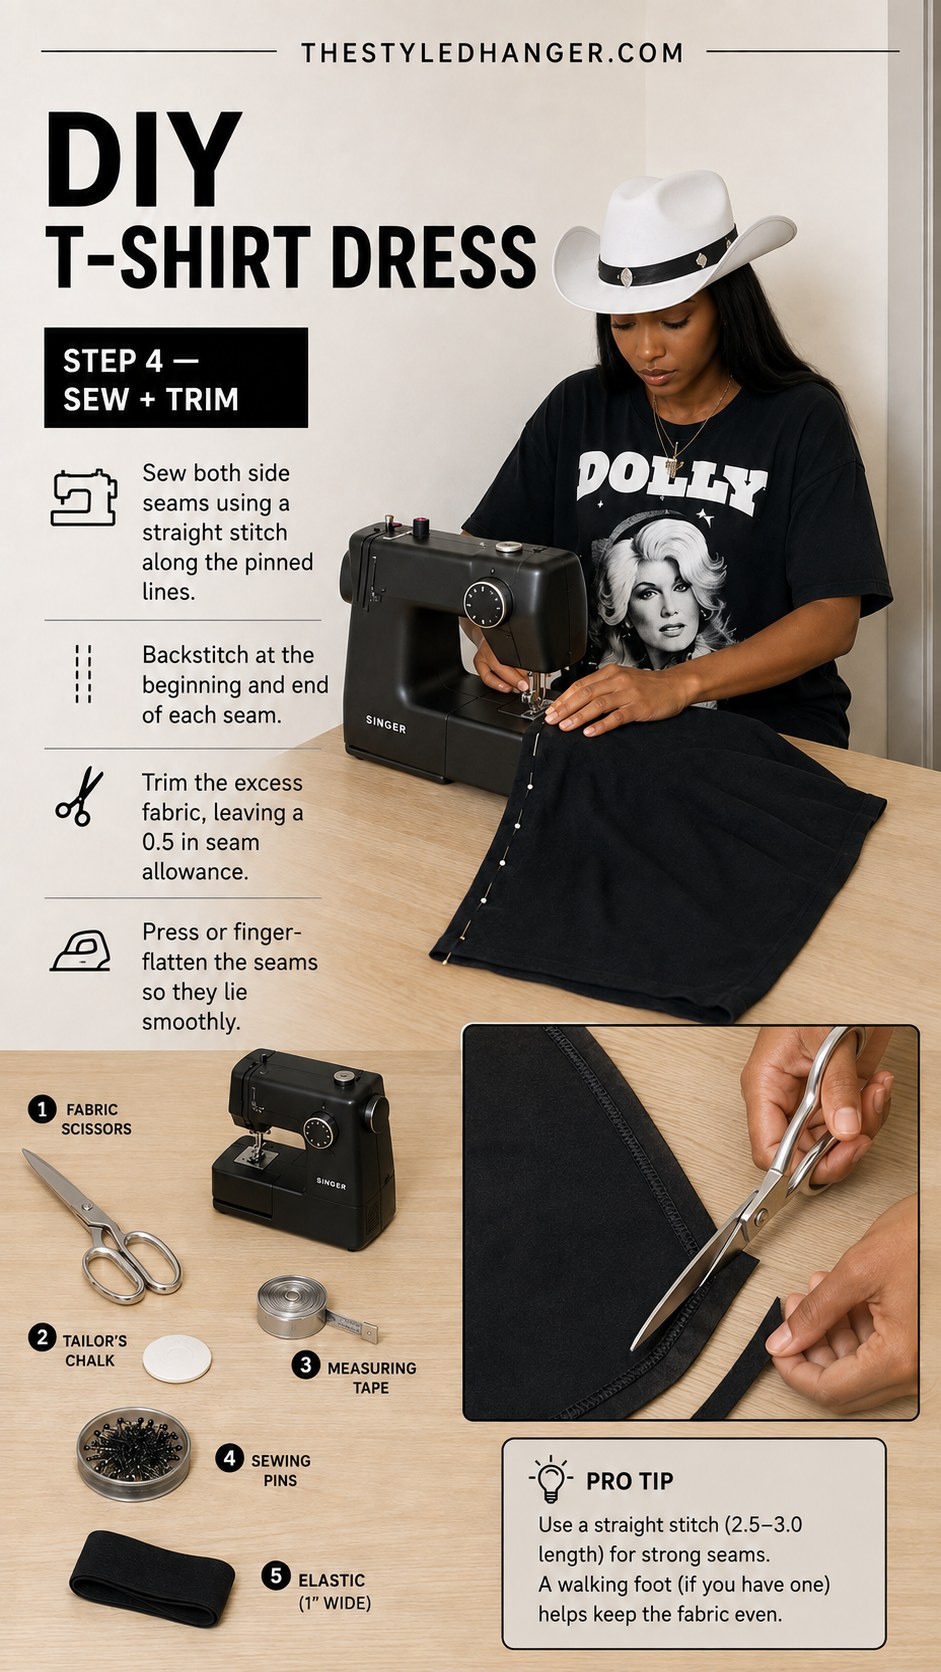
Once the pinning feels right, it's time for the machine.
- Straight stitch along both pinned lines, backstitching at the beginning and end of each seam so it holds under stress.
- Trim the excess fabric, leaving a clean 0.5-inch seam allowance.
- Press or finger-flatten the seams so they lie smooth against the body instead of poking out.
My machine and I are still not on speaking terms about zippers, which is exactly why this project has none — just straight seams a beginner machine can handle. I use a stitch length of 2.5 to 3.0 for strength, and if you have a walking foot, now's the time for it; it keeps knit fabric from puckering under the needle.
Add the Elastic Waist That Makes This a Dress
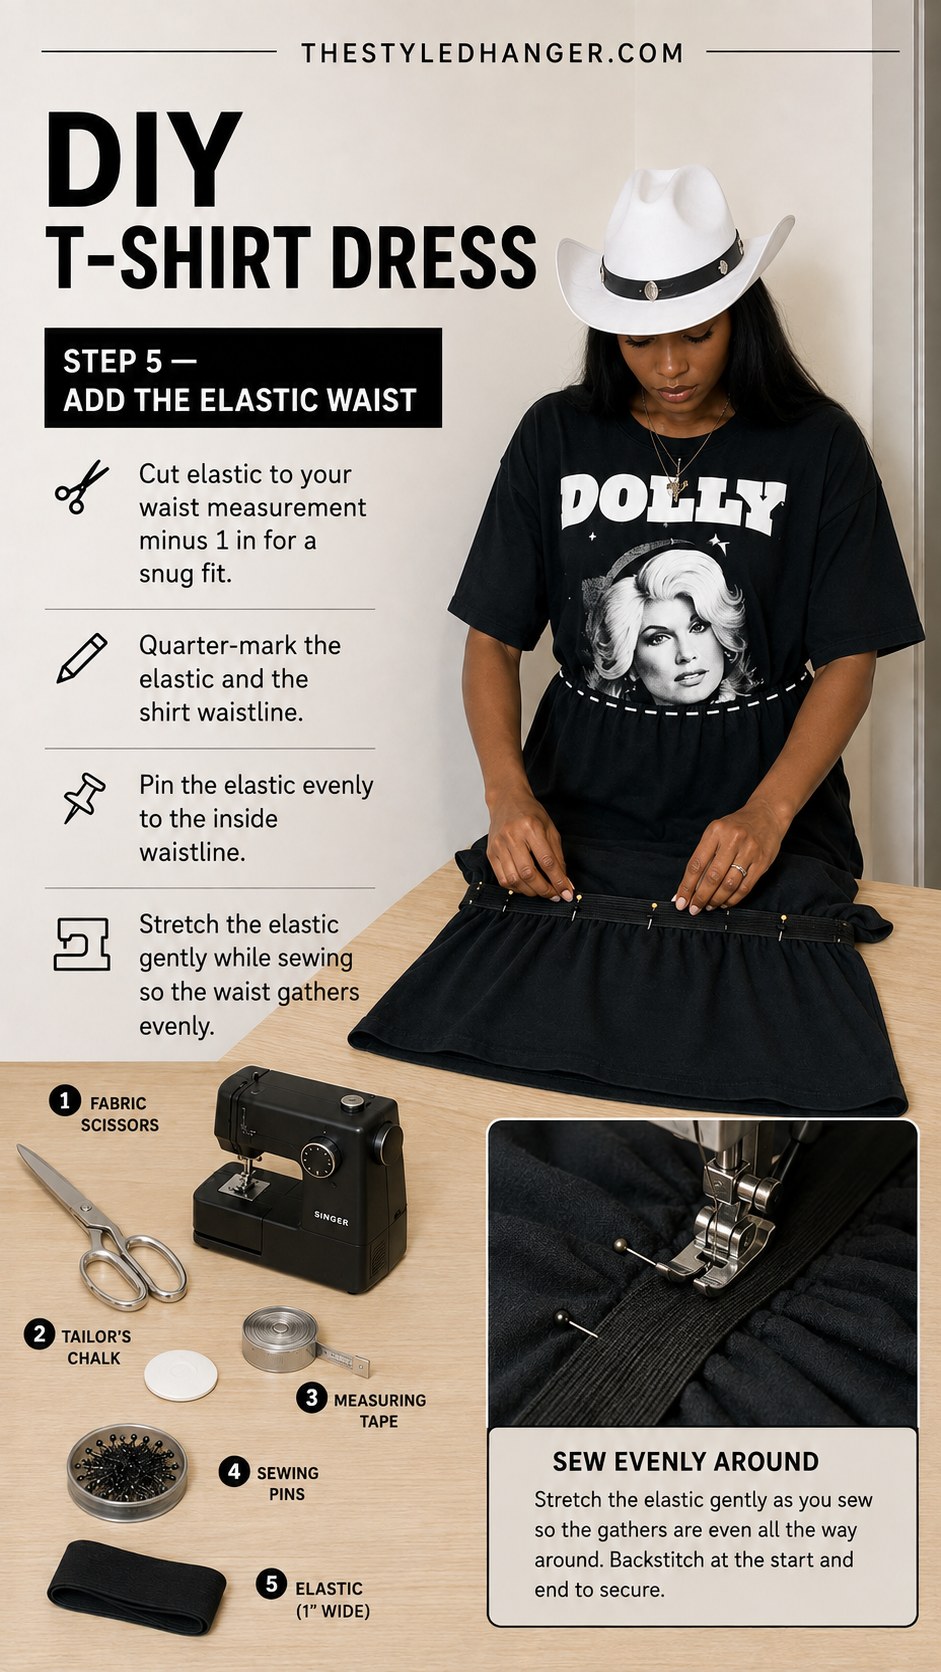
This is the step that turns a shirt with side seams into an actual dress silhouette. Cut your elastic to your waist measurement minus 1 inch for a snug, non-slipping fit.
- Quarter-mark both the elastic and the shirt's waistline so you can distribute the gathers evenly.
- Pin the elastic to the inside waistline at each quarter mark before you sew a single stitch.
- Stretch as you sew, gently pulling the elastic flat while the machine feeds the fabric, so the gathers land evenly all the way around instead of bunching on one side.
Backstitch at the start and end to secure it. If your gathers end up lopsided, don't rip it all out — just redistribute the fabric by hand and go over the loose sections again.
Hem It, Try It On, Call It Done
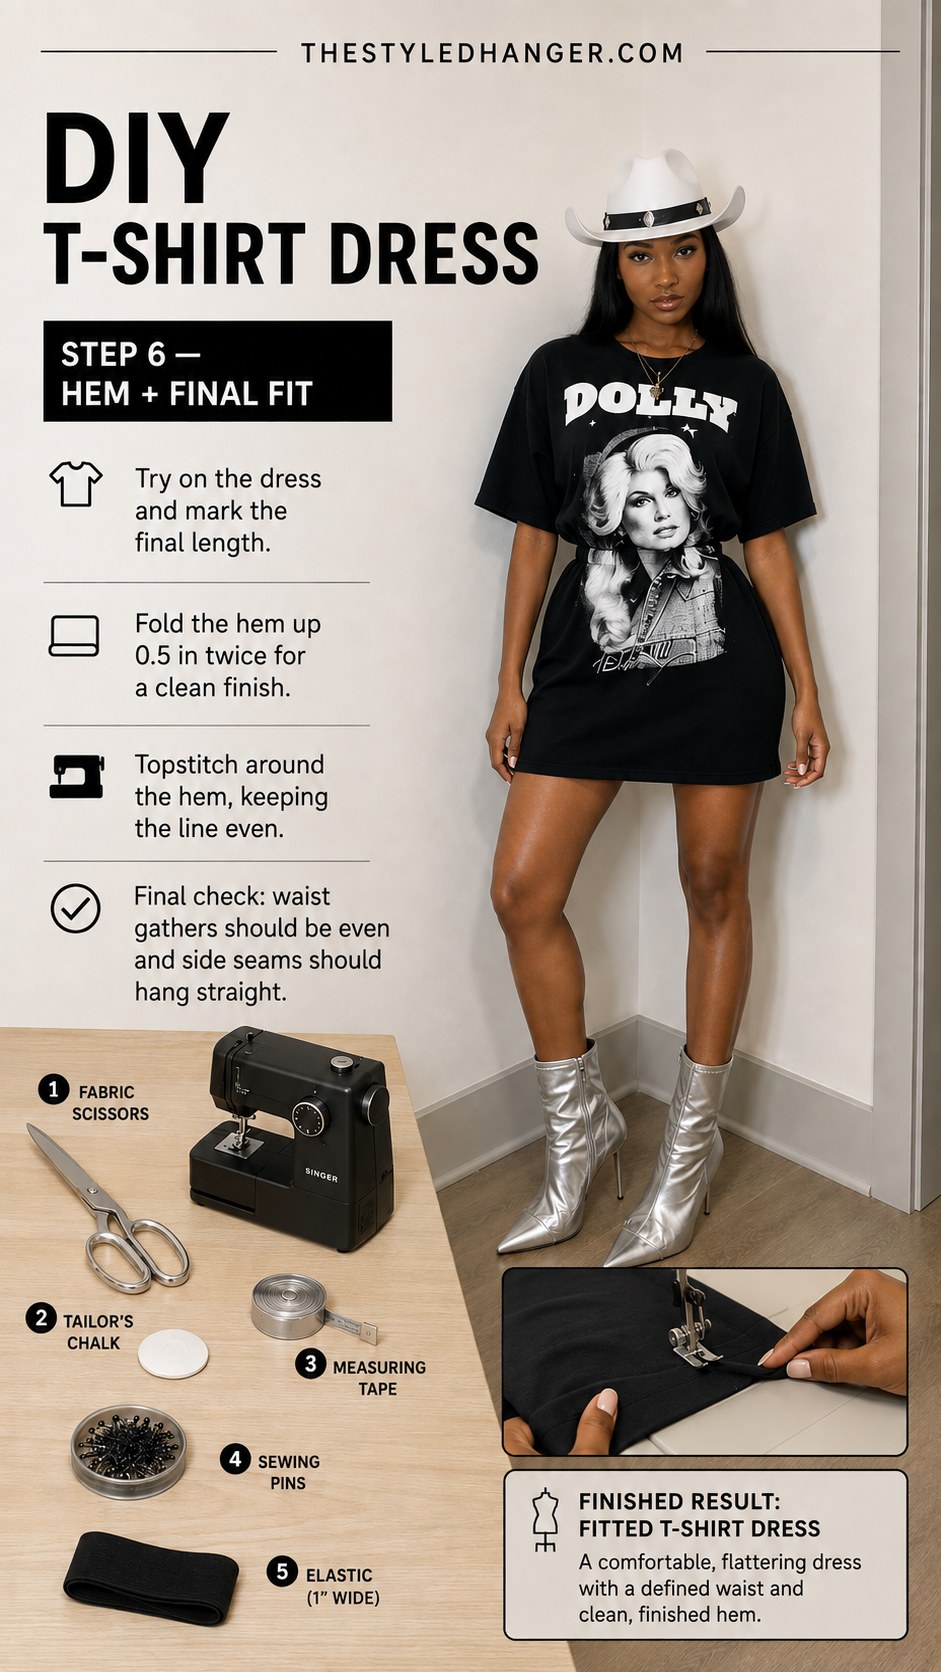
Almost there. Try the dress on one more time and mark your final length — this is your last chance to shorten it before it's permanent.
Fold the hem up 0.5 inches, twice, for a clean finished edge with no raw fabric showing, then topstitch around the whole hem keeping your line even.
Final fit check
- Waist gathers should sit evenly, not bunched on one side
- Side seams should hang straight, not twist toward the front or back
- Hem should fall the same length all the way around
What you end up with is a genuinely comfortable, flattering t-shirt dress with a defined waist and a clean hem — the kind of thing that looks intentional, not like a shirt that got carried away.
How This Dolly Tee Actually Became My Favorite Dress
Step photos are great for the exact chalk lines and stitch settings, but they don't show you what this actually looks like happening in real life, in real light, on a Tuesday afternoon. So here's the same dress, same tee, shot around my apartment while I was actually making it — mistakes, bracelets clanking against the machine, and all.
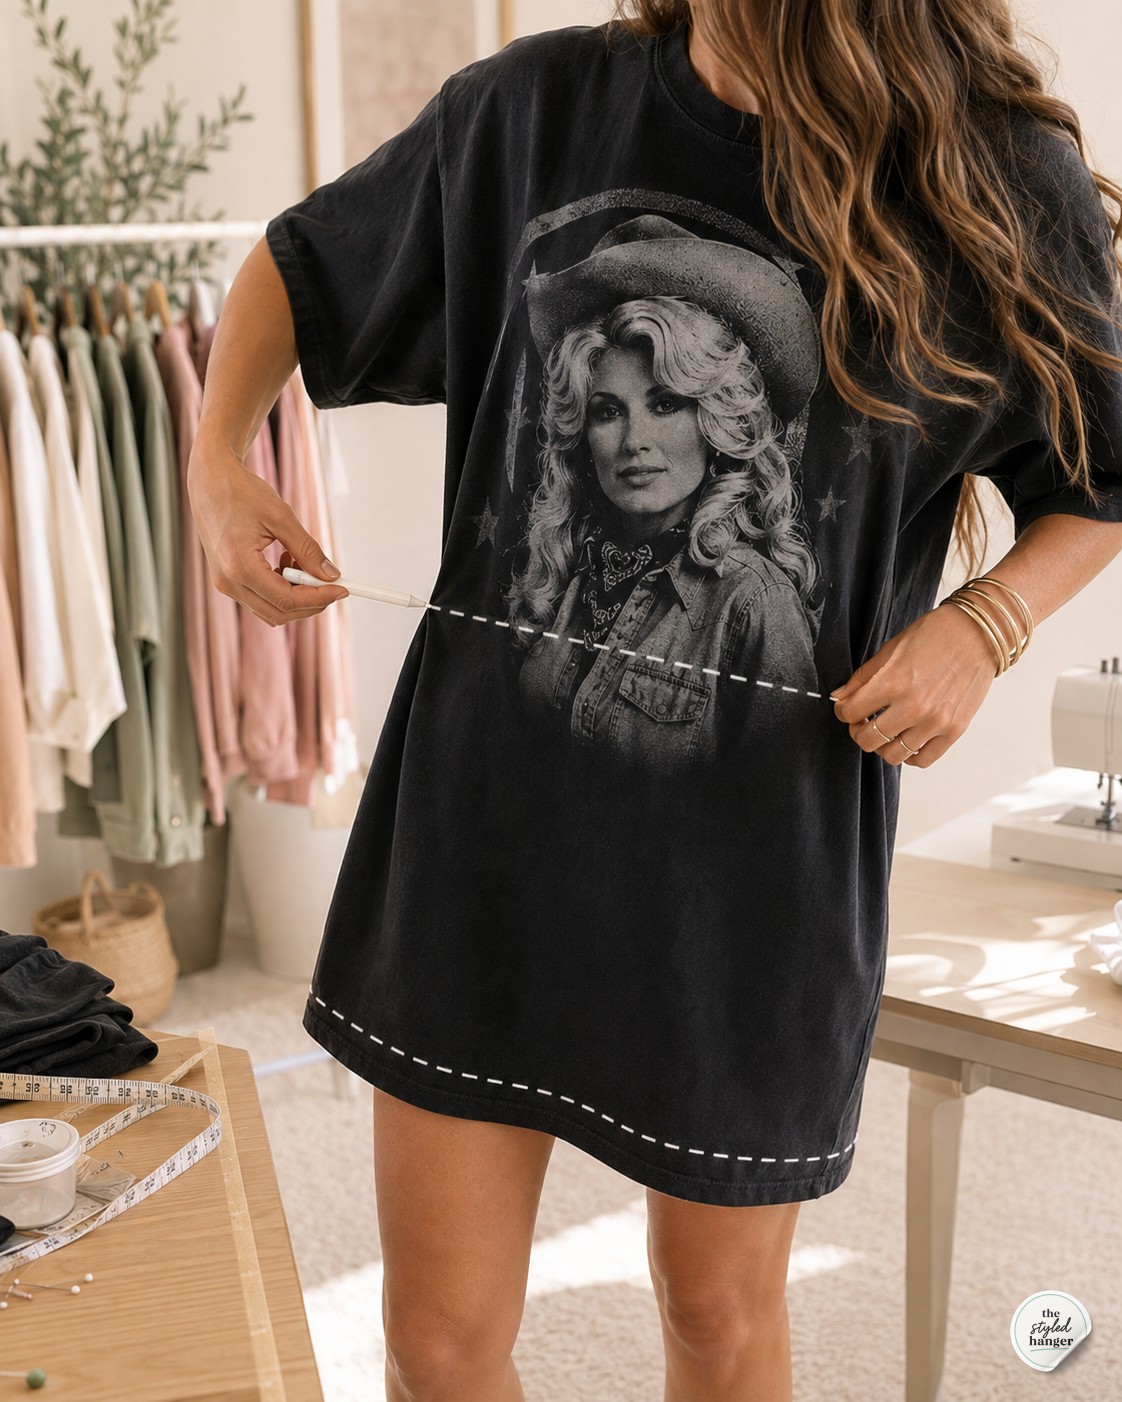
This is me measuring my actual waist against the shirt while it's still on my body, before a single chalk mark goes down. I do this standing in front of a mirror, not lying the shirt flat, because your waist doesn't sit the same way gravity does on a table.
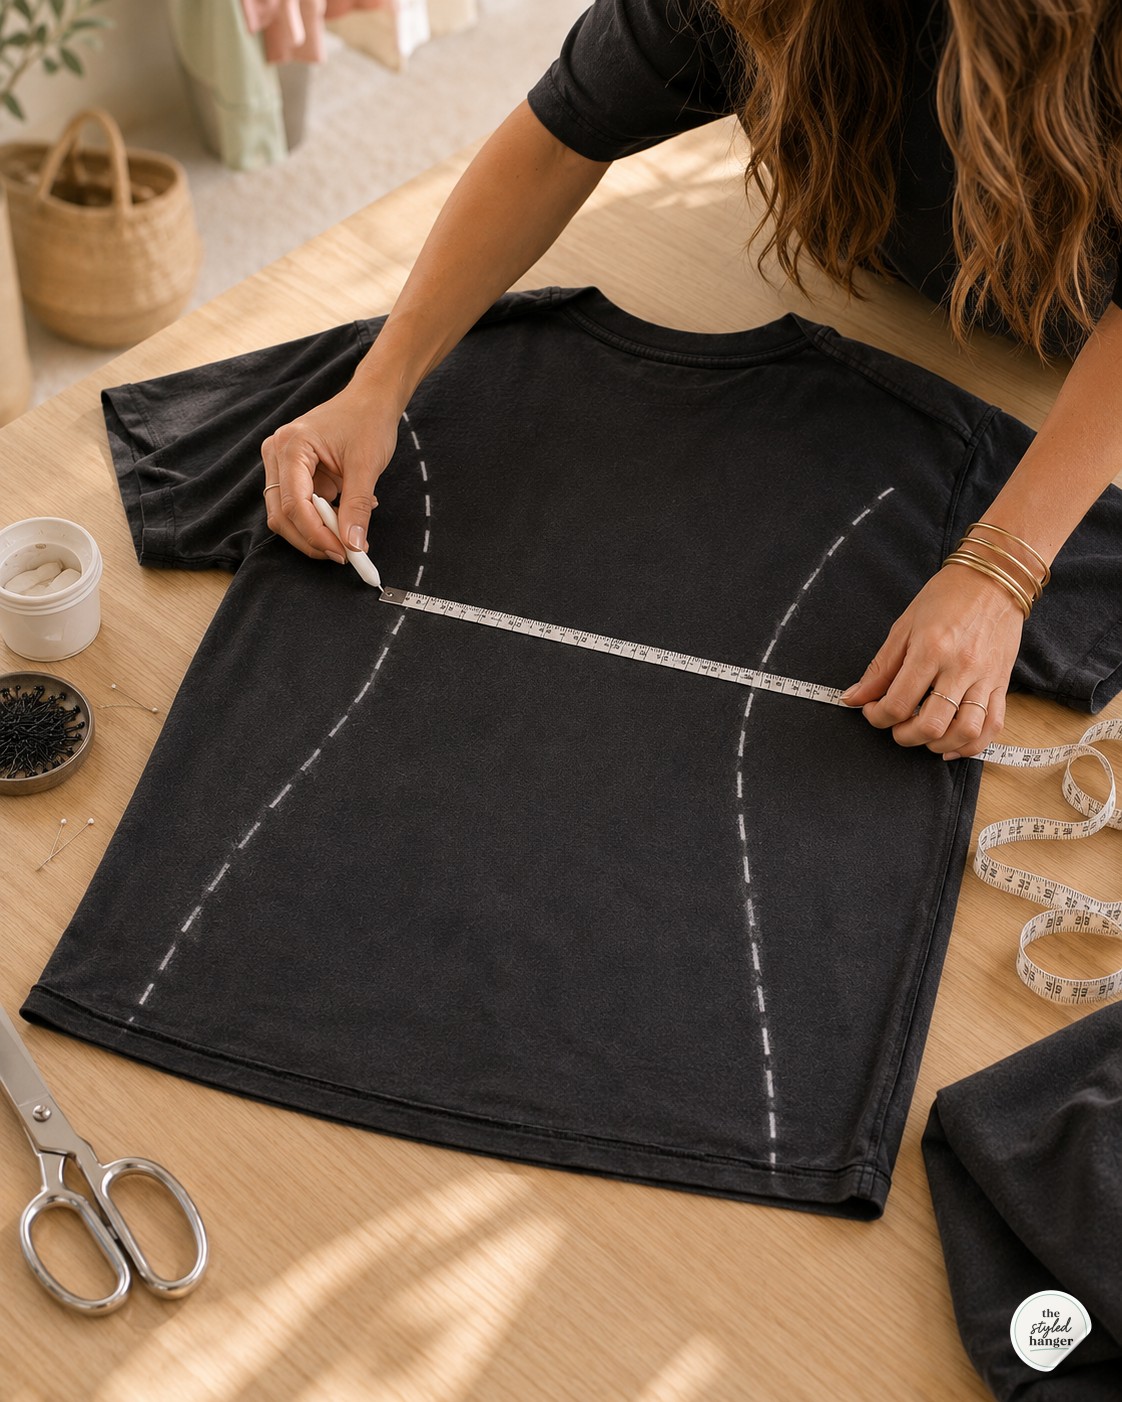
Once it's off and inside out on the table, you can really see the shaping lines take form — that curved chalk line blending out toward the hem is doing the actual work of making this look like a dress instead of a tent.
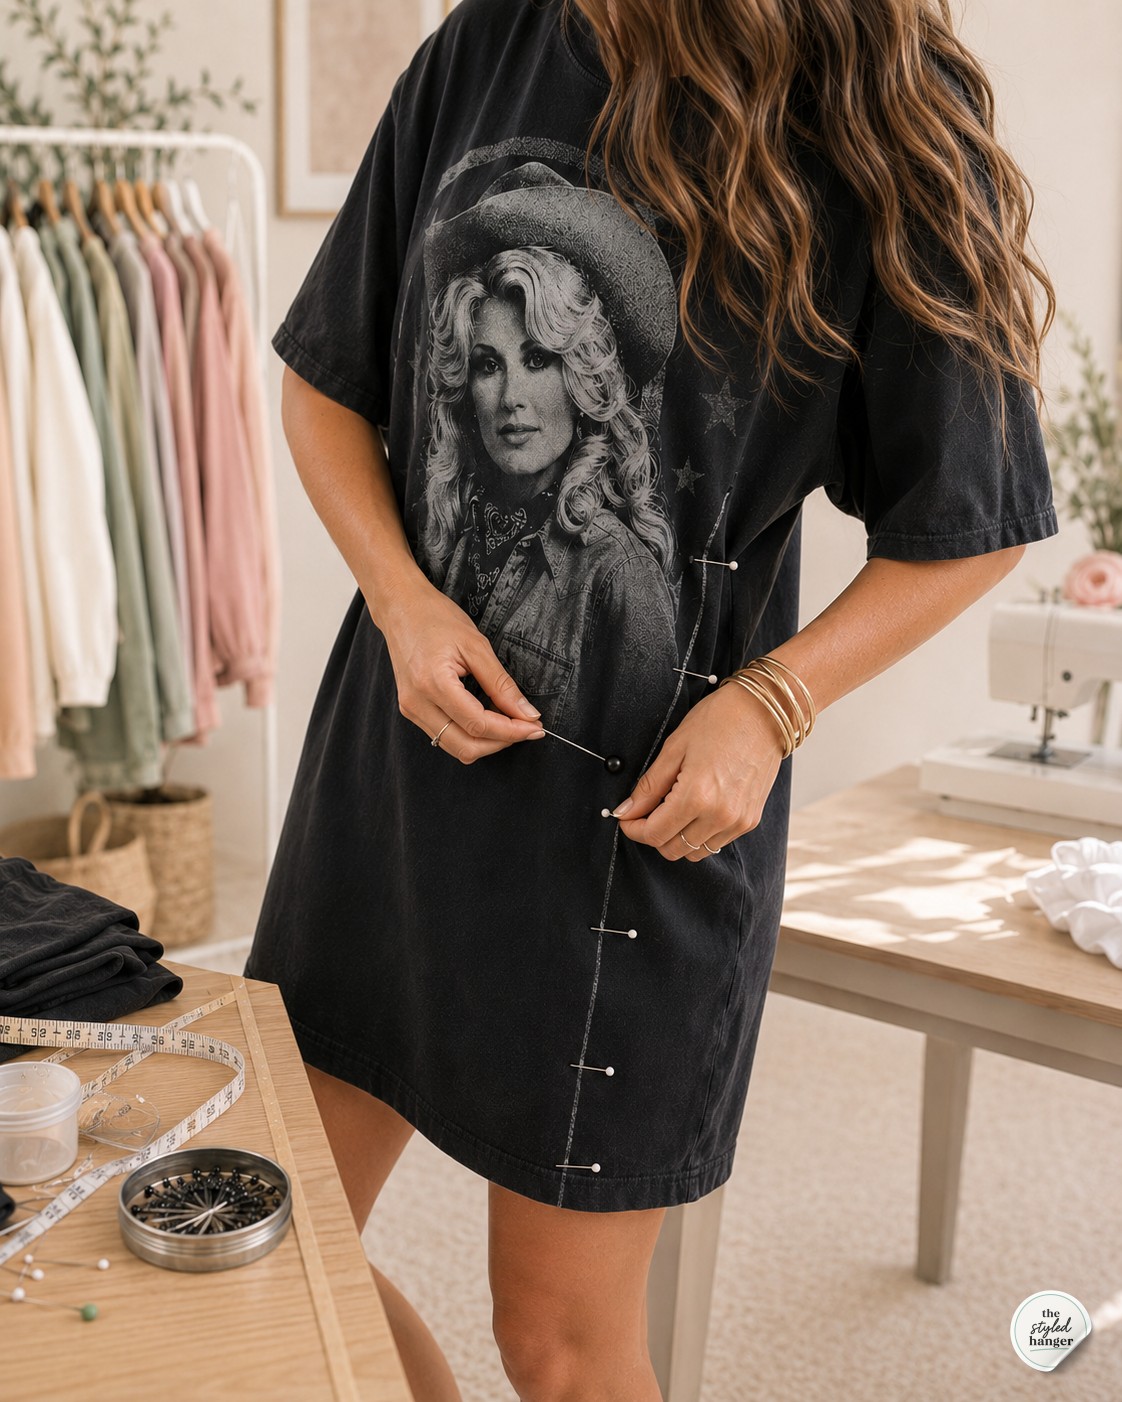
I always pin one side while the dress is on my body, not just on the table, because my hips aren't perfectly even and neither are yours — this back view shows how the pin line curves slightly more at the hip than the waist.
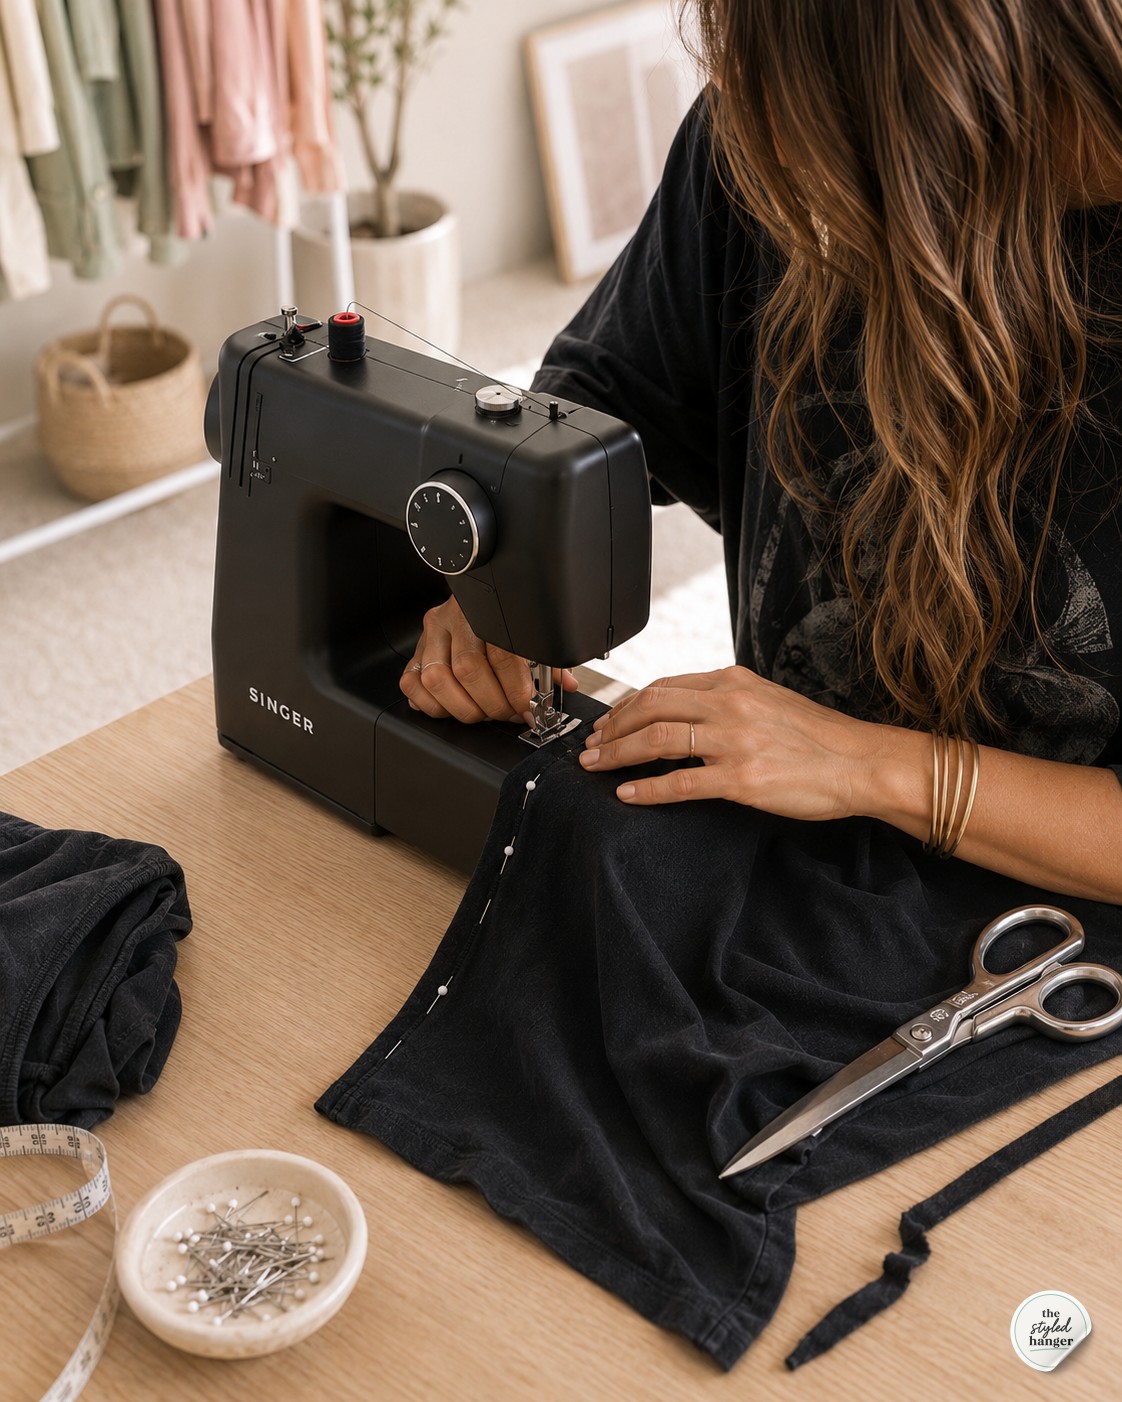
This is my mom's old Singer, which I'm still slowly learning properly — the side seams are the one part of this machine I trust completely, since it's just straight lines, no tricky curves or zippers involved.
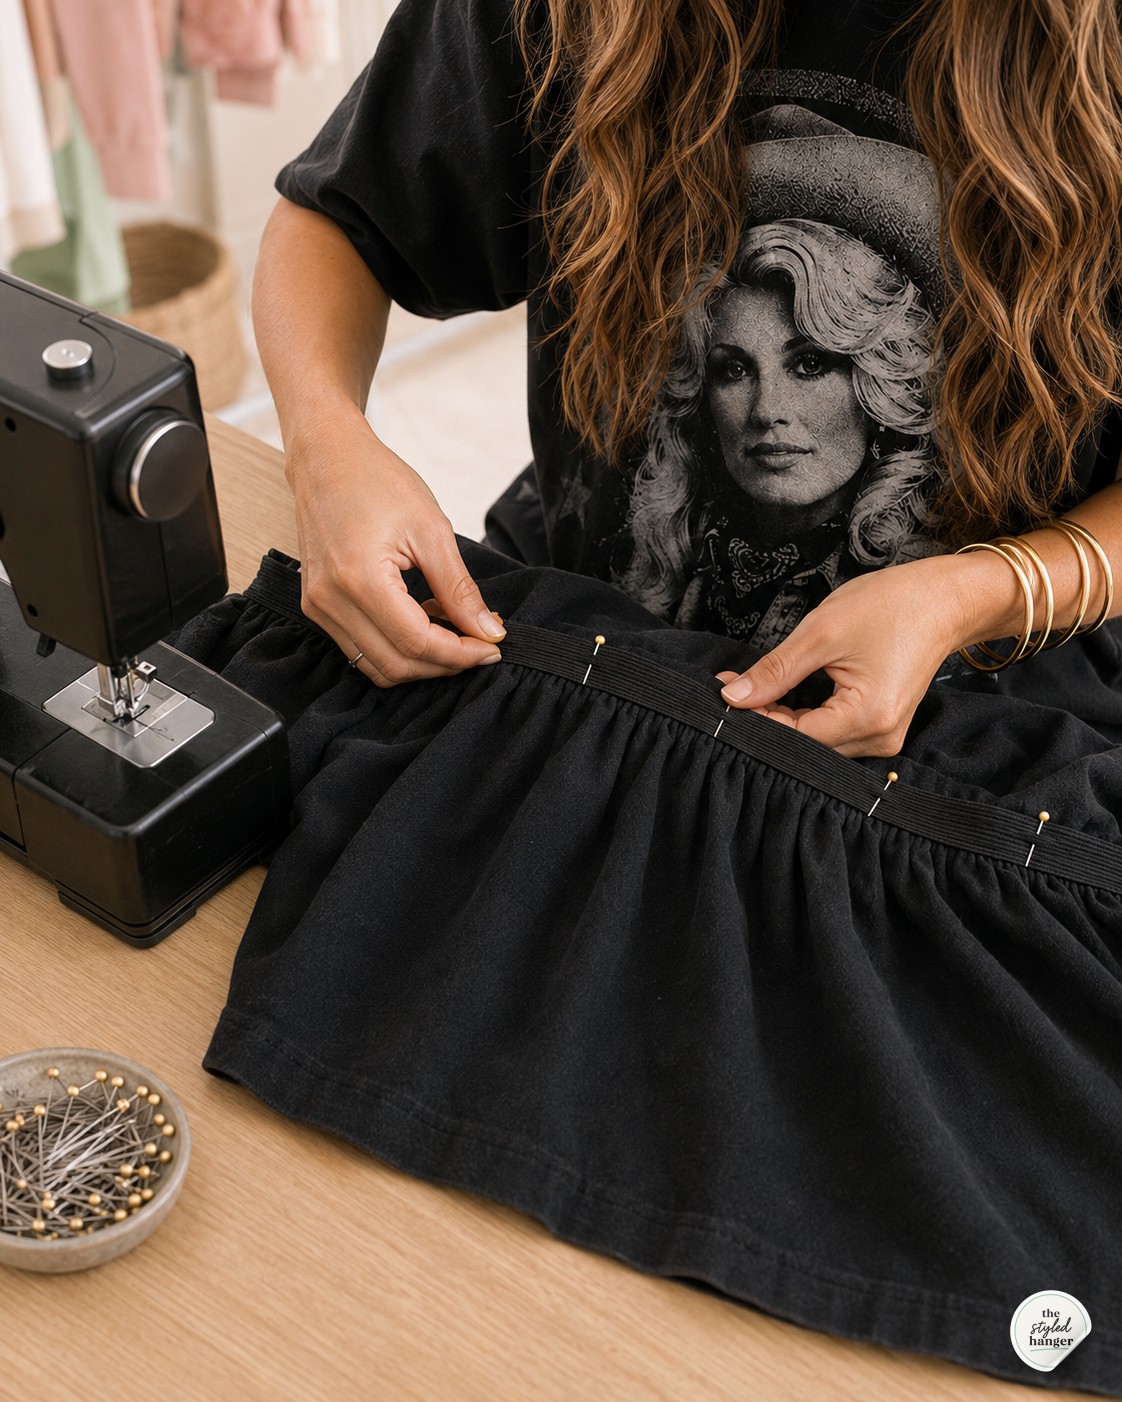
You can really see the gather forming here as I stretch the elastic bit by bit while pinning — this is the moment the shirt stops looking baggy and starts looking cinched, even before a single stitch goes in.
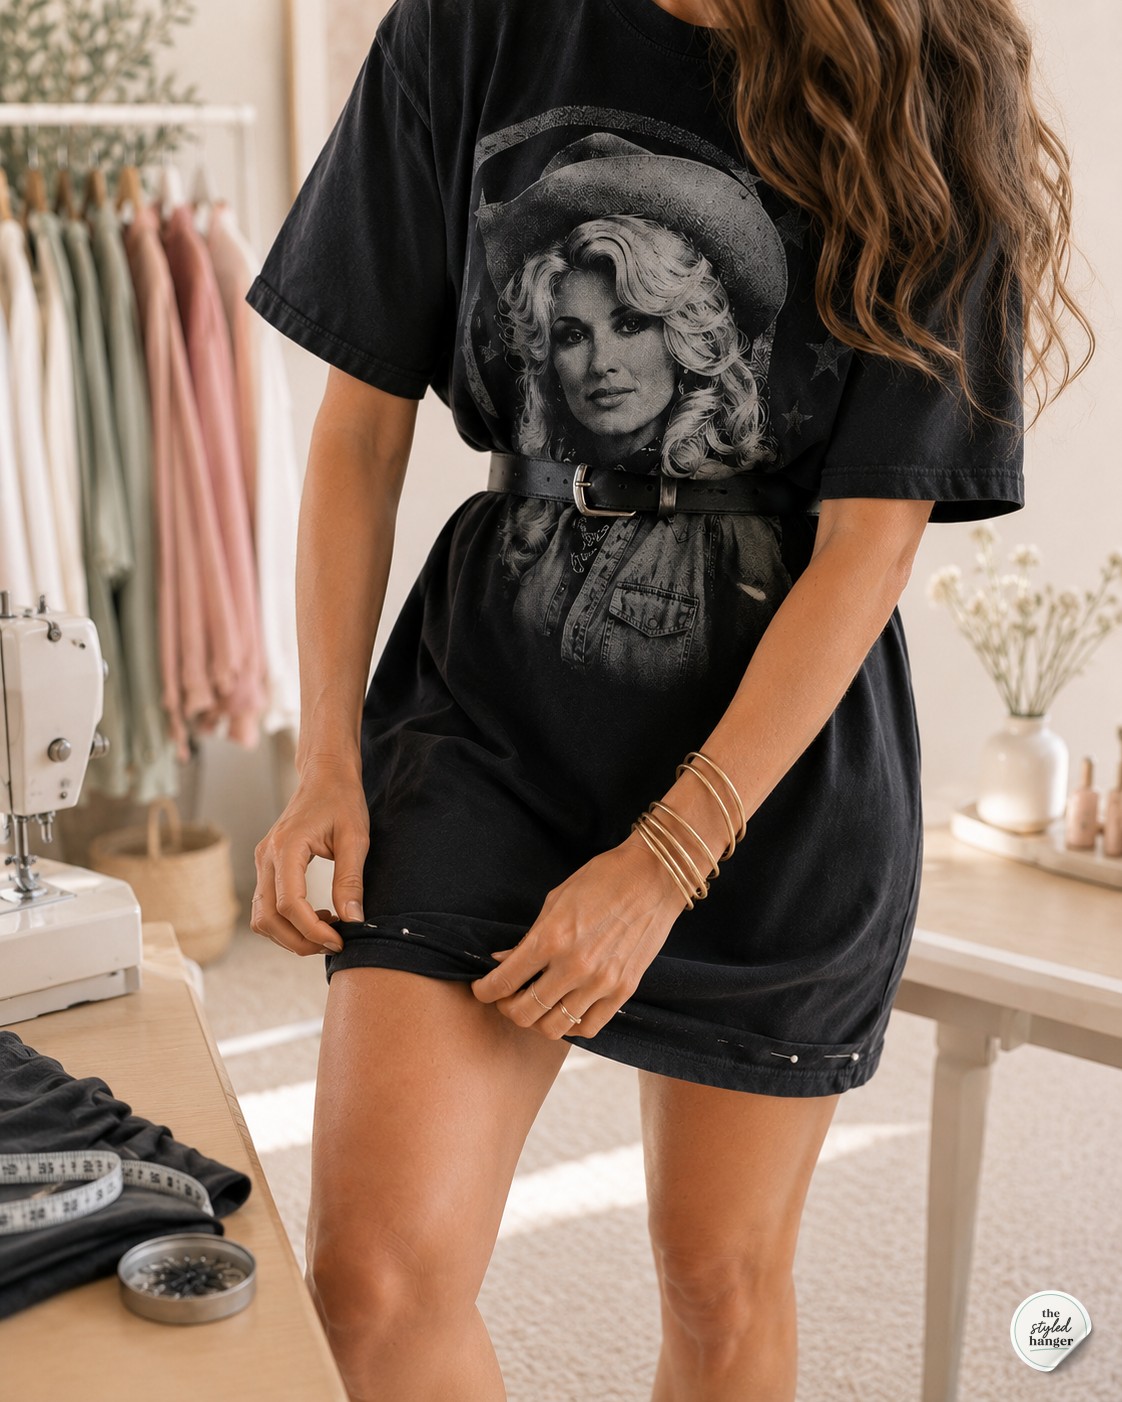
I threw a thin belt over the finished waist just to test the shape, and honestly it didn't even need it — but this is a good trick if your elastic ever comes out looser than you wanted.
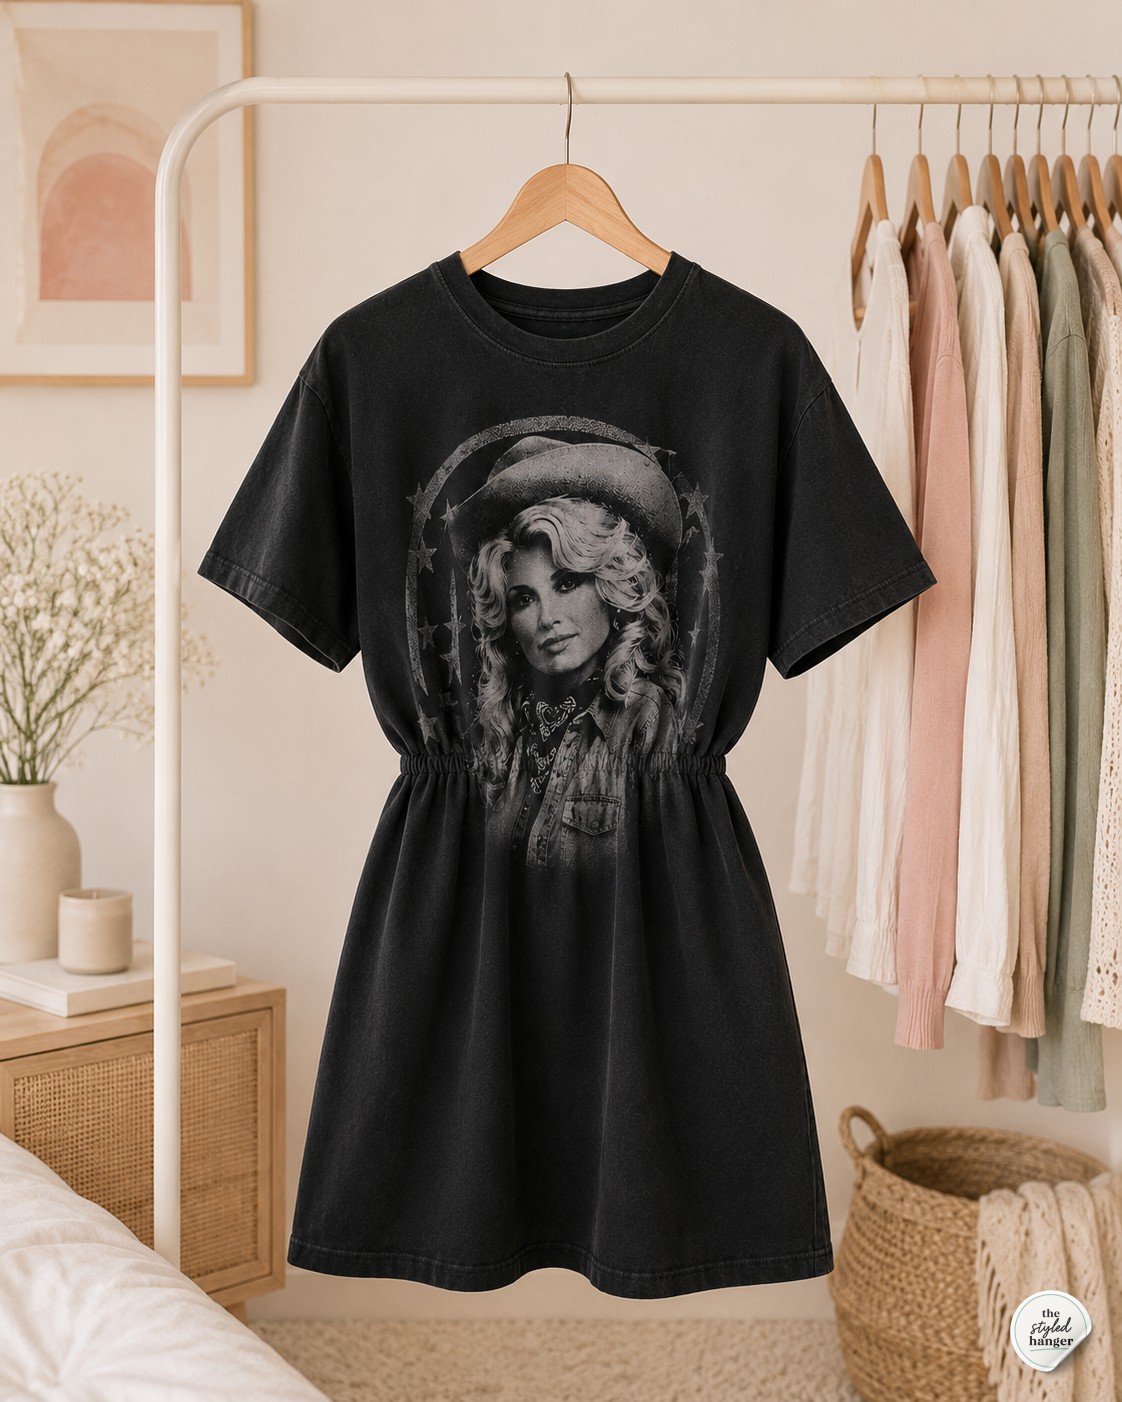
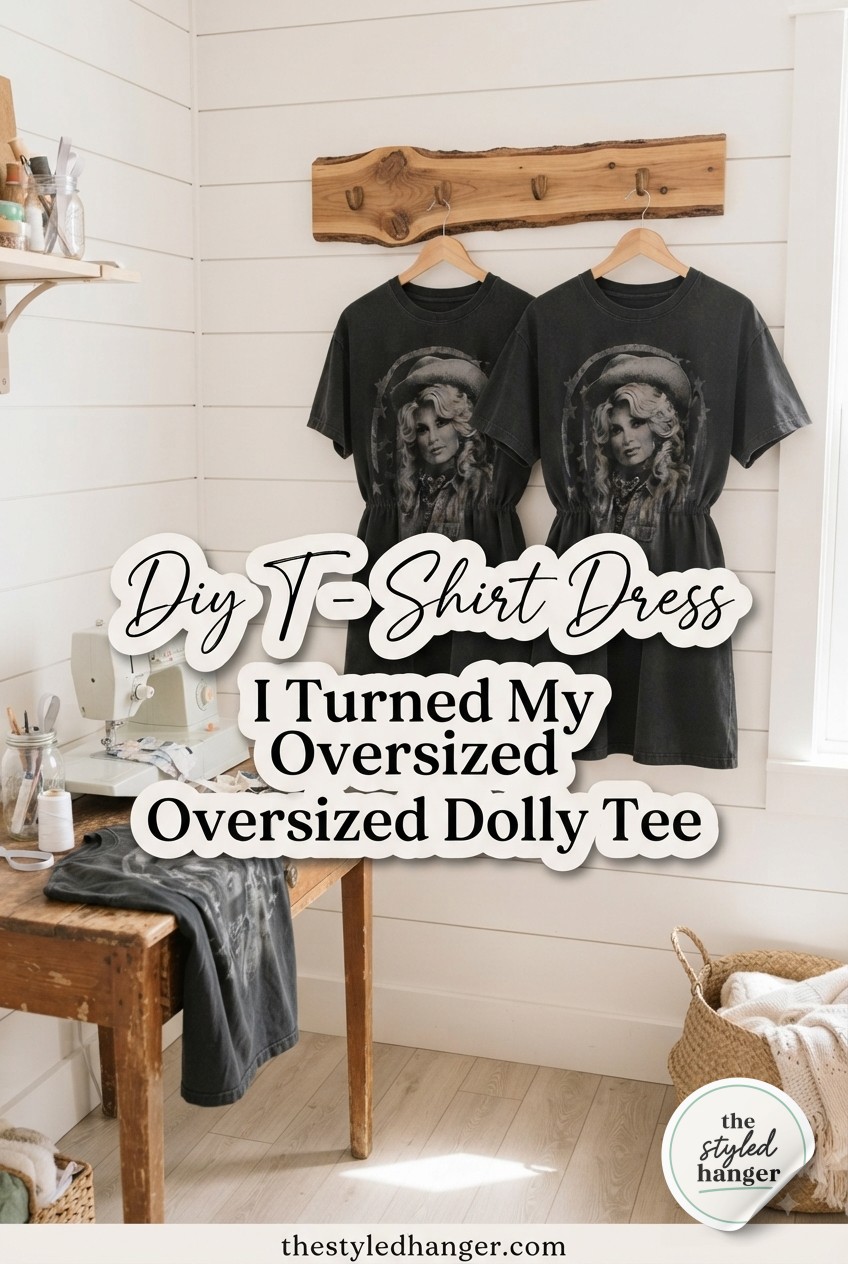
And here's the final dress hanging up, done, next to the rest of my closet — proof that an oversized tee headed for donation can end up being the piece you reach for on a Saturday.
Wrapping Up
I've made this same dress out of three different band tees now, and every single one fits into that same hour at the kitchen table. If you've got an oversized graphic tee sitting in a drawer because it's too big to wear as-is, that's really all you need to start.

- Materials
- Tools


Frequently Asked Questions
Do I need a sewing machine for this, or can I hand-sew it?
You can hand-sew the side seams with a backstitch if you're patient, but the elastic waist really benefits from a machine because you're stretching fabric while stitching — much harder to keep even by hand.
What if my tee doesn't have enough length to hit mid-thigh?
Skip this project or size up your tee source — you genuinely need that extra length in the body to become skirt fabric. A tee that's already dress-length on you with no slack won't leave anything to shape.
Can I use this method on a stretchy fabric tee instead of cotton?
You can, but pin more carefully since stretch fabric shifts under the presser foot. A walking foot or a slightly longer stitch length helps keep the seam even.