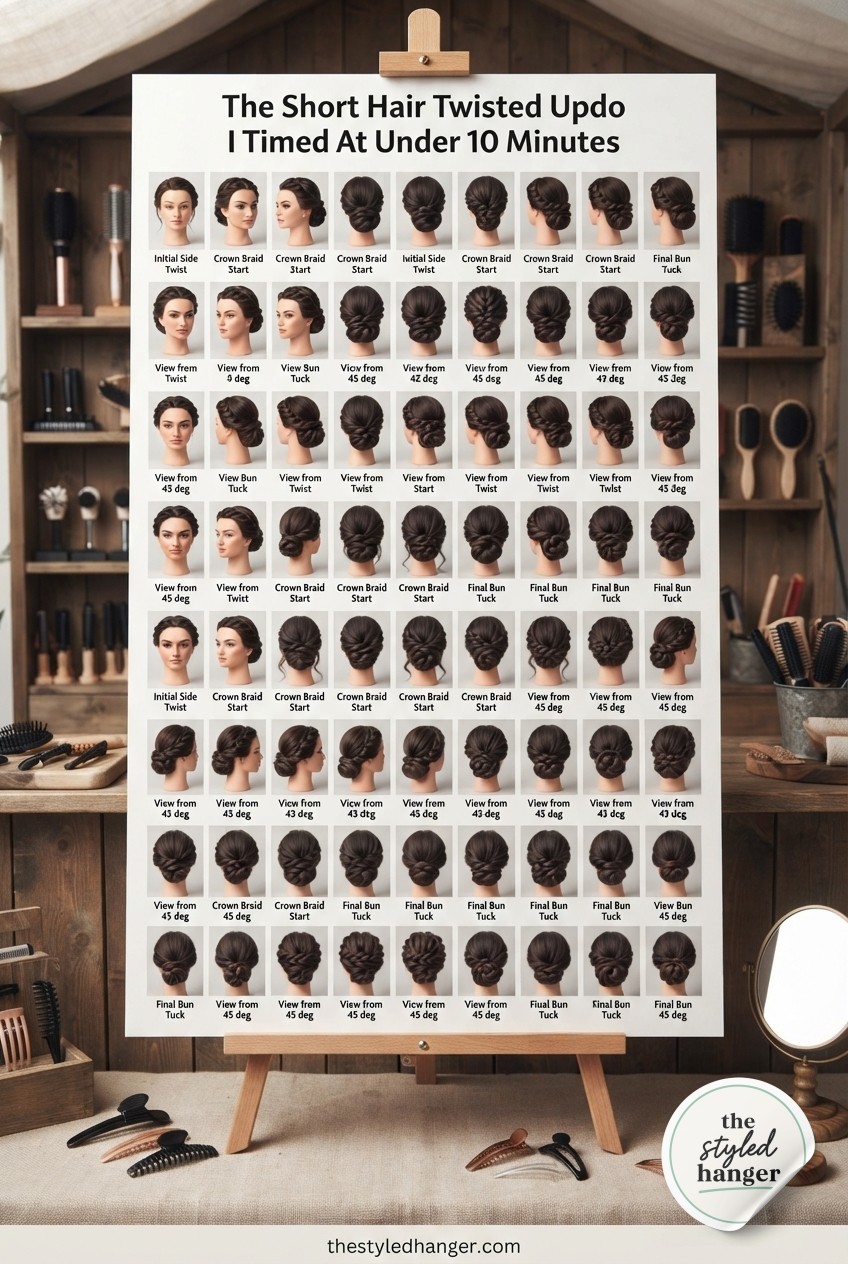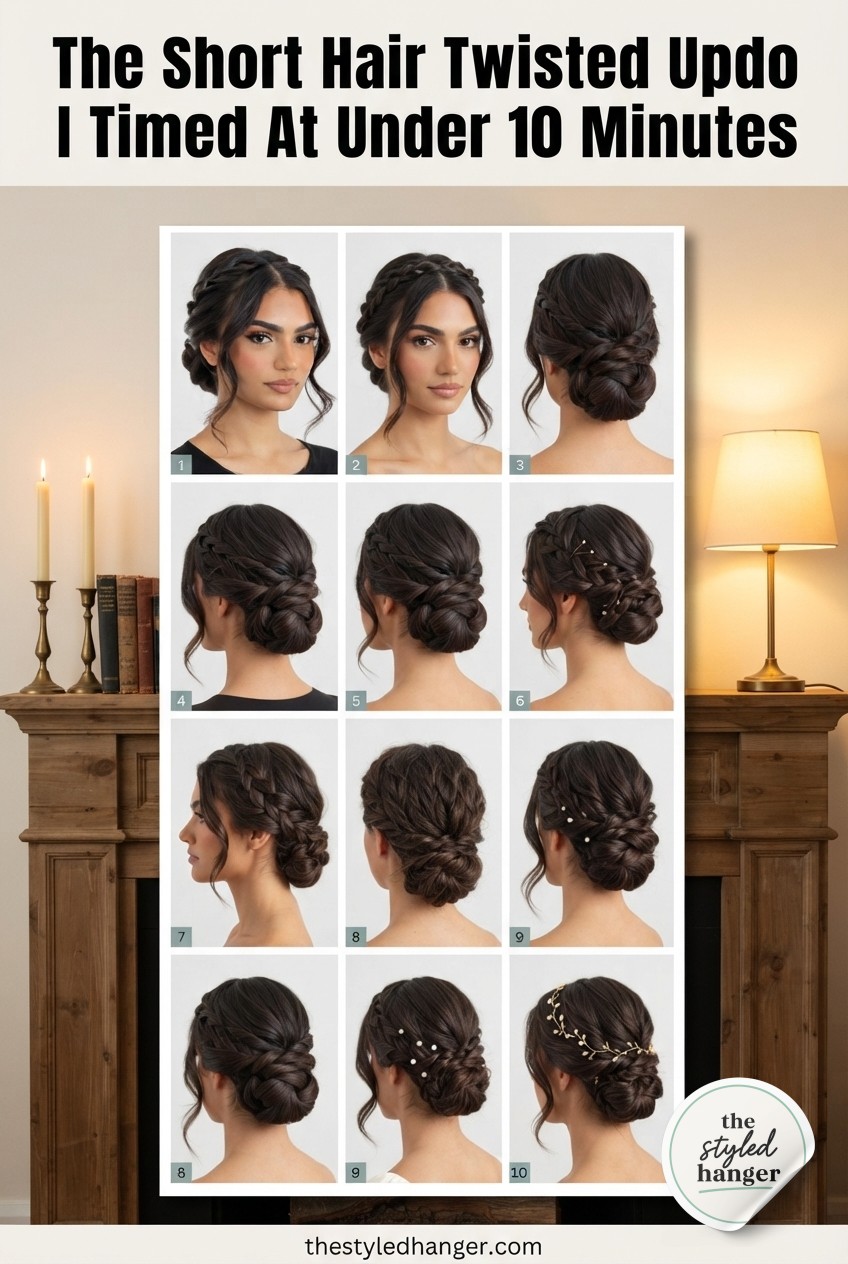
I used to think updos were a long-hair-only club membership card I'd never qualify for — until I actually tried building one on my own shoulder-length, wavy, day-two hair in my bathroom on a random Tuesday. Turns out a twisted updo doesn't need length, it needs technique: two clean twists, a low tuck, and about ten minutes you'd otherwise spend scrolling. I photographed every single stage exactly as it happened, imperfect middle steps included, so you can see what ‘in progress’ actually looks like instead of just the polished after.
Where We Start: My Actual Wednesday Hair

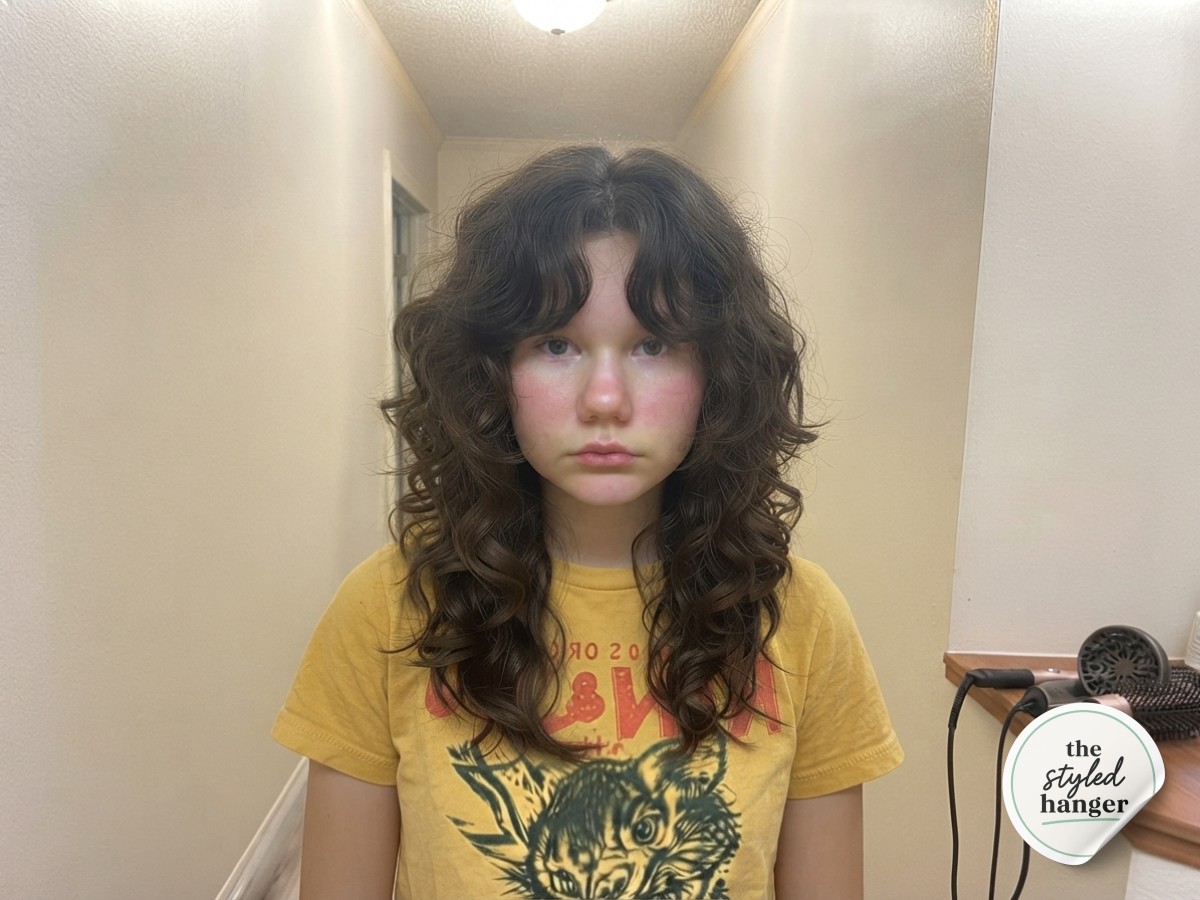
This is the hair I actually have on a random Wednesday — shoulder-length, a little wavy, day-two texture that hasn't been washed since Sunday. That's the whole point of this tutorial: you don't need eight extra inches or a fresh blowout to build a twisted updo that photographs like you tried way harder than you did. My hair here hits just past my collarbone, layered, with a natural bend I didn't do anything to create.
If your hair is freshly washed and glass-smooth, give it a light texturizing spray before you start — the twists need something to grip onto, and squeaky-clean strands tend to slide right back out. Day-old hair is honestly the dream base for this whole look.
The Part That Sets Up Everything
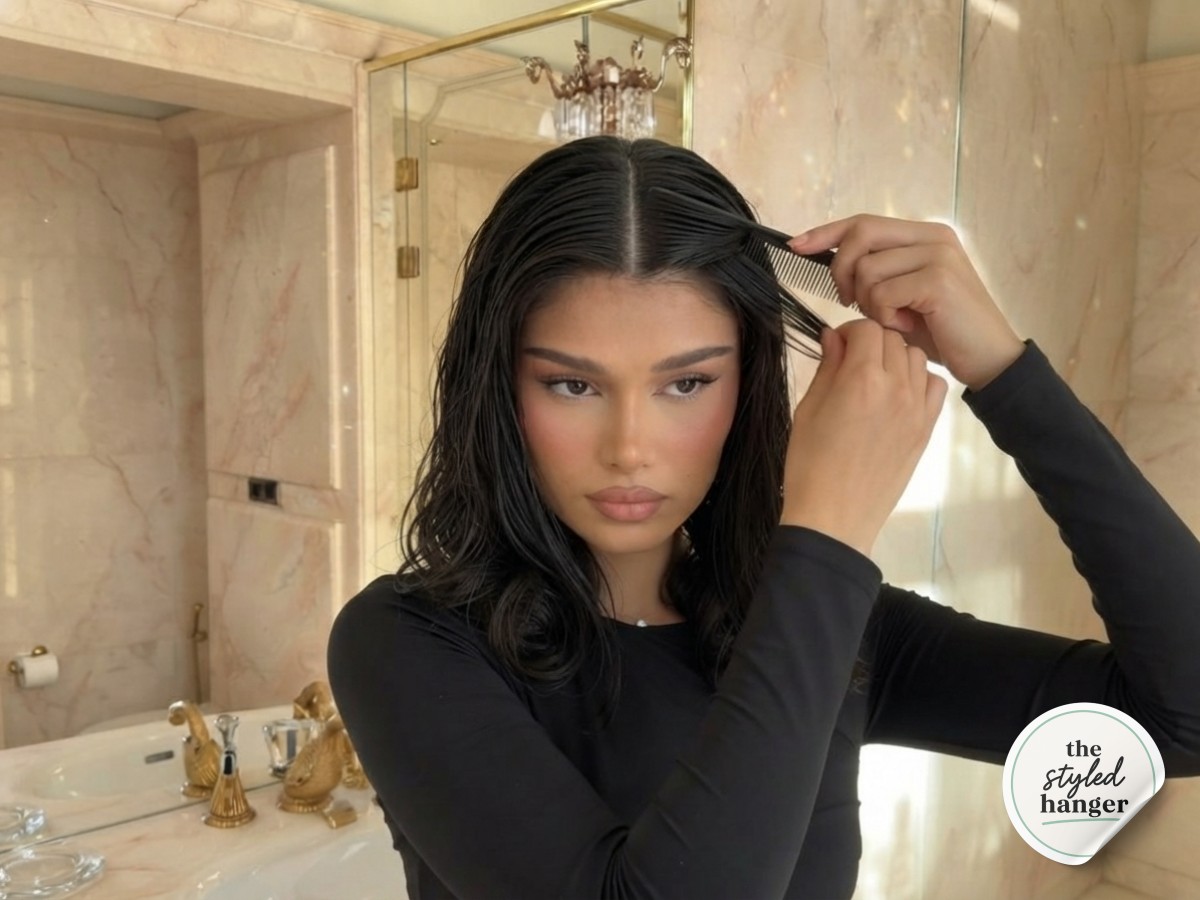
I dampen my hairline slightly with a spray bottle — just enough to knock down flyaways, not enough to soak the whole head — then use a fine-tooth comb to slice a clean, dead-center part from forehead to crown. This step gets skipped in a lot of tutorials, and it's the reason half of them look lopsided by the time you're finished.
- Comb, don't rake: a rat-tail or fine-tooth comb gives you a crisp line; a paddle brush will not.
- Section off the front pieces you'll twist, clipping the rest of your hair out of the way so you're not fighting stray strands mid-twist.
- Keep it symmetrical by checking the part in the mirror straight-on, not at an angle.
This is the unglamorous two minutes that make the glamorous six minutes possible.
First Twist, First Pin
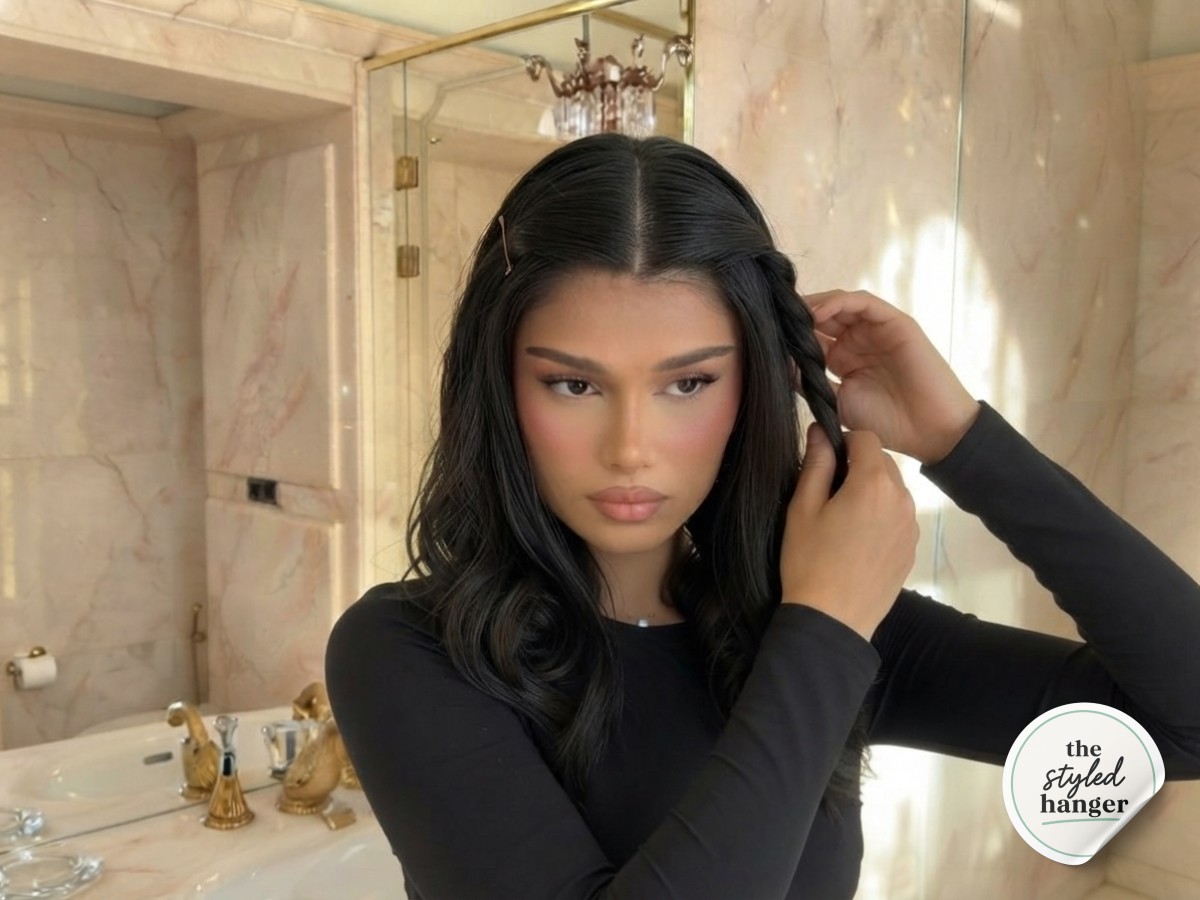
I take a section from one side, about an inch and a half wide starting right at the part, and twist it twice back and away from my face before pinning it flat against my head with a single bobby pin — inserted upside down for grip, a trick I picked up styling clients at Nordstrom and never stopped using. Notice in this shot how the other side is still completely loose and wavy; I like keeping it untouched at this stage so I can see the twist tension clearly against a natural section for comparison.
A twist that's too tight will look severe and pull at your temple; too loose and it unravels by the time you're pinning the second side. You're aiming for a twist with just enough tension to hold its own shape when you let go of it for a second.
The twist should look effortless, not engineered — if you can see every individual strand, you've twisted it too tight.
Meeting in the Middle
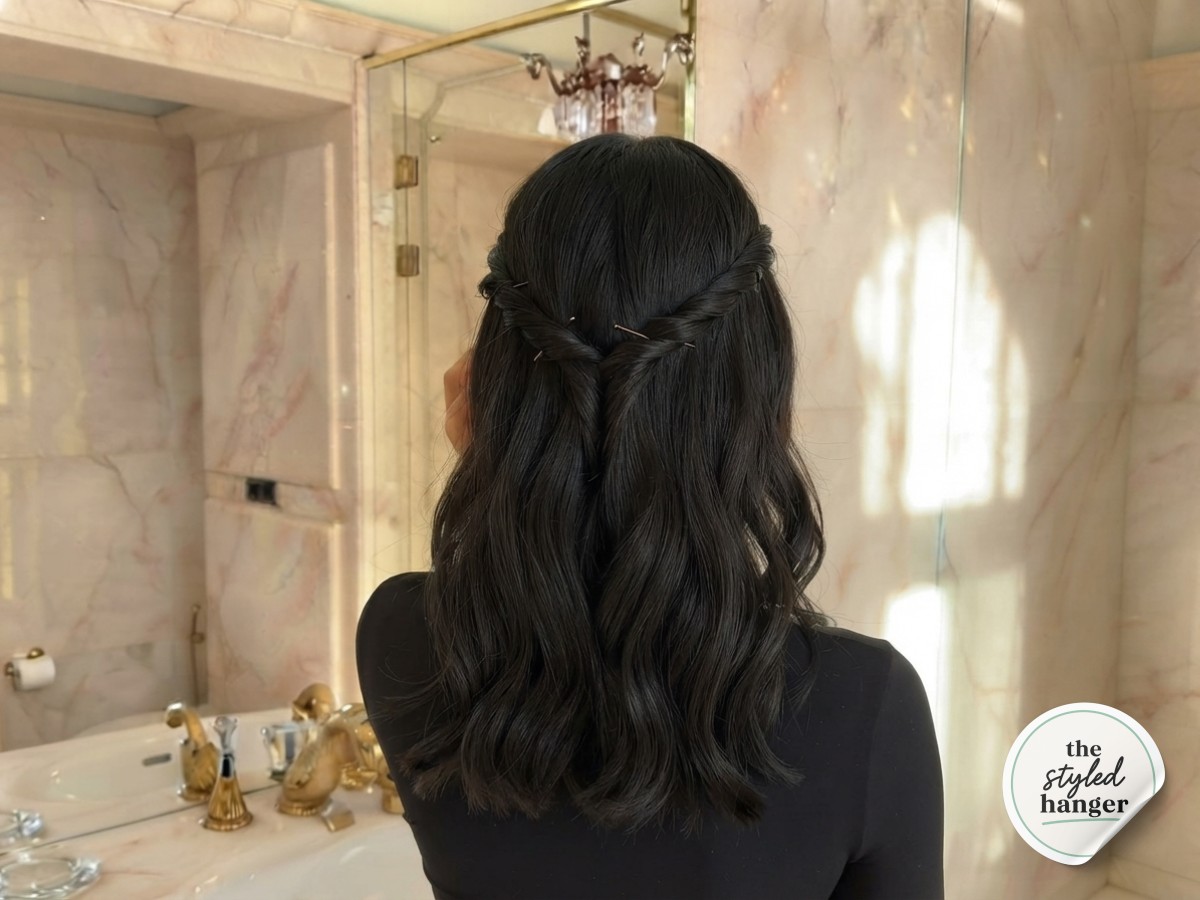
Once both sides are twisted and pinned so they meet at the back center, you get this half-up moment — and honestly, it's a full hairstyle on its own if you're short on time. Look at how the twists frame the face here while the rest of the hair still hangs loose and unbrushed underneath; that contrast between structured and soft is what makes a twisted updo feel undone-on-purpose instead of stiff.
This is also your checkpoint. Step back from the mirror and check that both twists sit at the same height and angle before you move on — it's much easier to unpin and redo one side now than after you've built the knot underneath it. Give each pin a gentle tug test; if a twist shifts more than a little, add a second pin crossed over the first in an X.
Tucking the Tail
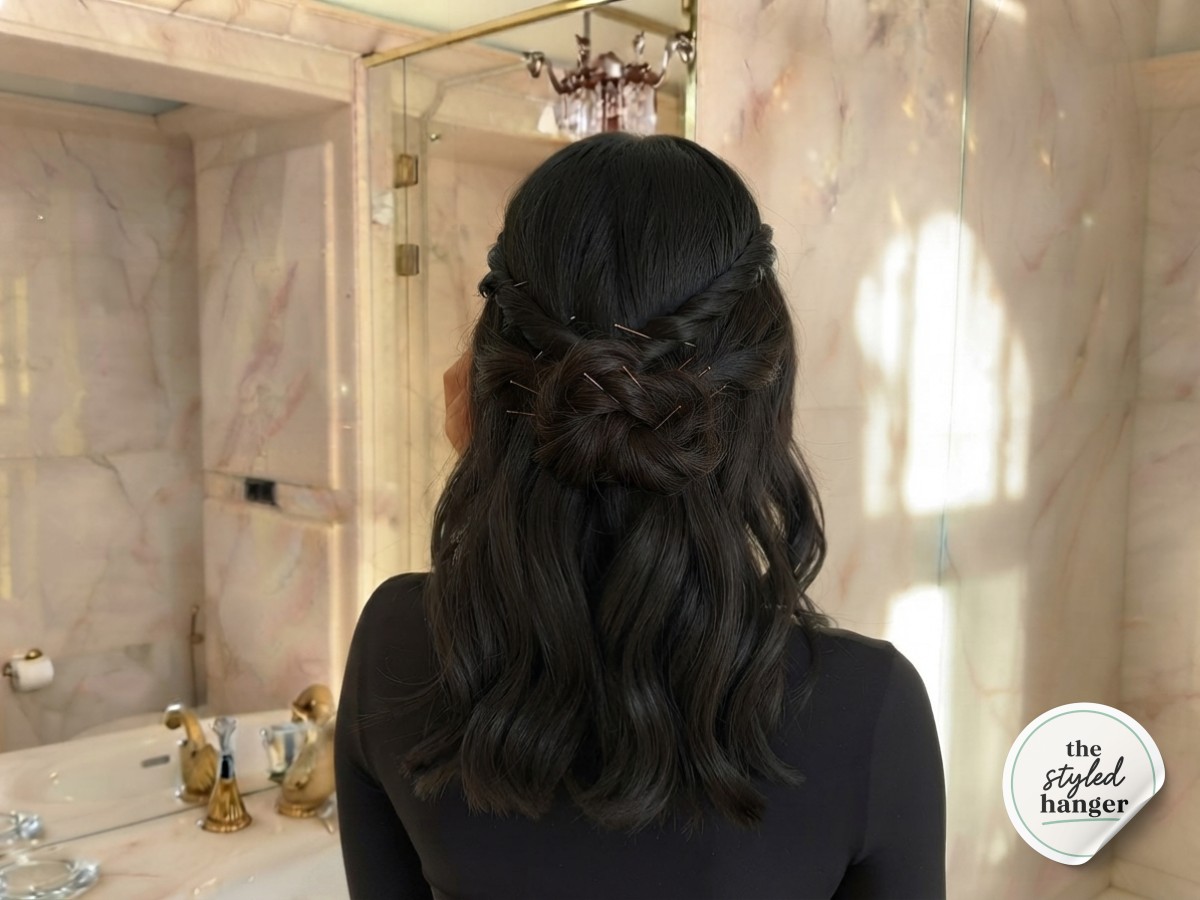
Now the part that turns a half-up style into a full updo: I gather all the loose hair hanging below the twists and roll it upward and inward, tucking it under itself into a low, loose knot right beneath where the two twists meet. You can see the bobby pins doing real work here, and the texture is still a little undone — that's intentional, not a mistake I'm hiding.
- Roll, don't twist, the tail up toward your scalp so the ends disappear inside the knot rather than poking out the bottom.
- Pin in a criss-cross pattern, going through the knot and into the twists above it, not just into loose hair, so the whole thing is anchored to something structural.
- Leave it a little lumpy at this stage — you'll smooth the surface in the very last step, and over-perfecting now just means undoing your own work later.
The Reveal
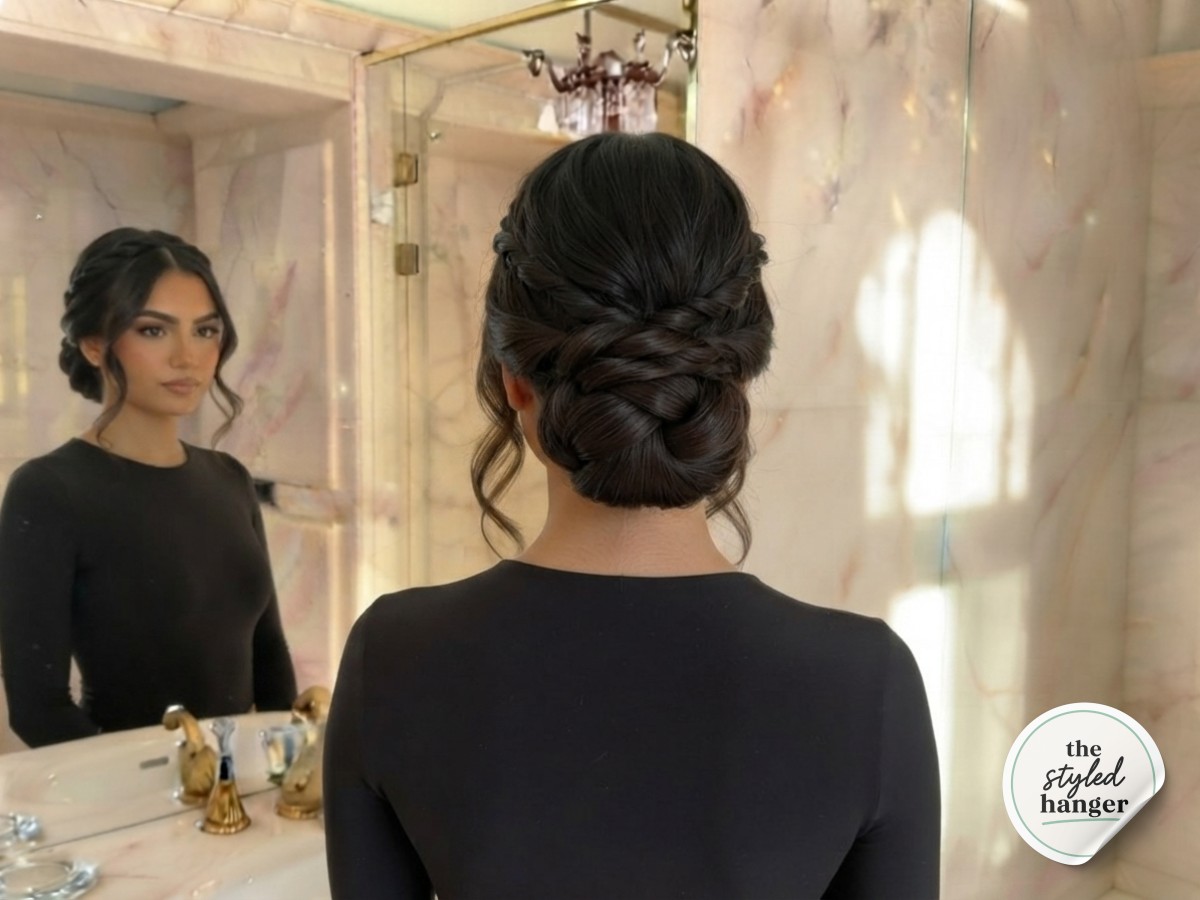
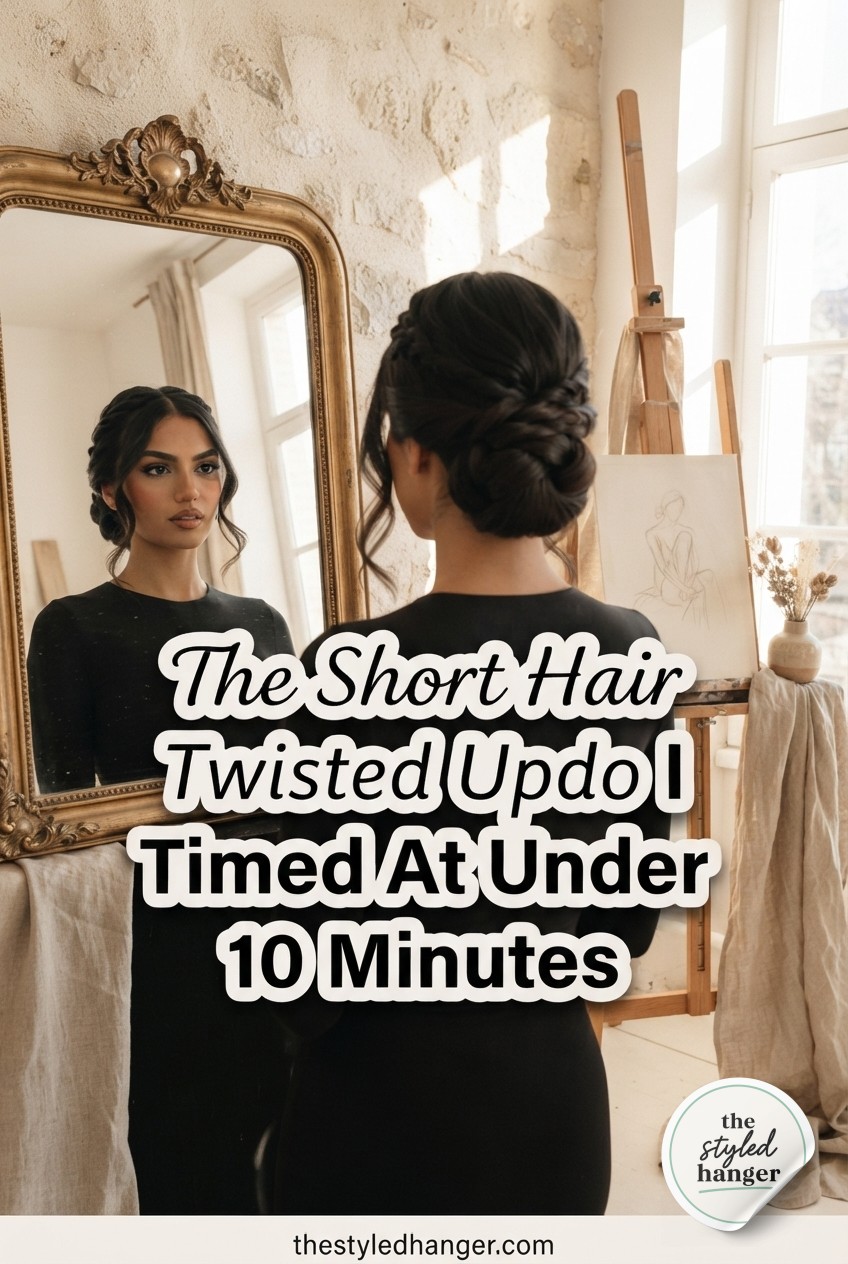
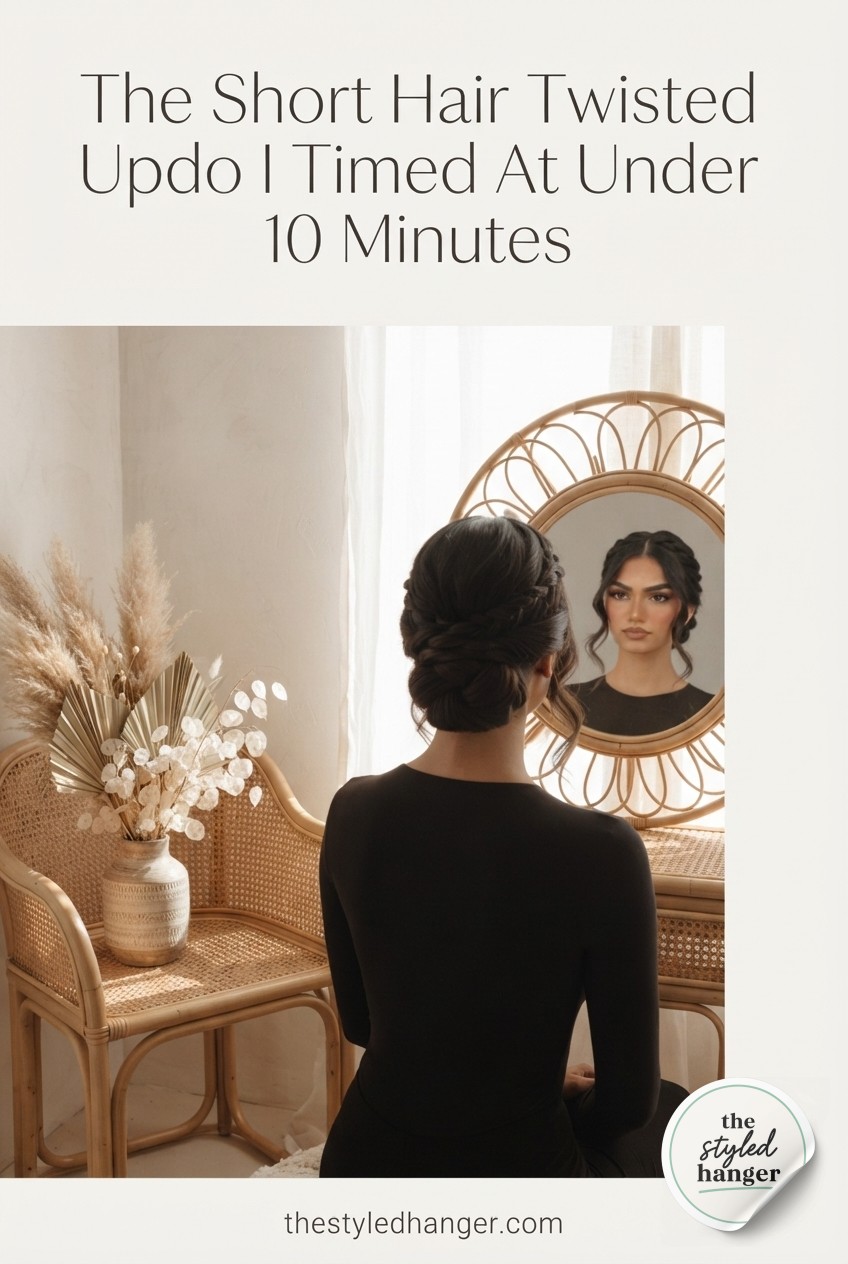
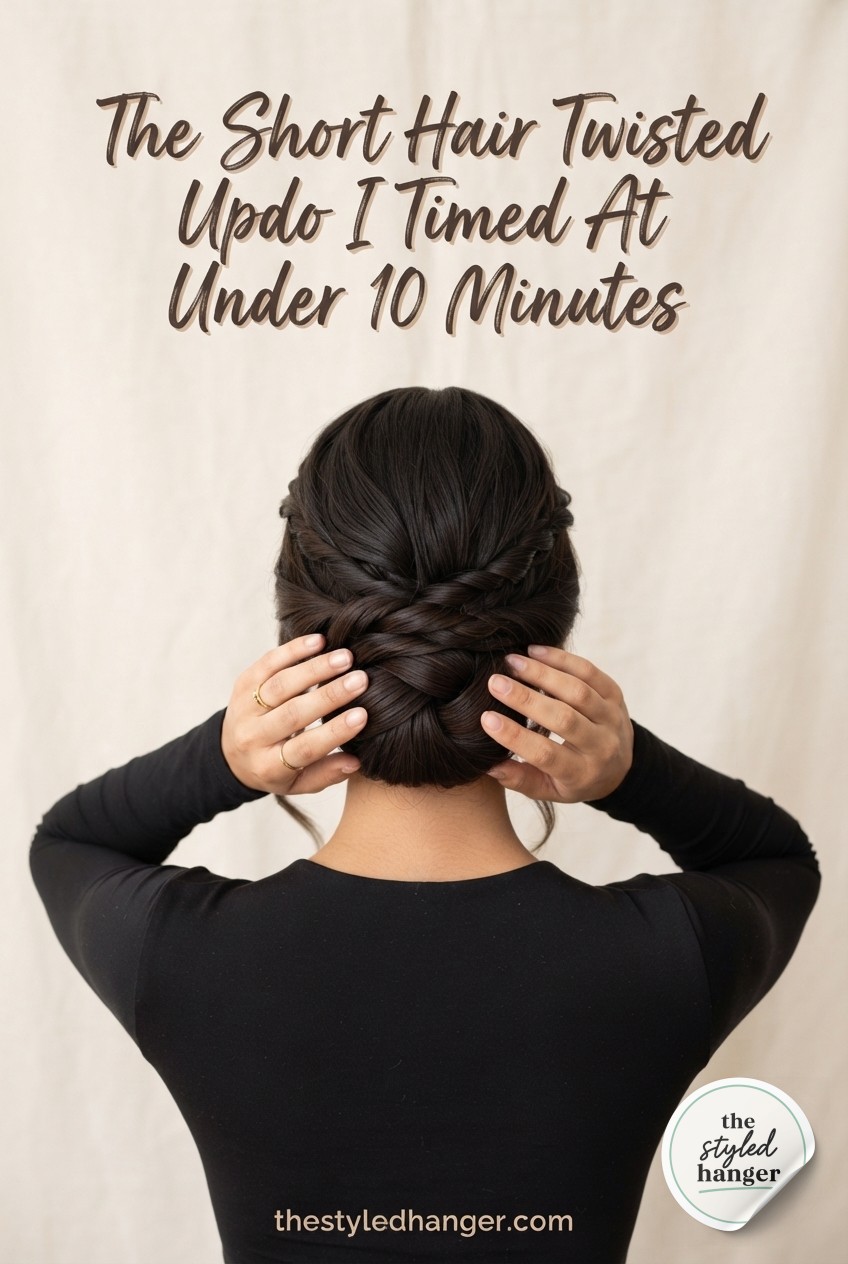
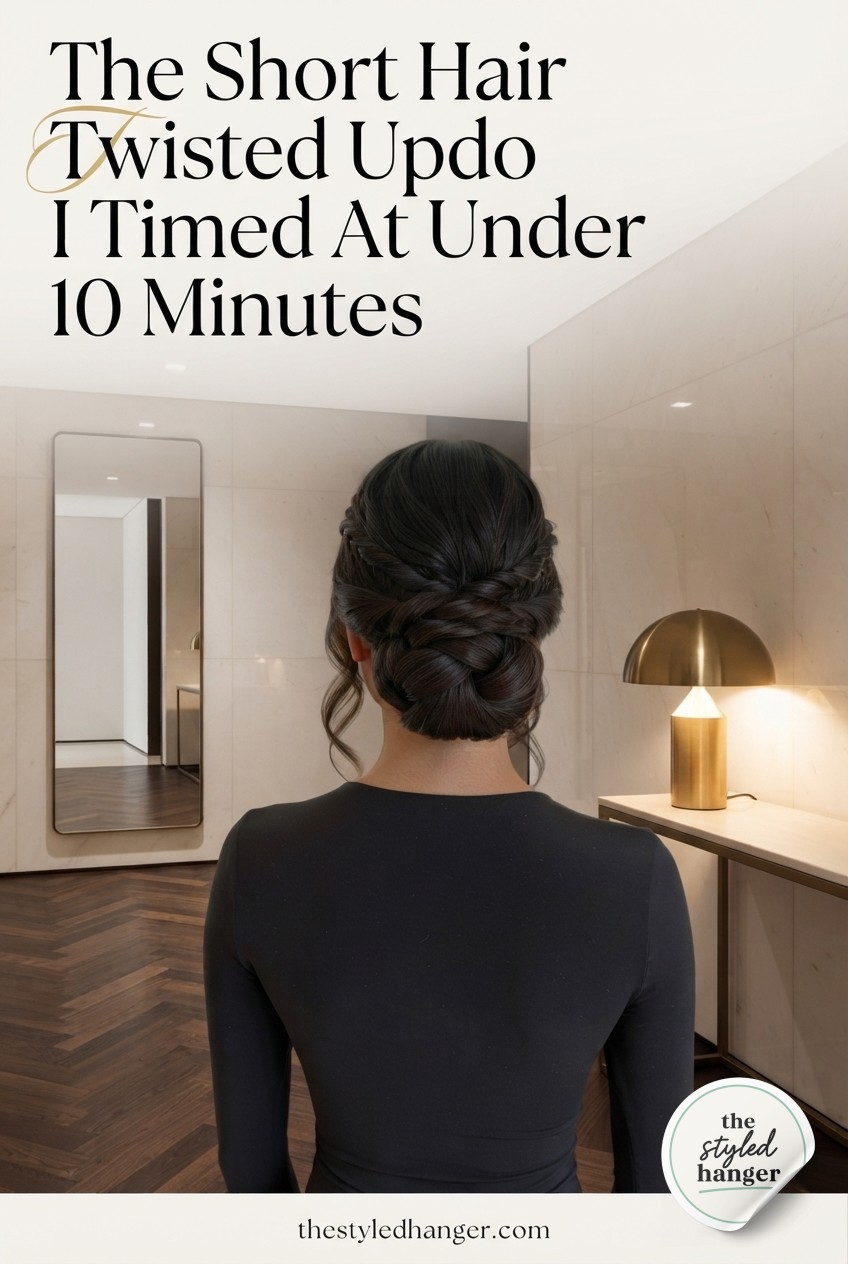
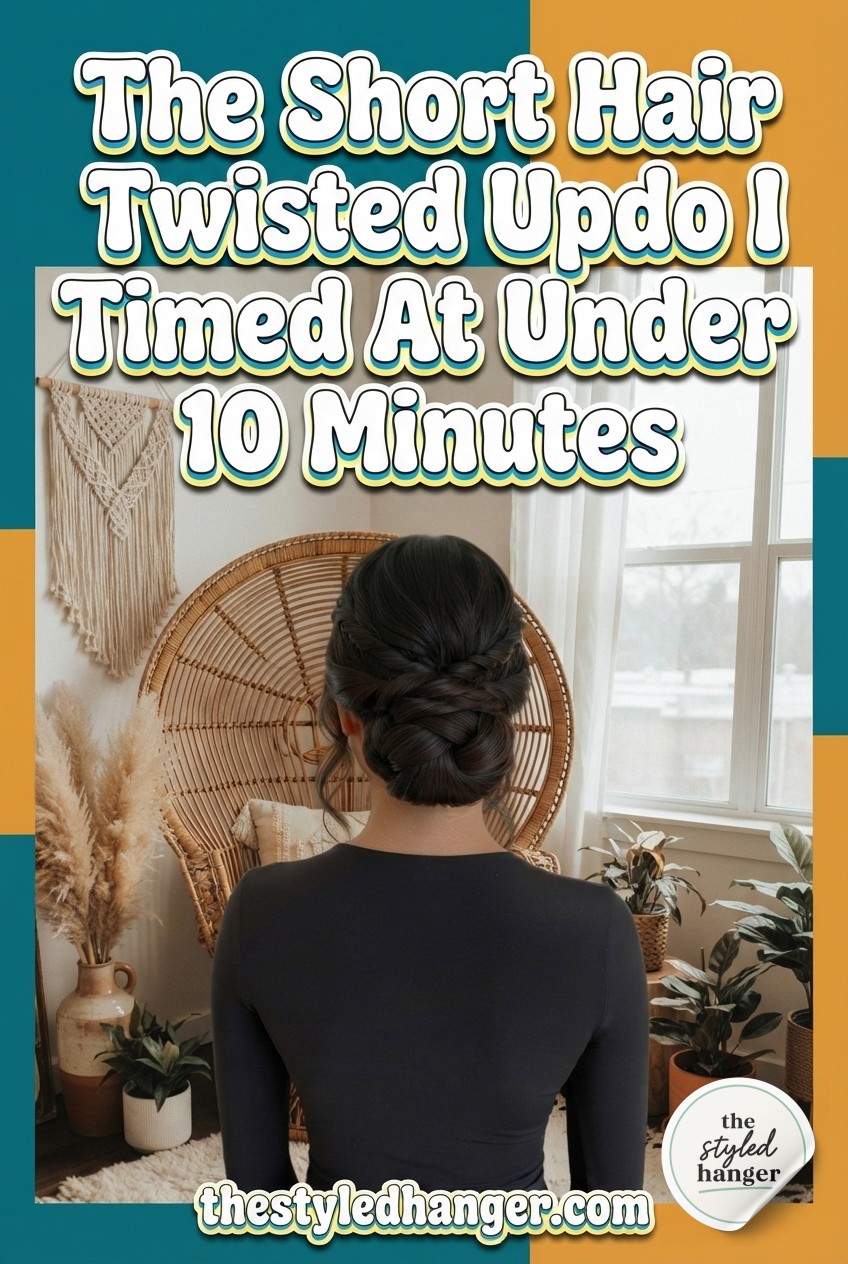
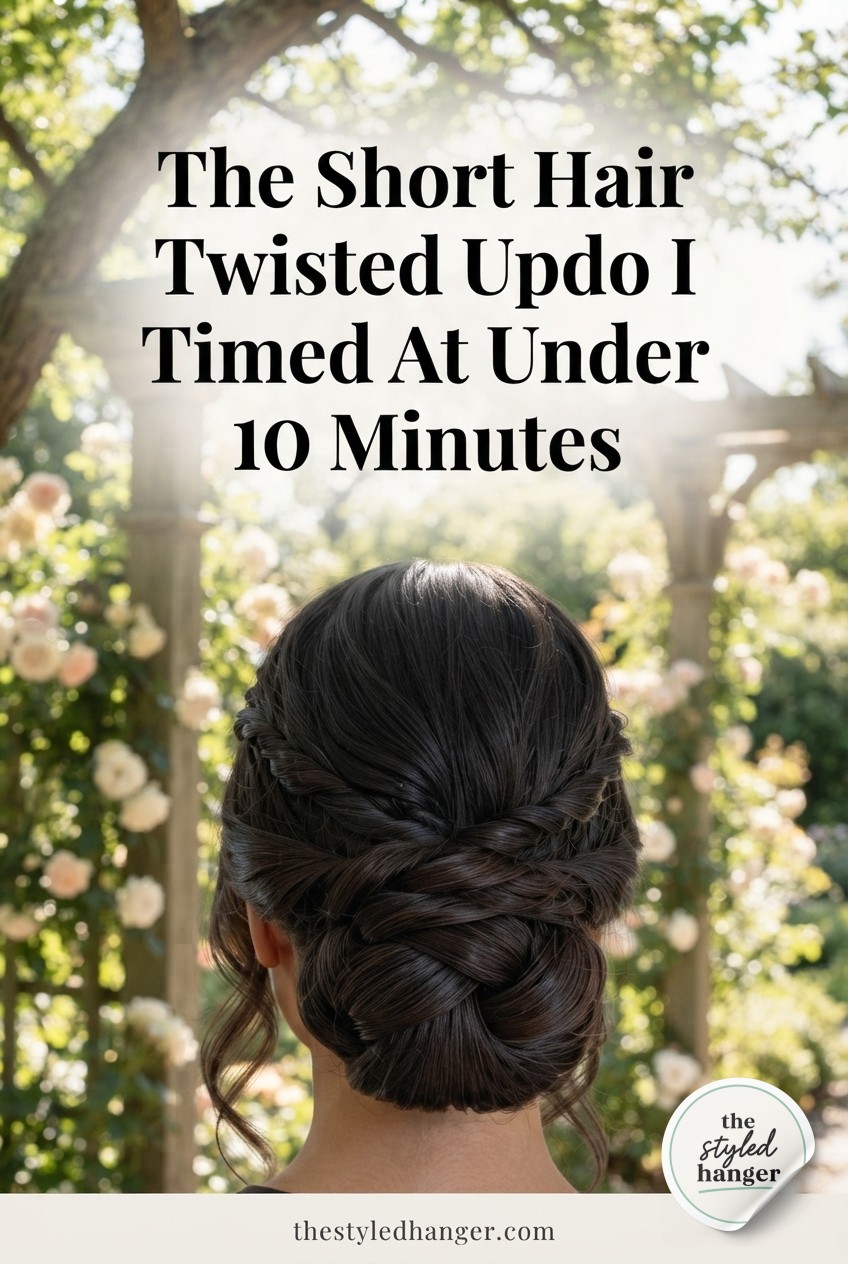
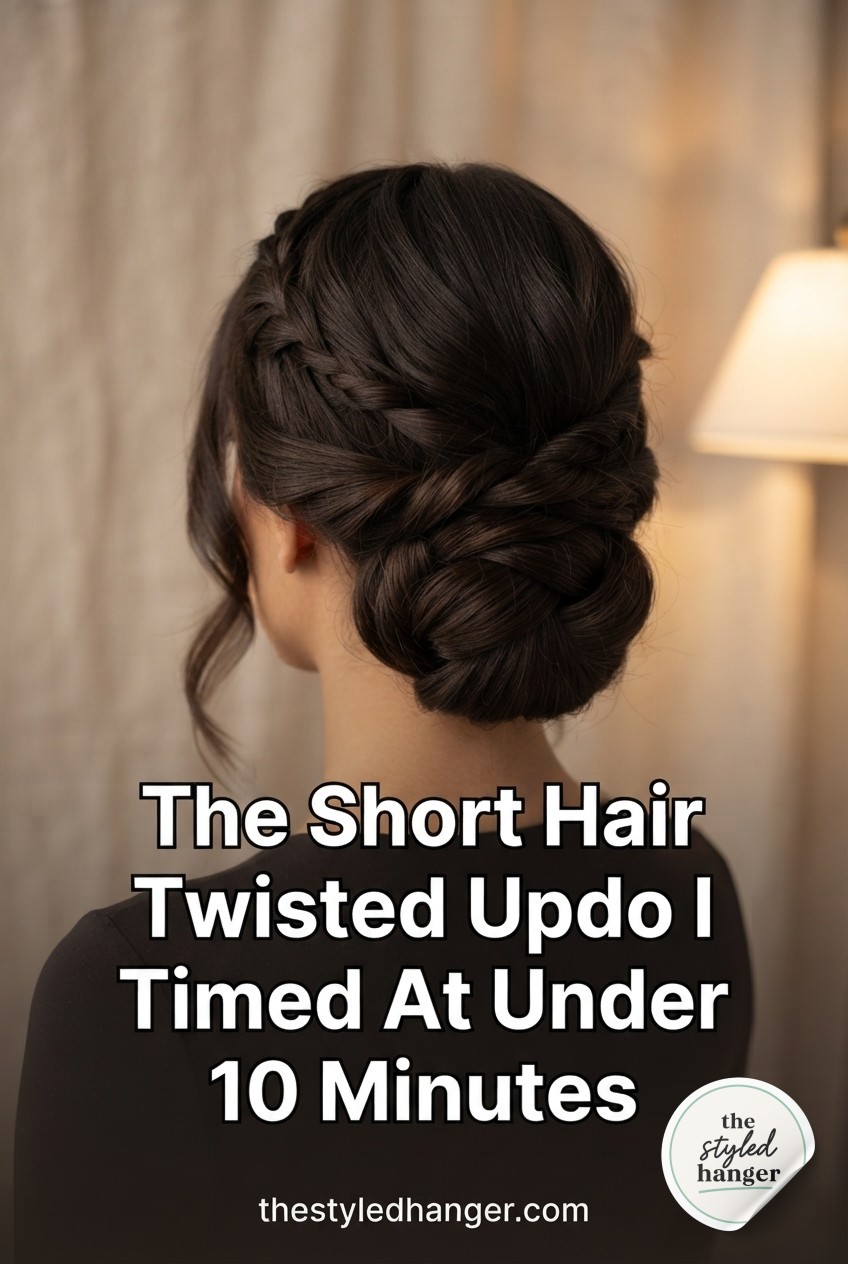
A few pumps of shine spray, a light smoothing with my palms over the surface, and a couple of face-framing pieces pulled loose at the temples — this is the finished short hair twisted updo, and I timed the whole process at just under ten minutes, start to finish. What I love in this last shot is how the twists read as one clean braided line from the front, while the back is all soft, knotted texture instead of a tight, obvious bun.
This is the version I'd wear to a wedding, a nice dinner, or honestly just because I washed my hair on Sunday and it's Wednesday and I want to feel put-together for about ten dollars in product I already own. It holds through a full day without a single stray pin showing, which — if you've ever had an updo collapse by hour three — you know is the whole ballgame.

- You'll Need


The Takeaway
Short hair truly is not the limitation we've been taught it is — it's just a different set of moves. Give yourself the ten minutes, embrace the slightly messy middle photos, and let the twists do the heavy lifting.
Go get dressed like you mean it,
Cami 🧷
Frequently Asked Questions
Will this work on hair shorter than shoulder-length, like a bob?
If your hair grazes your shoulders or is even a couple inches shorter, you can absolutely still twist the sides — just expect the low knot at the back to be smaller and looser, and lean on a few extra bobby pins to hold shorter ends in place.
What if my twists keep unraveling?
Nine times out of ten it's because the hair is too clean and slippery — a texturizing or dry shampoo spray before you start gives the twist something to grip, and I'd rather see day-old hair for this style than a fresh wash.
Do I need a specific type of bobby pin?
Just match the pin color to your hair as closely as you can and insert it wave-side down for grip — that's it, no special tools required.