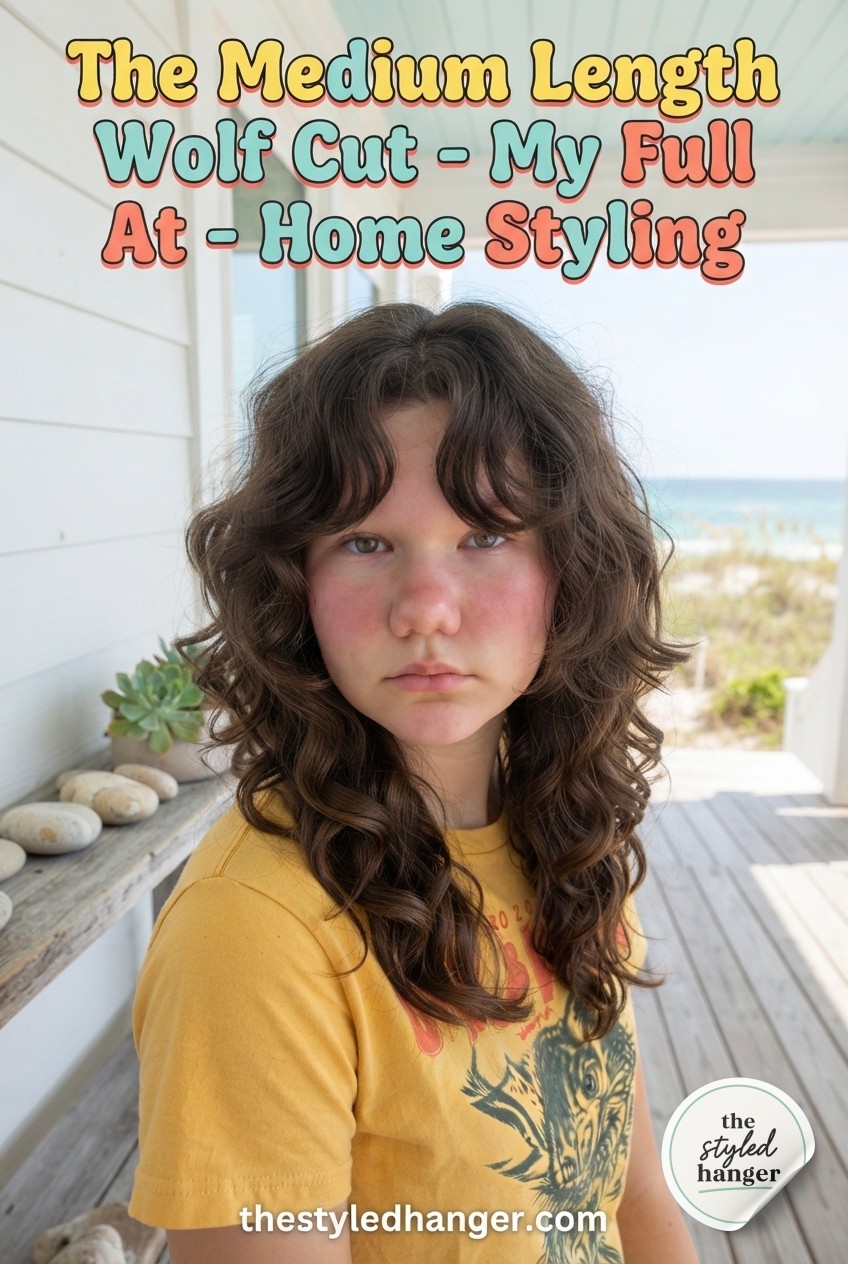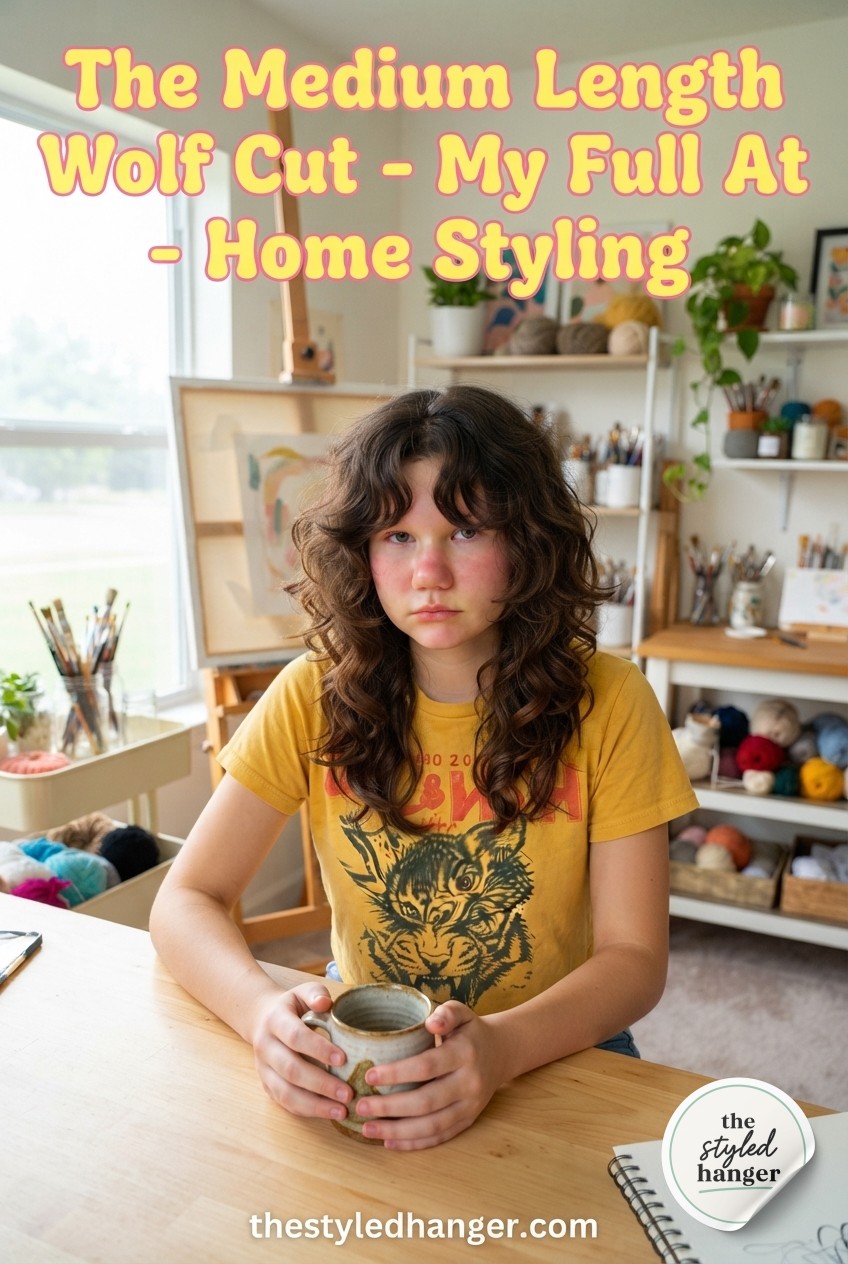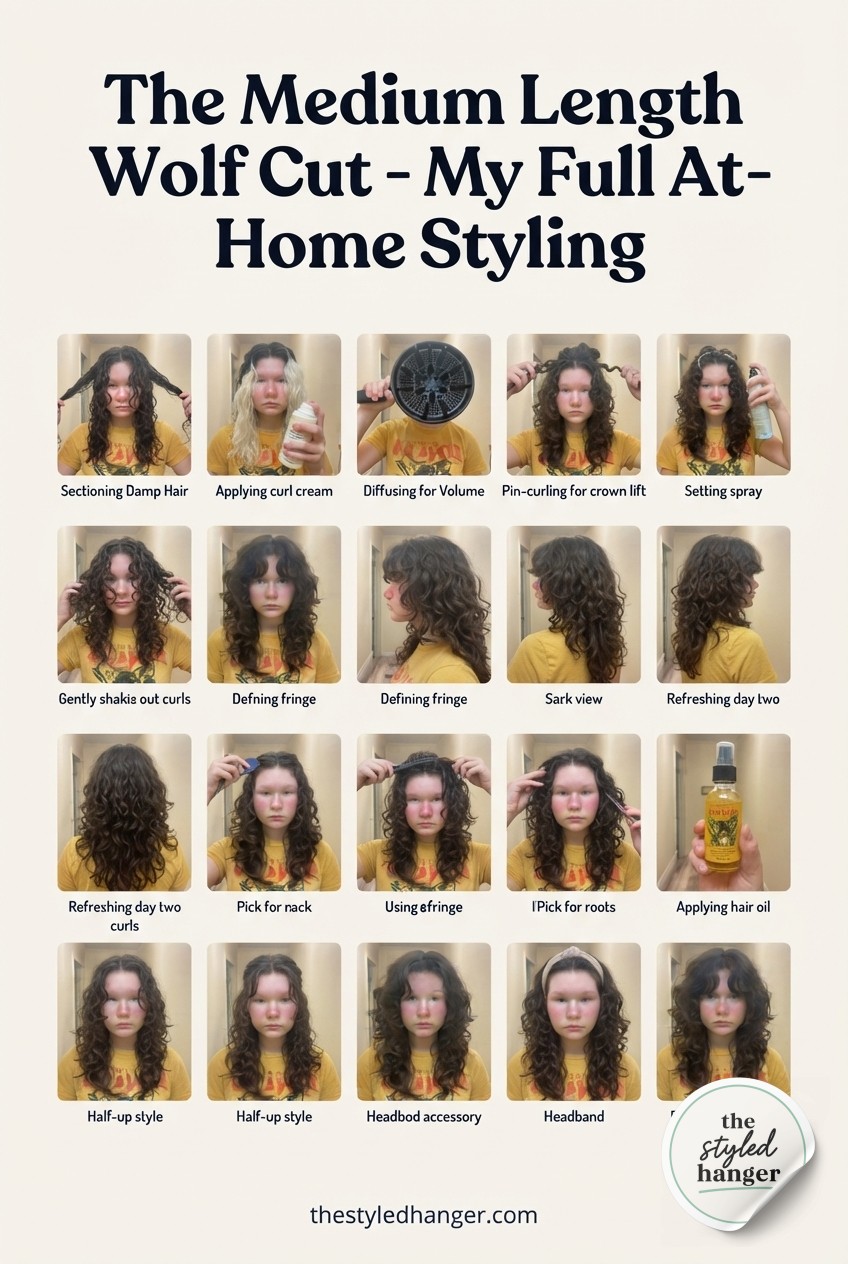
I've been low-key obsessed with the wolf cut since it crossed my feed for the hundredth time, but every tutorial I found skipped straight to the finished, bouncy result — no wet hair, no half-done chaos, no honesty. So I filmed myself in my actual hallway, starting from towel-dried and flat, and didn't cut a single awkward step. This is the real timeline, tools included, mistakes and all.
Starting From Soaking Wet
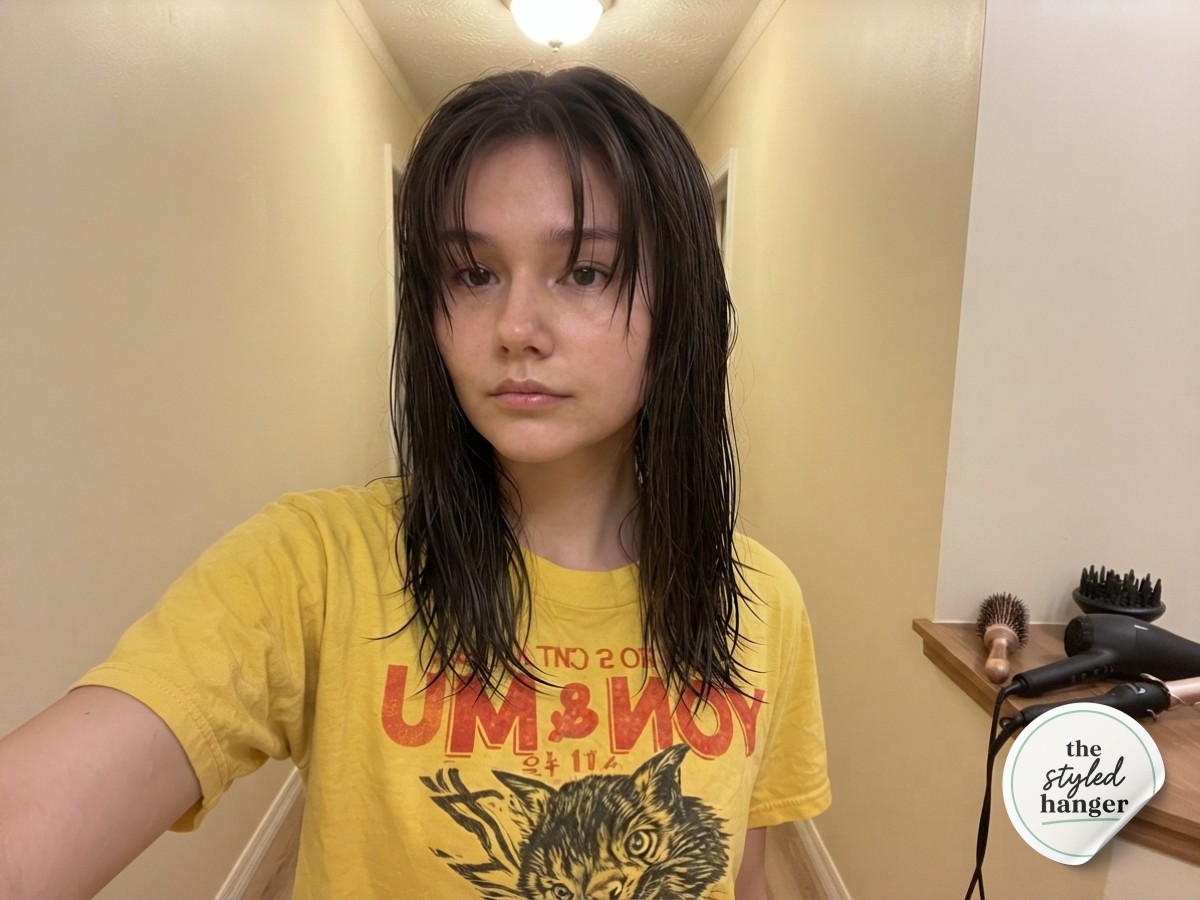
Every good hair tutorial has to start here: damp, flat, no product, no illusions. My hair is naturally straight with a slight wave at the ends, medium length brown, and fresh out of a towel-dry — you can see it clinging a little at the roots and going stick-straight everywhere else.
This is the stage nobody photographs because it's not cute, but it matters. A wolf cut lives or dies on how you build volume and texture from the very first step, and you genuinely cannot skip prepping wet hair correctly. I towel-dried until it stopped dripping but was still noticeably damp — that's your window for product to actually absorb instead of just sitting on top.
Prepping the Canvas With Mousse
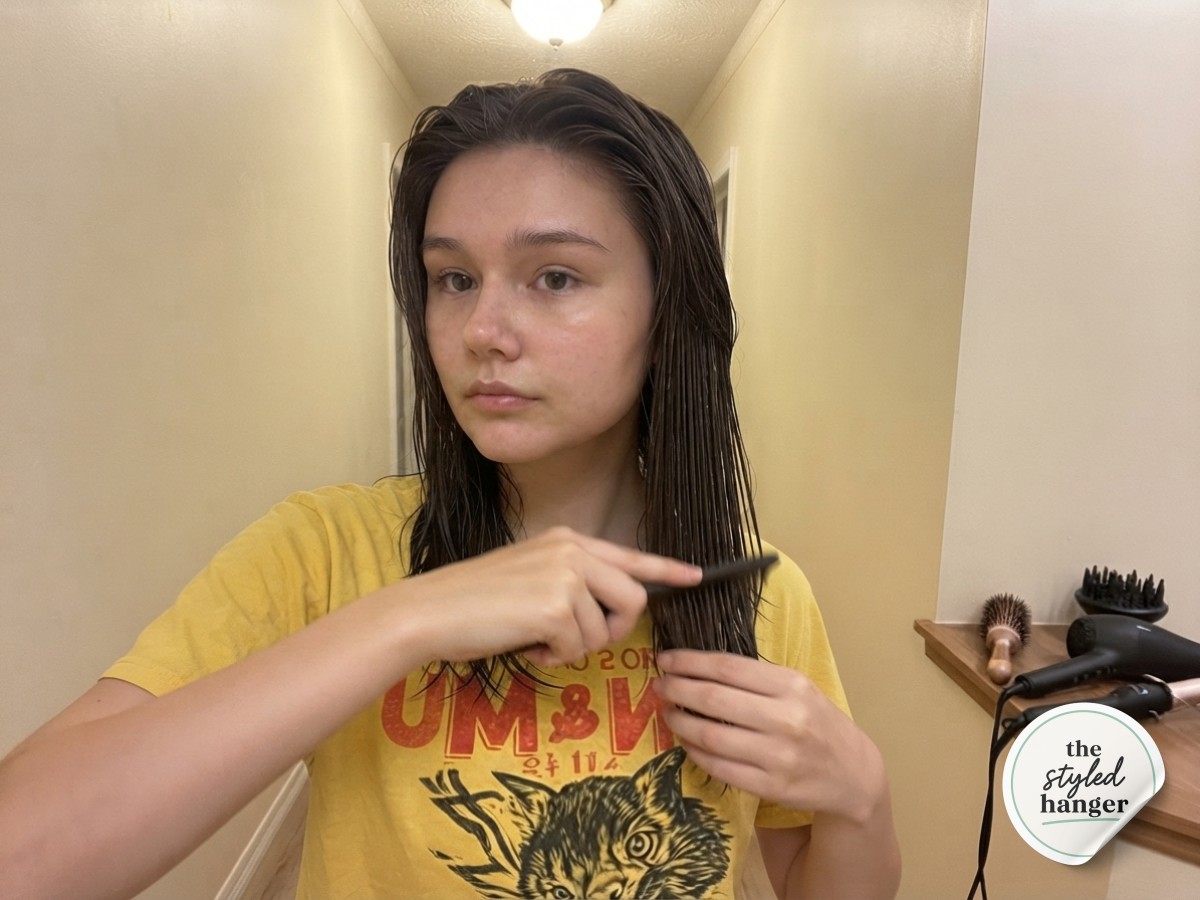
A dime-size amount of volumizing mousse, combed through mid-lengths and ends with my fingers, not a brush — brushes at this stage just create static and breakage. I pushed my bangs back off my face so I could see what I was working with before deciding how to frame them later.
- Product placement matters more than product amount. Roots get almost none (mousse there just weighs volume down).
- Mid-lengths and ends get the bulk of it — that's where the wolf cut's shaggy texture actually gets built.
- Comb, don't brush, while hair is this wet, or you'll rough up the cuticle before you've even started drying.
Lifting the Crown for Real Volume
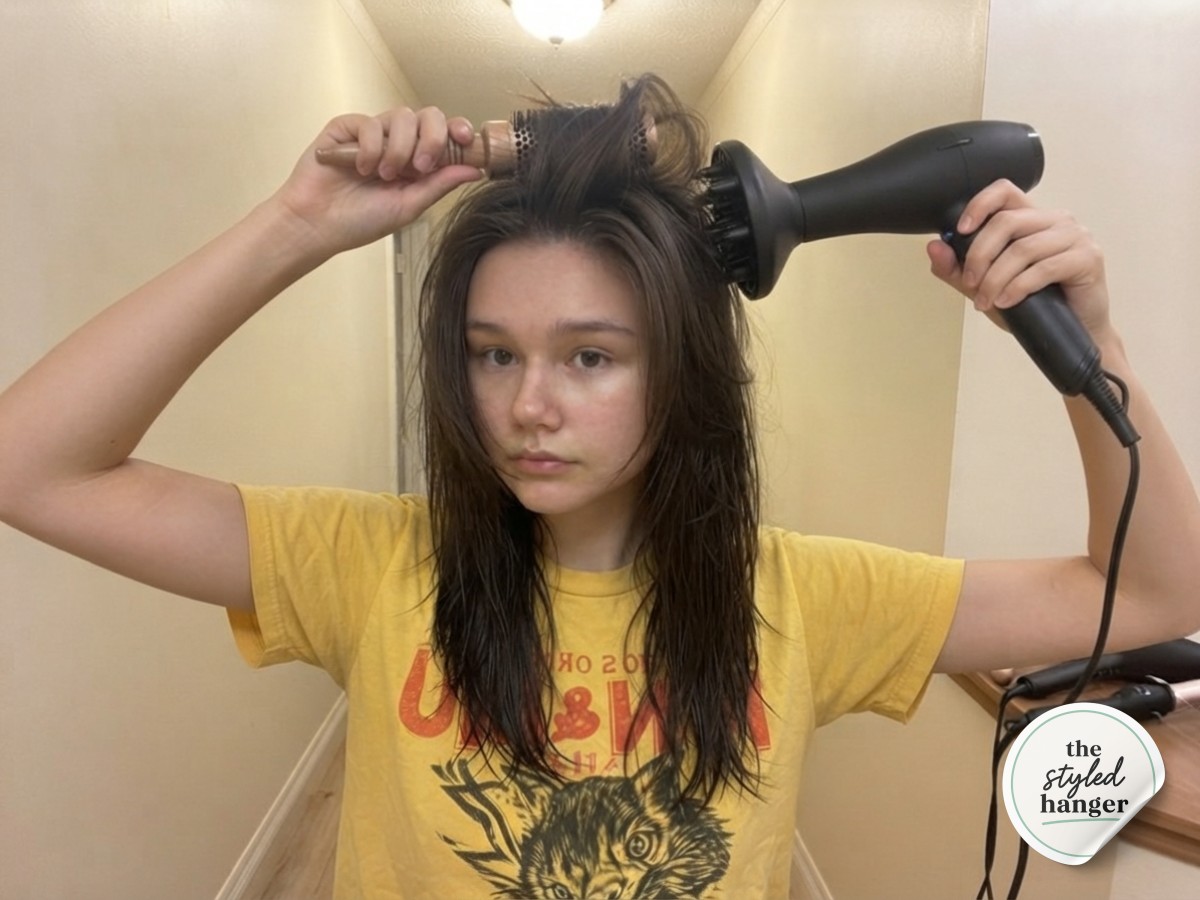
Round brush, diffuser, roots first
This is where the wolf cut starts separating itself from a regular shag — the crown volume has to happen before anything else. I sectioned off the top and blow-dried it upward and back with a round brush and a diffuser attachment, lifting the roots away from my scalp instead of down against it.
The lower lengths are still damp and undone in this shot on purpose. I'm not trying to dry the whole head evenly right now; I'm building a foundation of lift at the crown that the rest of the style gets layered onto. If you skip straight to curling wet ends without doing this step, you end up with waves but no height — flat on top, curly at the bottom, which reads more '90s perm than wolf cut.
Curtain Bangs, the Make-or-Break Detail
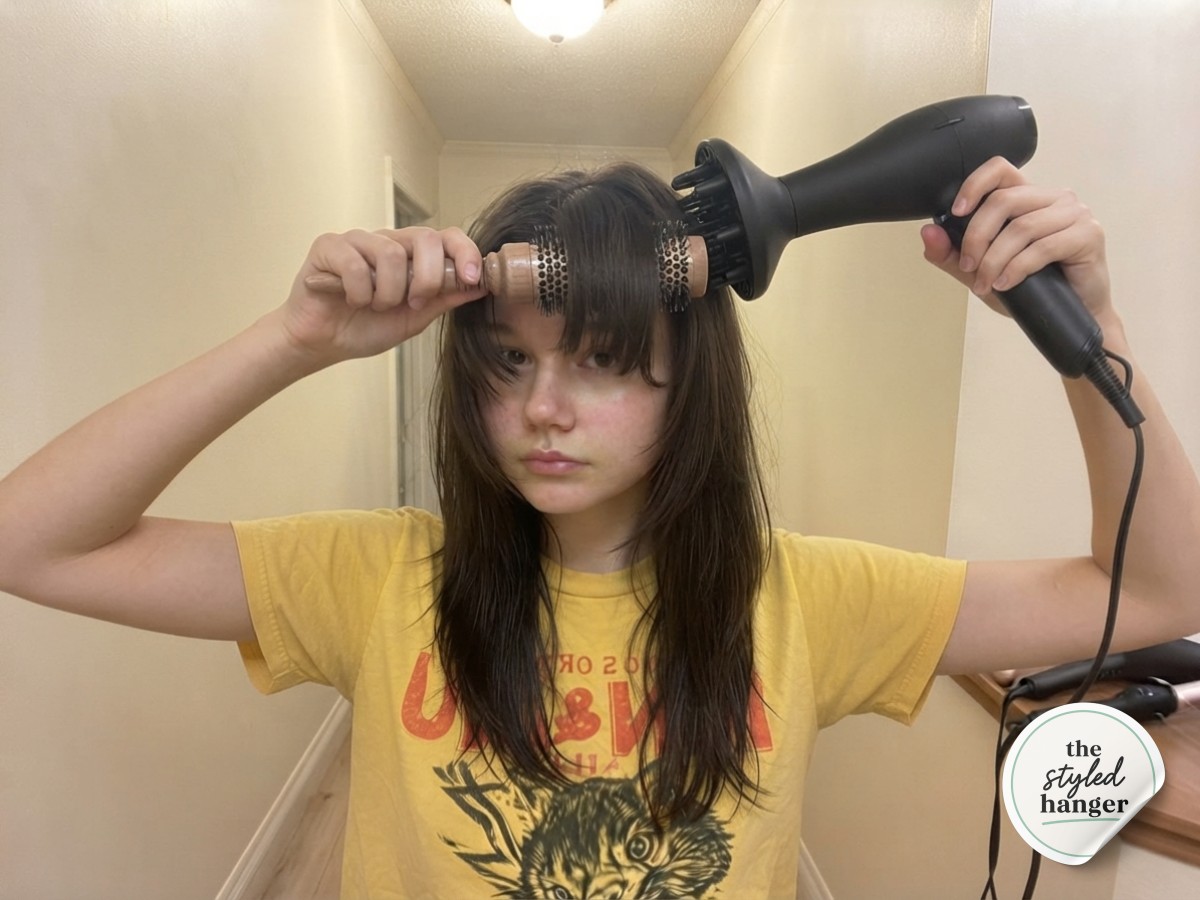
If the crown is the wolf cut's engine, the curtain bangs are its face — this is the detail that makes the whole style read as intentional instead of just messy layers. I sectioned the front pieces forward and used a small round brush to curve them around my face while blow-drying, rotating the brush under and out.
A stylist once told me curtain bangs should frame your face like they're 'introducing' you, not hiding you — curve them away from your features, never straight down over them.
The rest of my hair stayed loose and unstyled behind me while I focused entirely on this section, because bangs dry fast and lose their shape if you rush them alongside everything else.
Wand Work, Wave by Wave
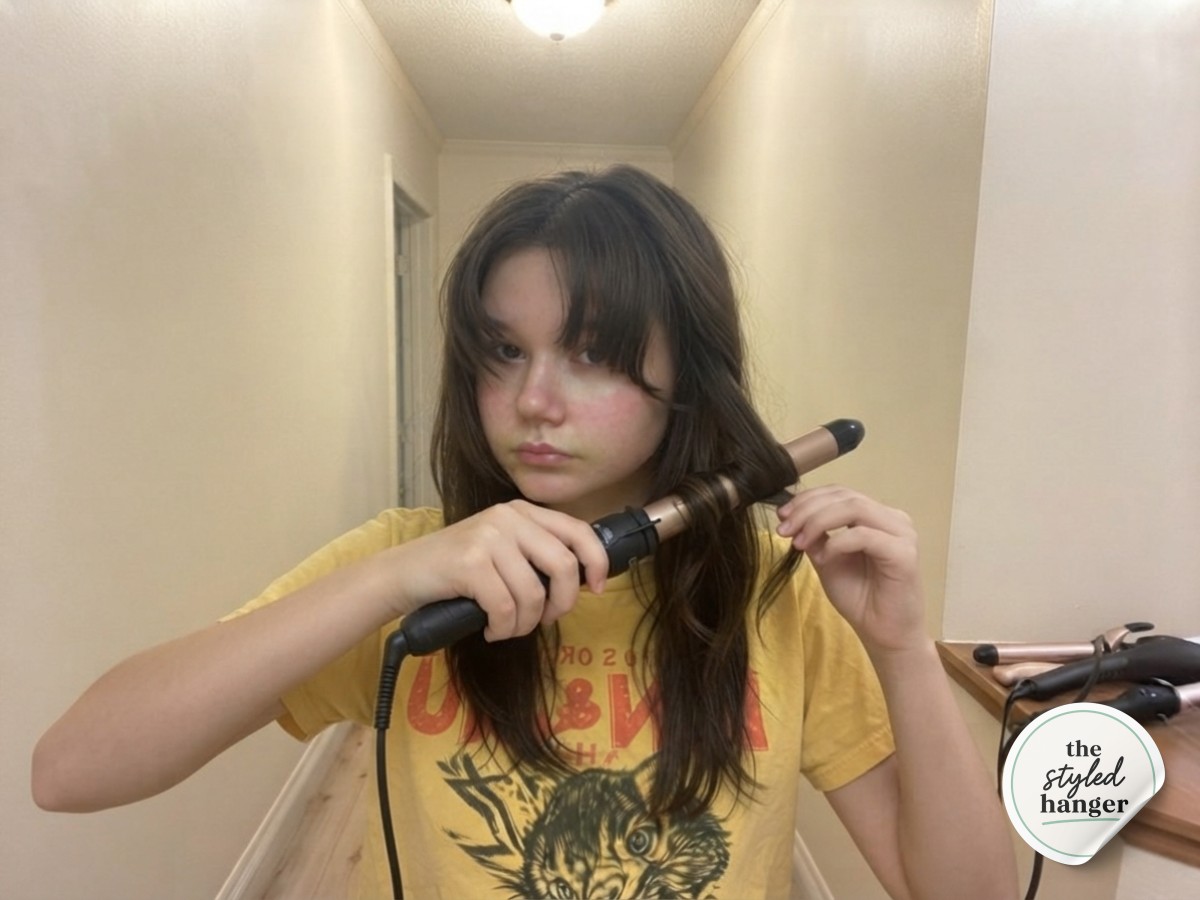
Once the top and bangs were dry, I moved to a 1-inch curling wand for the mid-lengths and ends — the layered part of the wolf cut that actually gives it that tousled, movement-heavy silhouette. Working in sections about an inch and a half wide, I alternated the direction of the wave (away from my face, then toward it, then away again) instead of curling everything the same way.
That direction-switching is the whole secret. Uniform curls read like a blowout; alternating ones read like the wolf cut's signature undone texture. Each section got about 8-10 seconds on the barrel — any longer and the wave tightens into a ringlet, which fights the whole shaggy vibe I was going for.
The Half-and-Half Reality Check
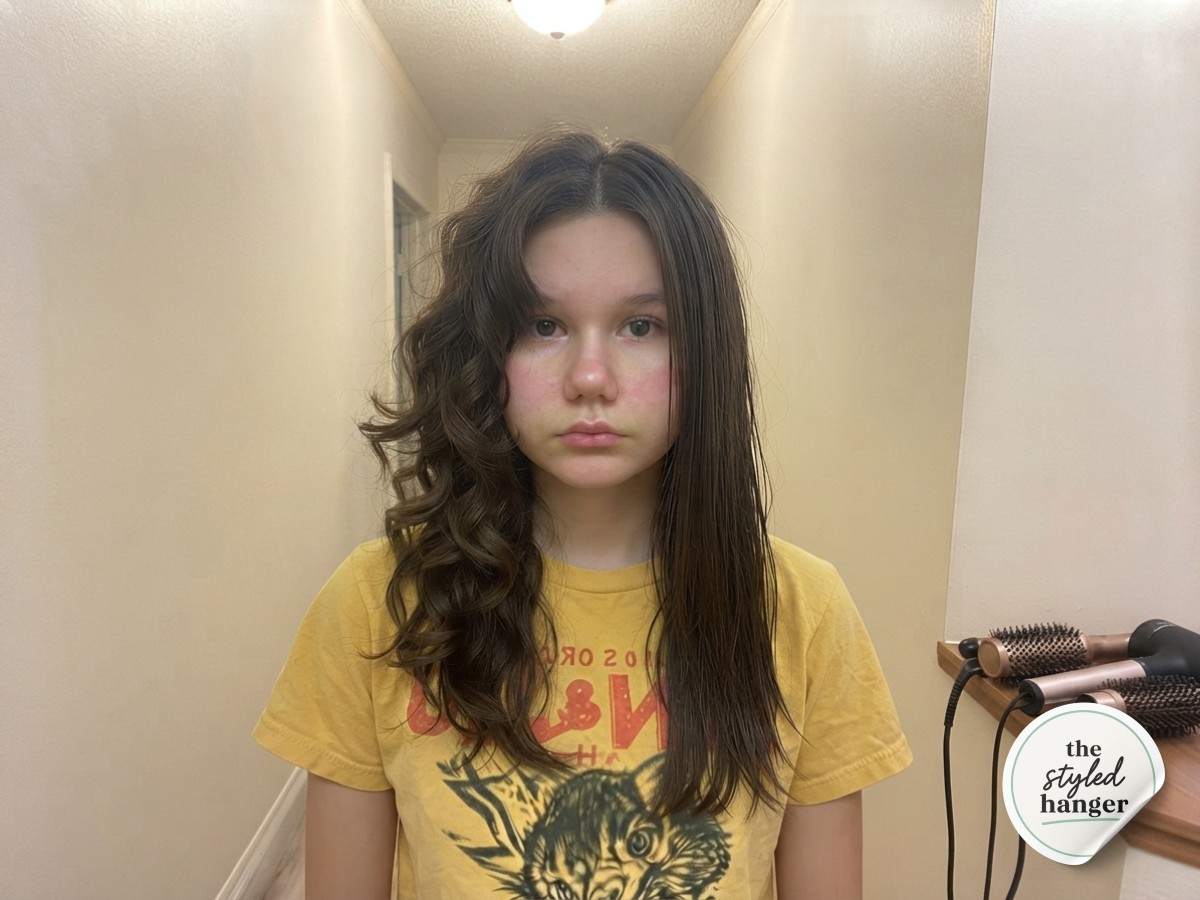
Okay, I'm showing you this one because it's real and it's kind of funny — one full side of my head is wavy and full, the other is still hanging there stick-straight like nothing has happened to it yet. This is the exact midpoint of curling, and it's the photo that makes the transformation land.
- Work in halves, not randomly, so you always know which sections are done.
- Don't panic at the in-between stage — it looks lopsided because it is, temporarily.
- Keep your wand hot and ready between sections so the curl set is consistent side to side.
Rescue tip: if you lose track of which pieces you've curled (I have, many times), run your fingers through — done sections spring back with texture, undone ones fall flat immediately.
Breaking Up the Curl and Sealing the Texture
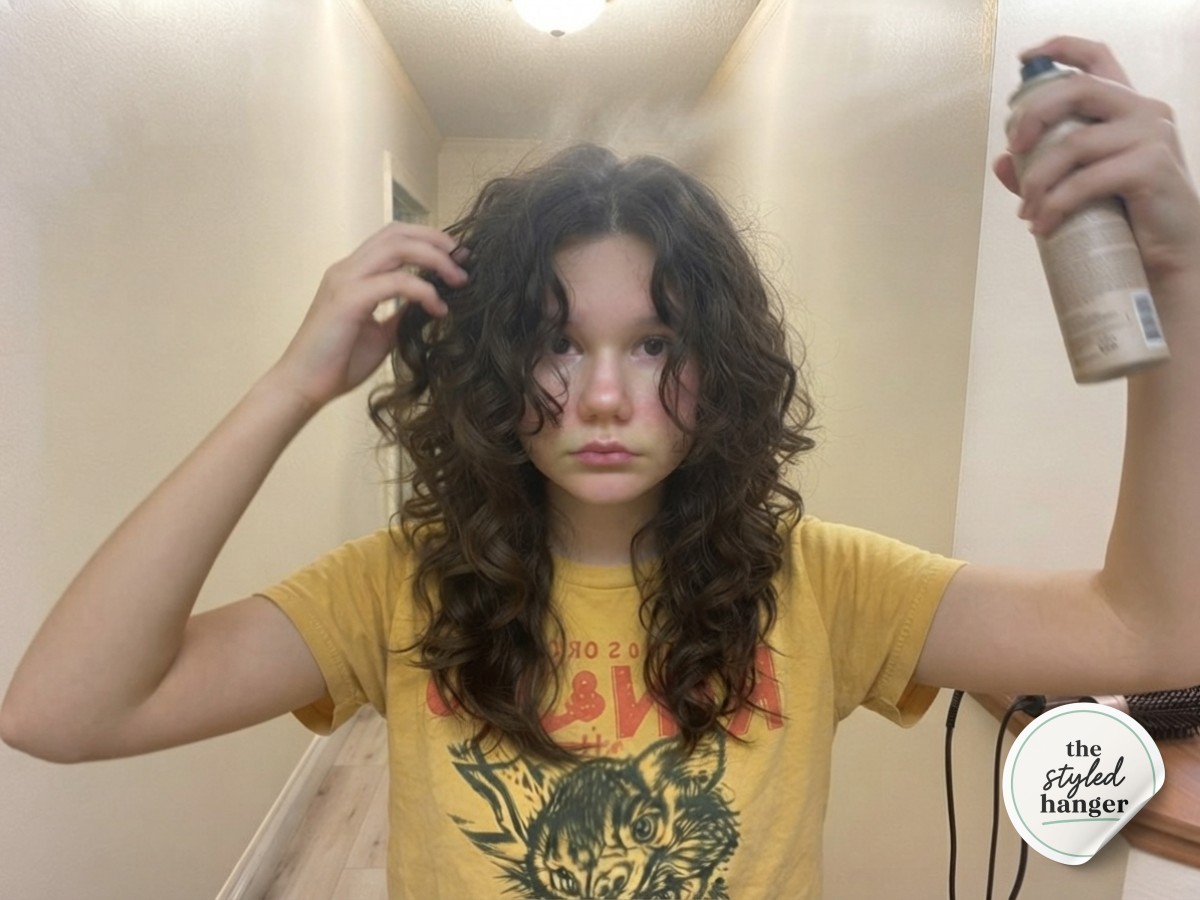
Fresh curls look a little too polished for a wolf cut — almost pageant-ready, honestly — so once every section was wrapped, I raked my fingers straight through the waves to loosen and separate them. This softens the curl pattern into something looser and more lived-in.
Then I misted a texturizing spray over the crown specifically, not the ends, tipping my head slightly and scrunching at the roots as I sprayed. That crown texture is what keeps the volume from all my earlier round-brush work standing up through the rest of the day instead of collapsing under the weight of the curls below it.
The Finished Wolf Cut
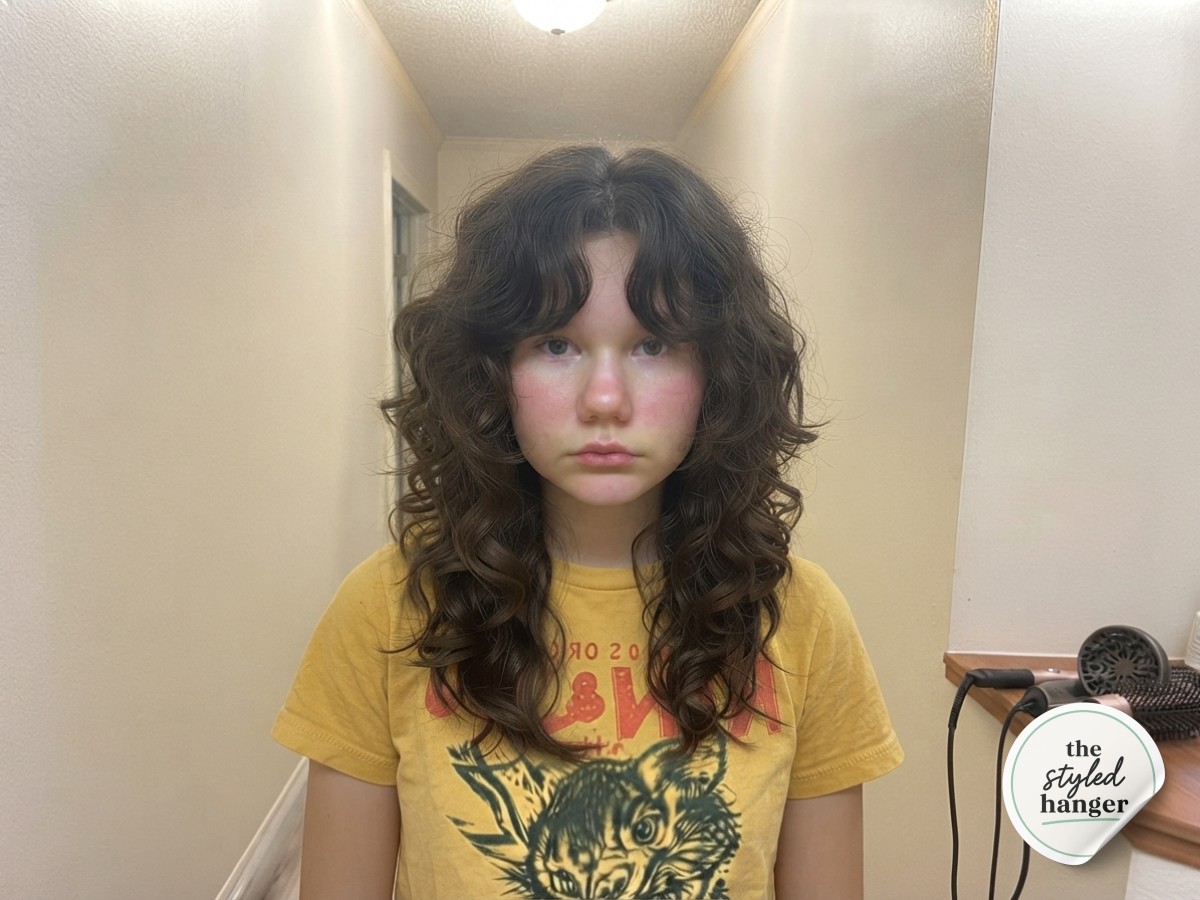
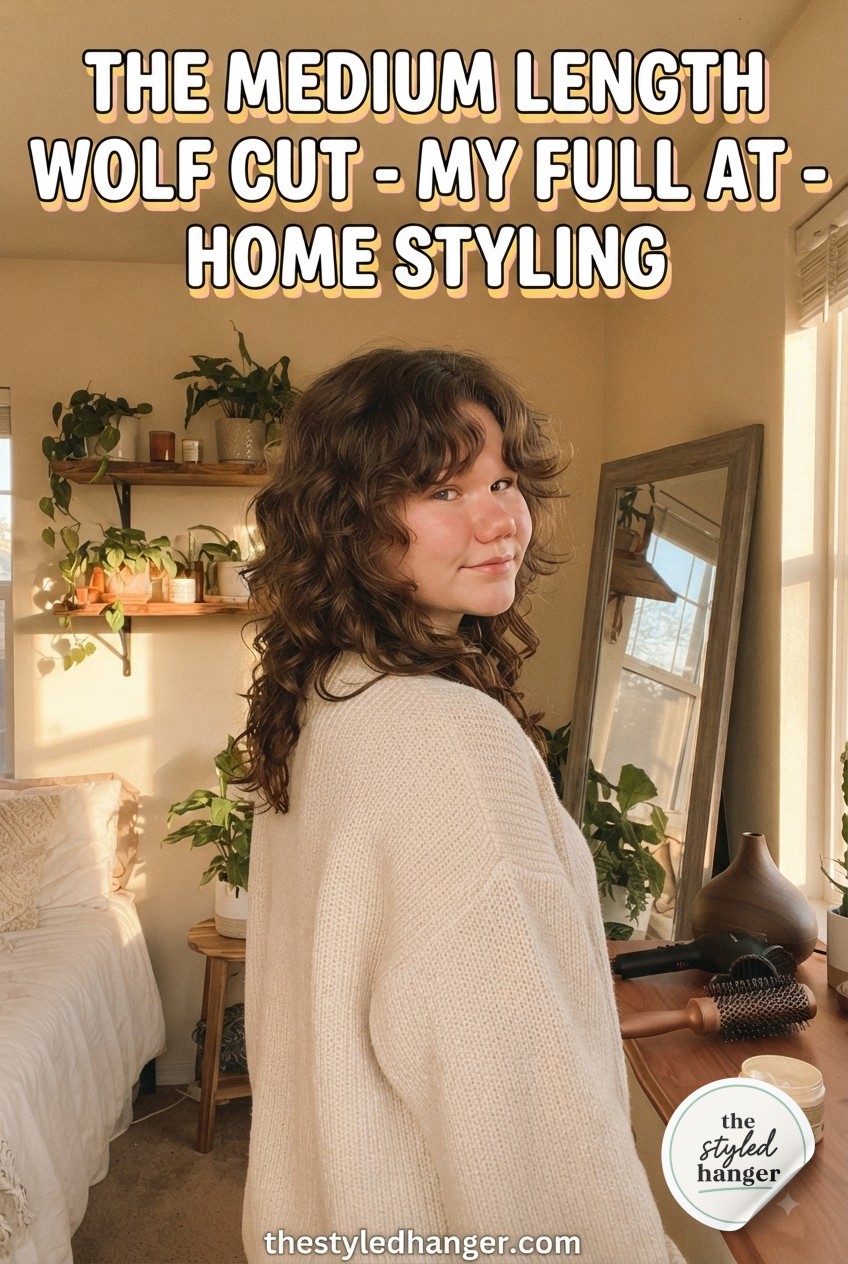
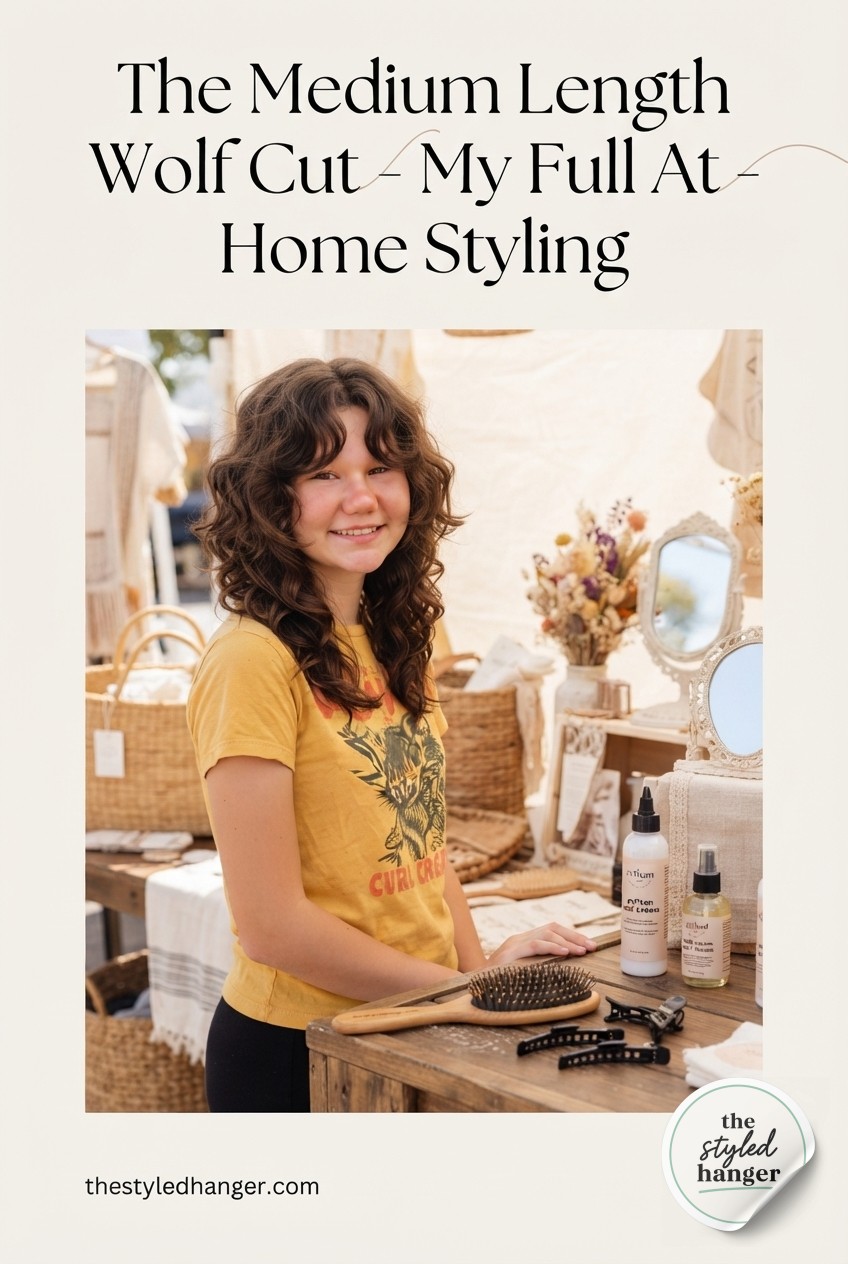
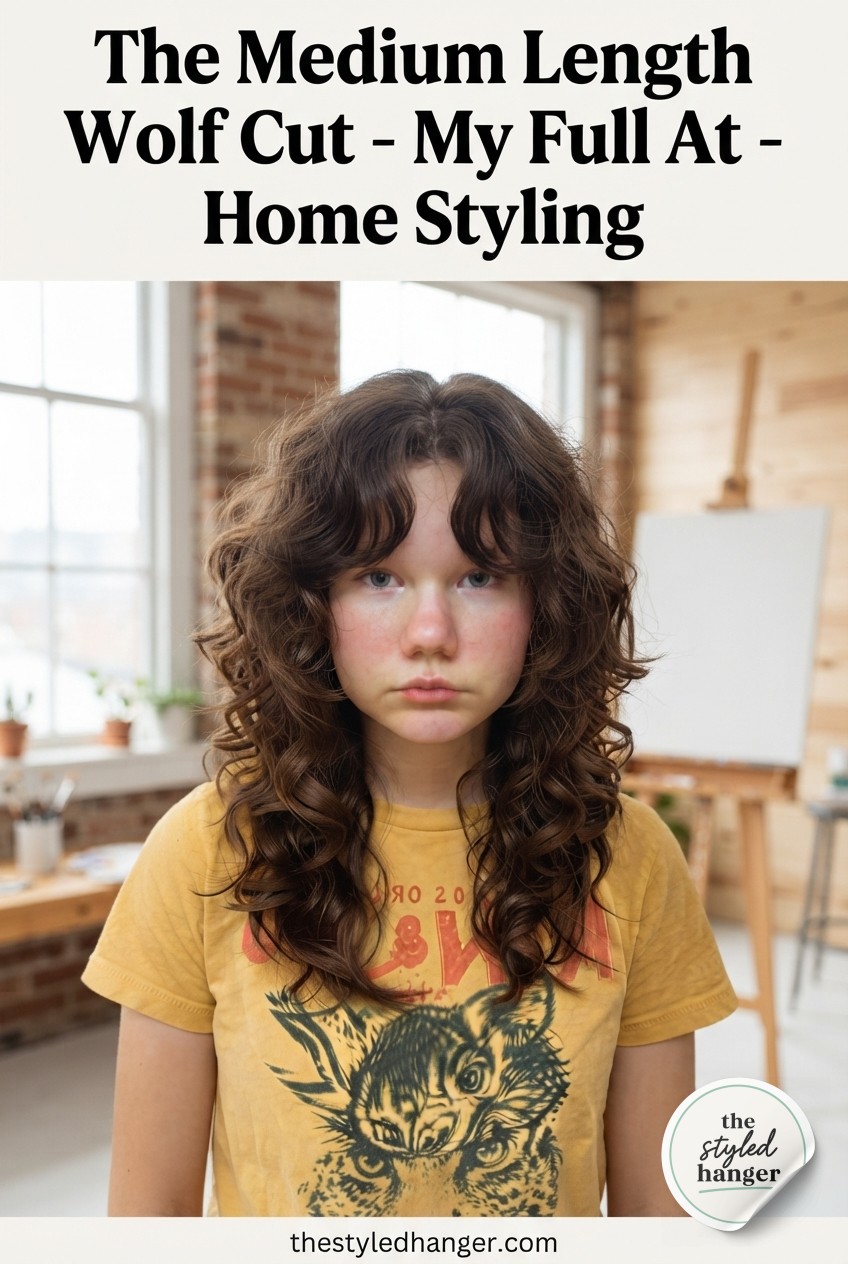
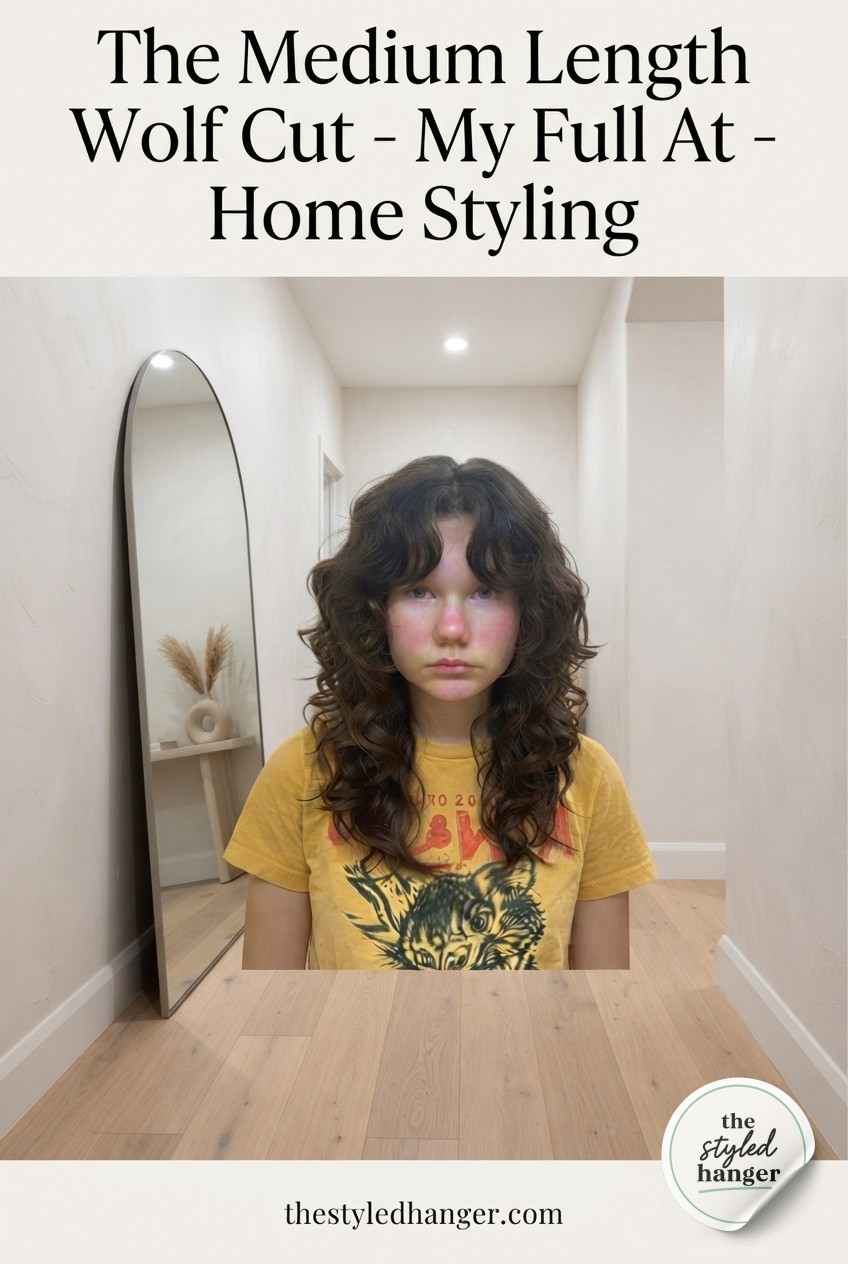
And here it is — the payoff. Voluminous, layered waves through the mid-lengths, soft curtain bangs curving around my face instead of sitting flat against it, and that shaggy, piece-y texture at the ends that makes a wolf cut look effortless even though it very much was not.
Standing in that same cream hallway I started in, damp and flat an hour earlier, is honestly the most satisfying before-and-after I've documented on this blog. This is a 35-minute style once you're set up — I timed it — and every stage in between was worth photographing because none of it is a straight line from wet hair to finished waves.

- Tools
- Products

Wrapping Up
This style rewards patience more than skill — the half-curled photo proves it looks worse before it looks better, and that's exactly the point. If your wolf cut is somewhere between towel-dried chaos and the finished shot right now, you're doing it right.
Frequently Asked Questions
How long does styling a medium length wolf cut actually take at home?
I timed my full process at 35 active minutes once my hair was towel-dried, from mousse through the final texture spray. Add another 5-10 minutes if your hair is thicker or you're newer to the round brush and diffuser combo.
Do I need a specific cut to style a wolf cut this way, or can I DIY it on my existing layers?
This tutorial covers styling, not cutting — I'm not a licensed stylist, so I'd always send you to a pro for the actual haircut and layer placement. Once you have wolf cut layers, though, this routine works to style them at home.
What if my hair doesn't hold curl as well as it does in the photos?
Make sure your crown section is fully dry before curling the ends — damp roots under finished curls is the number one reason waves fall flat by midday. A light-hold texturizing spray at the root also helps curls grip longer.