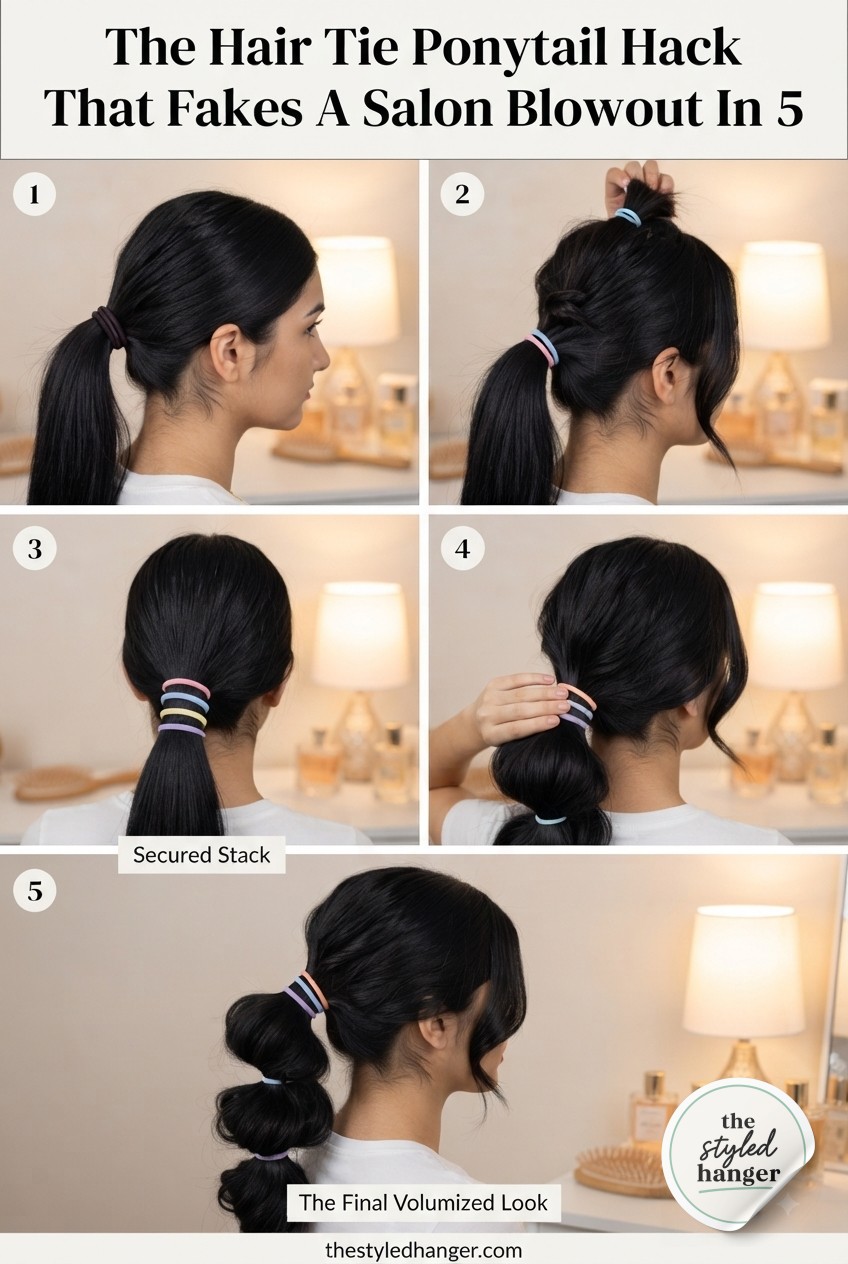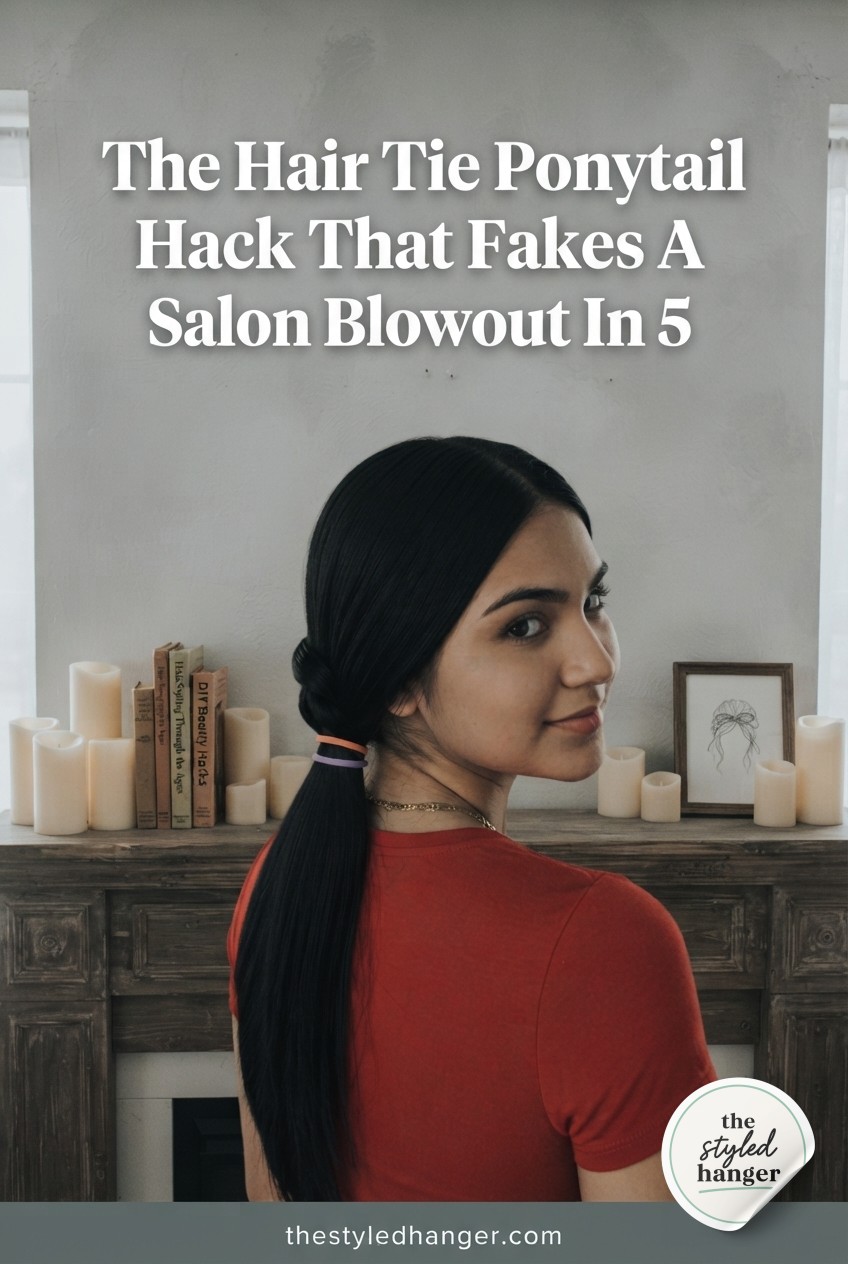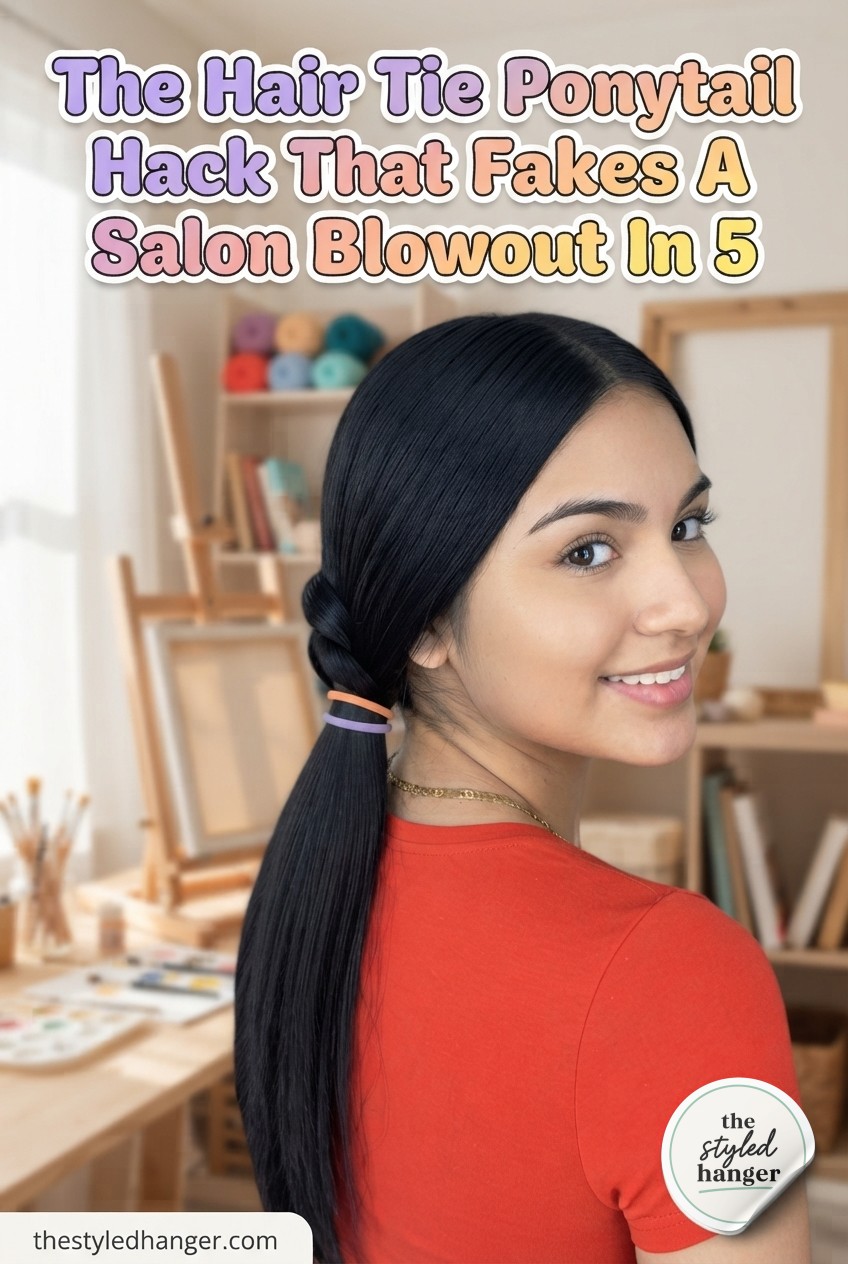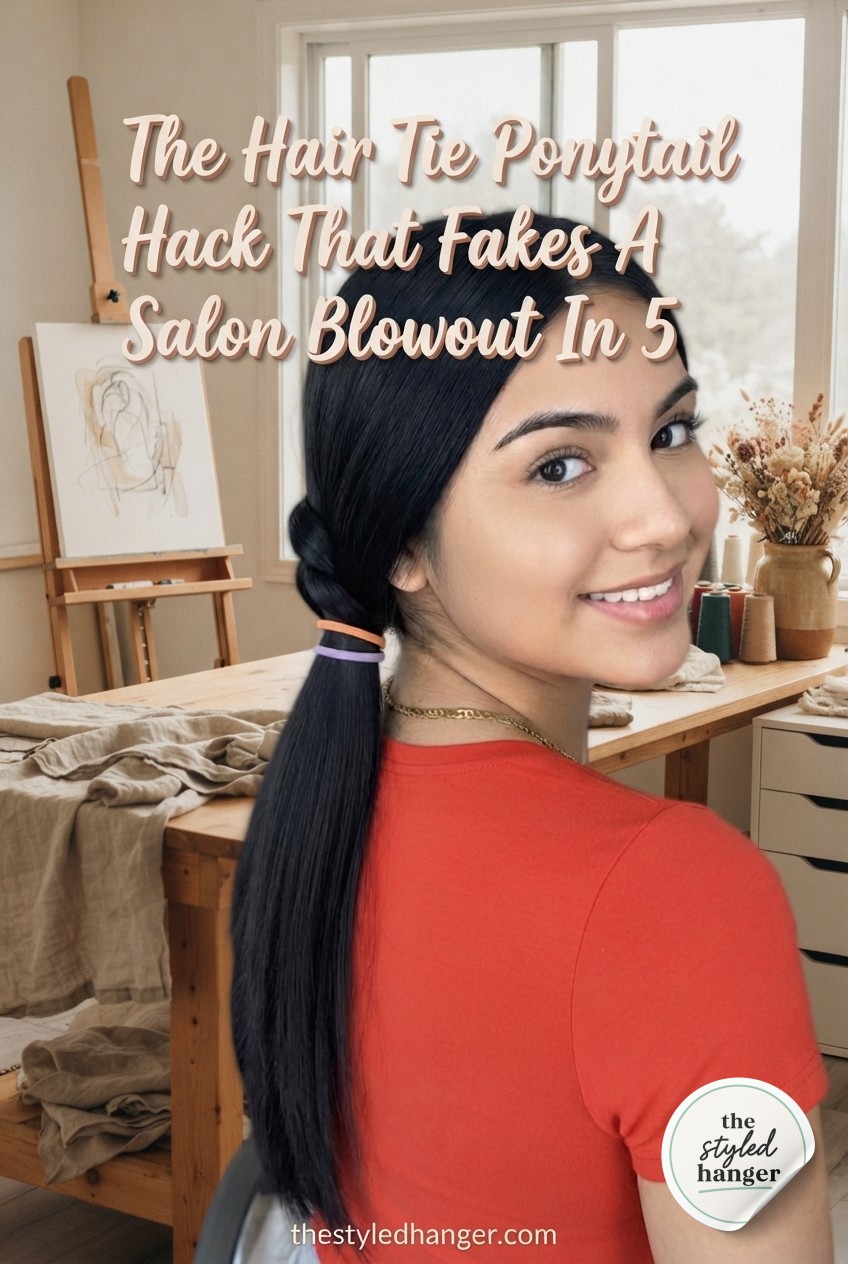
I found this hair tie ponytail hack on a random Tuesday when I was already running late for a client call, and it has since replaced every 'fancy' low ponytail I used to fake with a curling iron. All it takes is two hair ties — contrasting colors, on purpose — a low gather, and one sneaky tuck that makes it look like you knotted your hair instead of just tying it. I timed myself doing this exact look for these photos: four minutes, start to smiling-at-the-camera finish.
The Only Two Things You Need
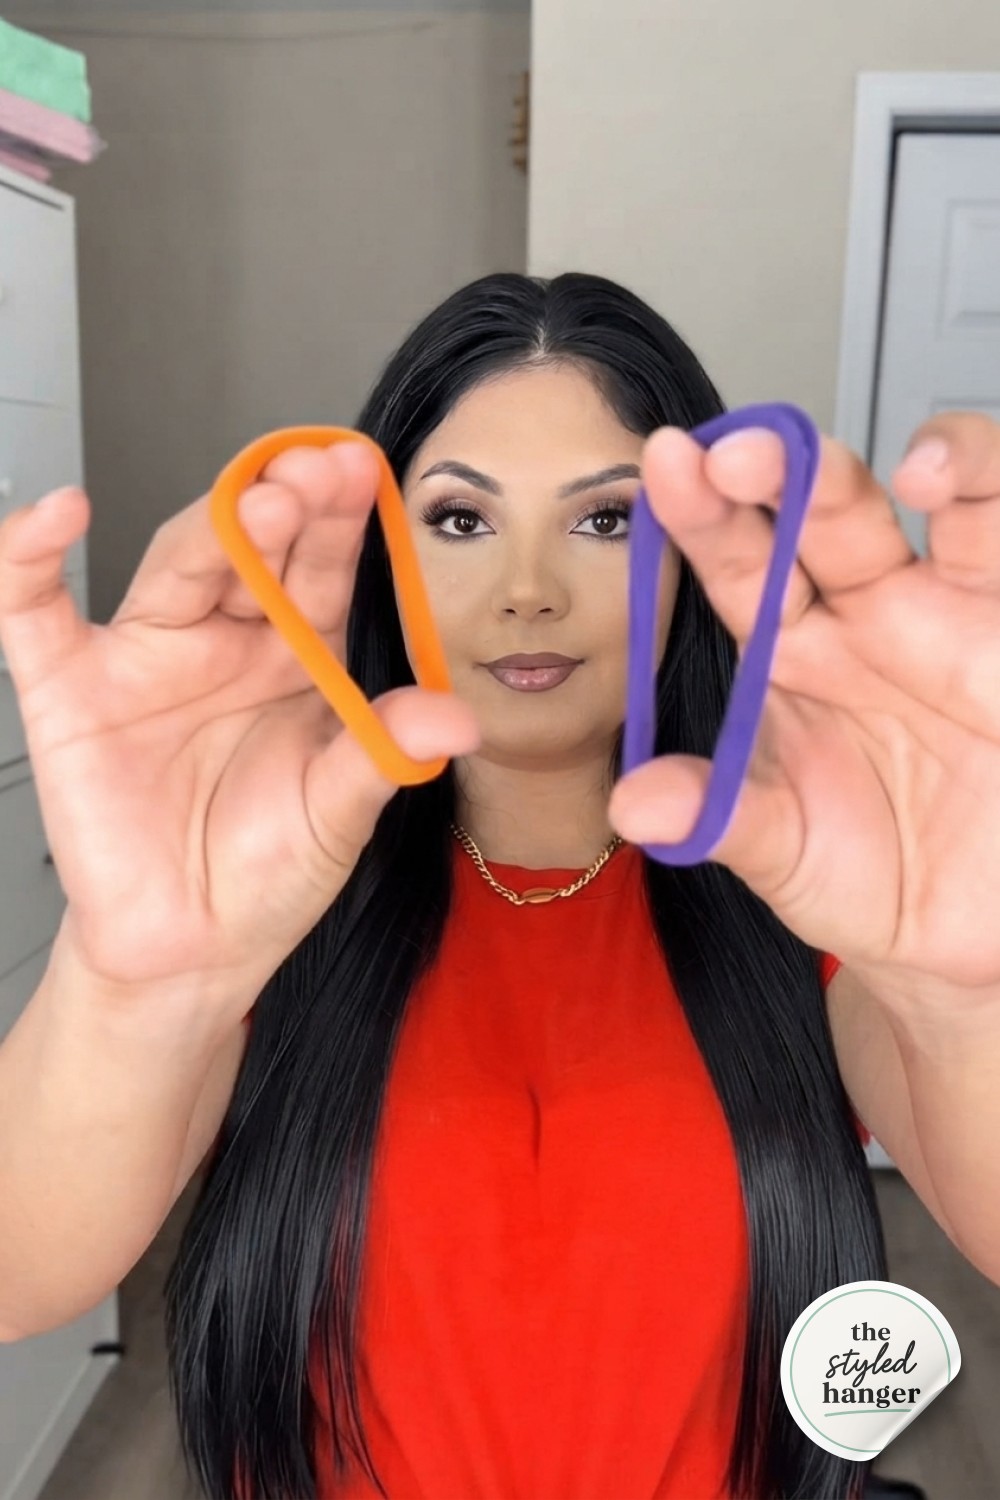
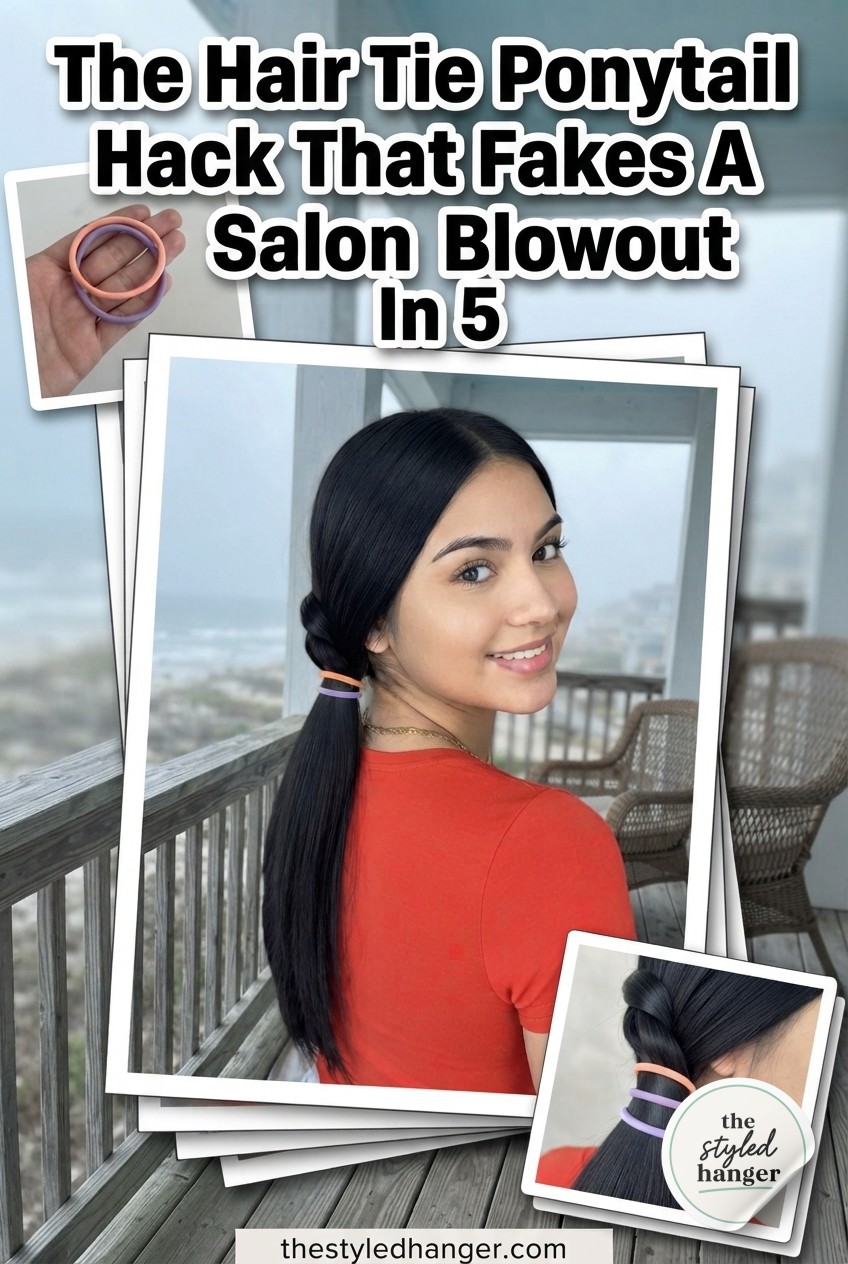
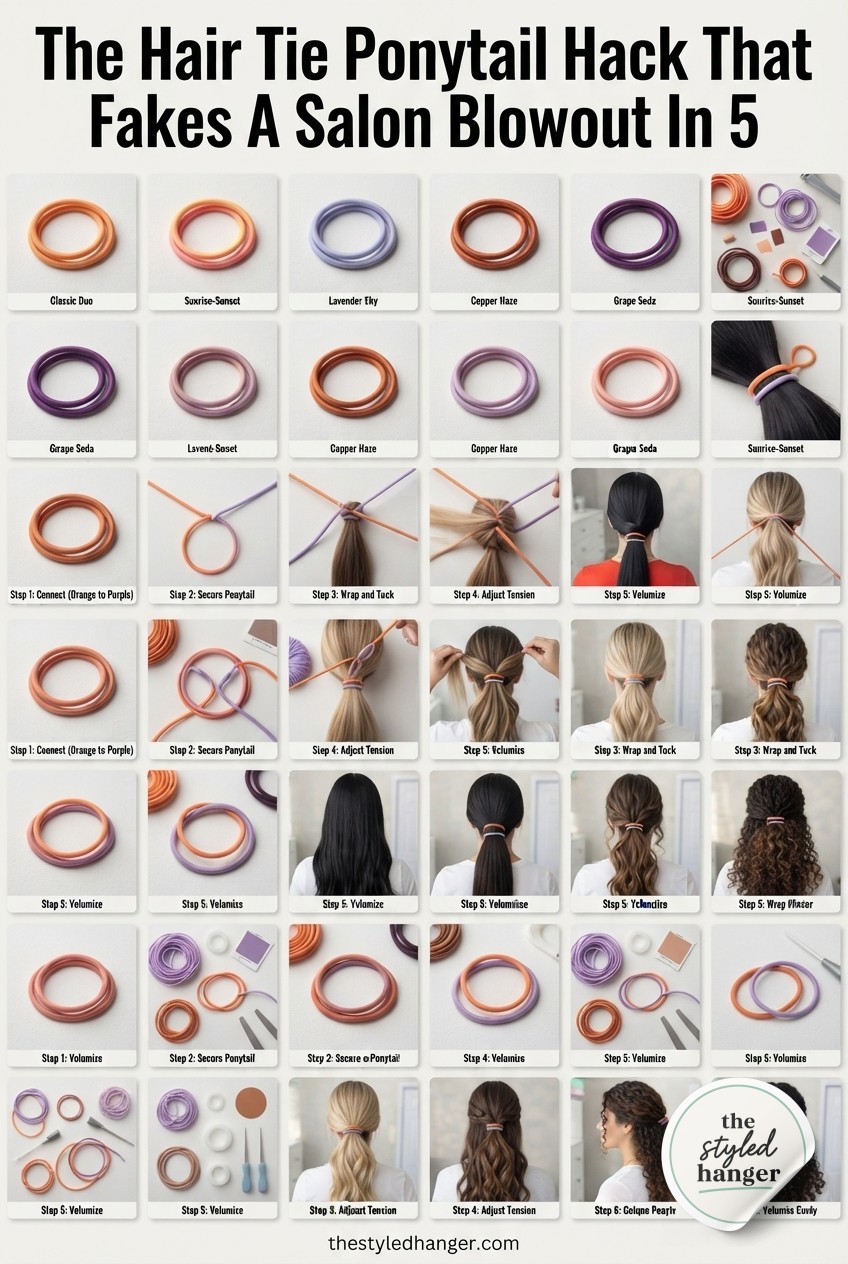
Before I touch a single strand, I hold up my tools — because this hair tie ponytail hack lives or dies on this one detail: you need two hair ties in two different colors, not two of the same. In the photo I'm working with an orange one and a purple one, and yes, the mismatch is the whole point later.
- Two seamless hair ties — no metal parts, they'll snag your strands otherwise
- A comb or your fingers to smooth flyaways before you gather
- Optional: a dab of edge control if you've got baby hairs that like to wander
That's it. No heat tool, no third hand required, no fifteen bobby pins rolling around your bathroom drawer.
Gather It Low and Keep It Smooth
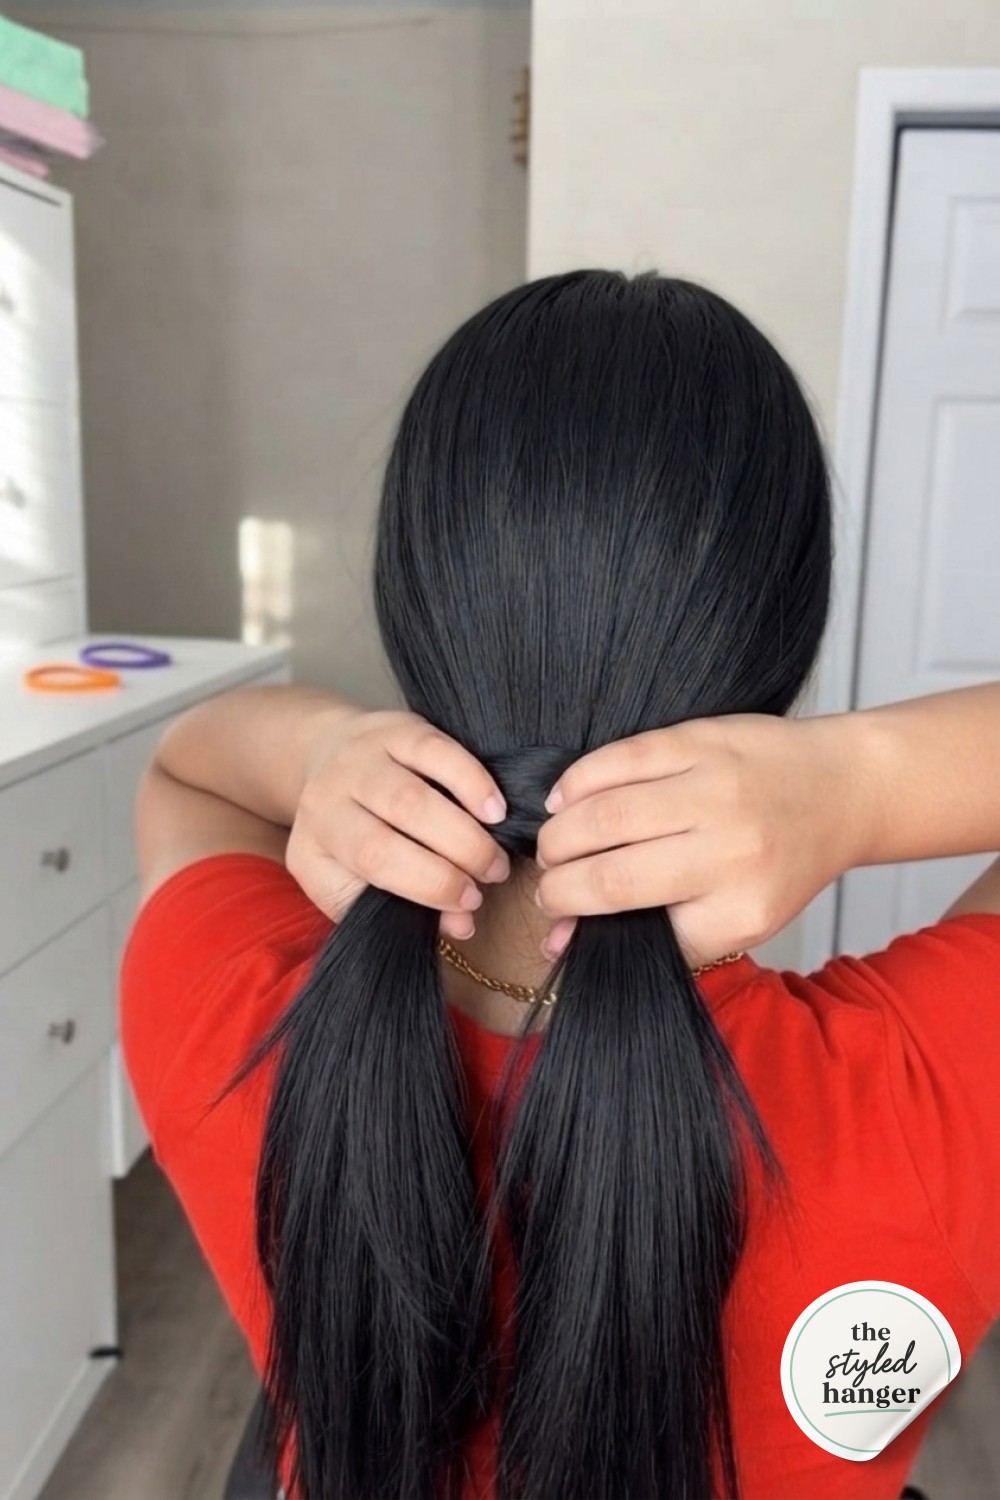
This is the step everyone rushes, and it's the one that decides whether your finished ponytail looks sleek or like you wrestled it into submission. I gather all my hair at the nape of my neck, low and centered, using both hands to smooth from my part down before I let it settle.
The trick here is tension, not speed — pull gently outward and down as you collect, so the hair lies flat against your head instead of bunching at the crown. If you've got layers or shorter face-framing pieces that refuse to cooperate, that's genuinely fine; a few soft strands around your face read as intentional, not messy.
I do this on second-day hair almost every time — it holds tension better than freshly washed strands, which tend to slip.
Lock the Base First
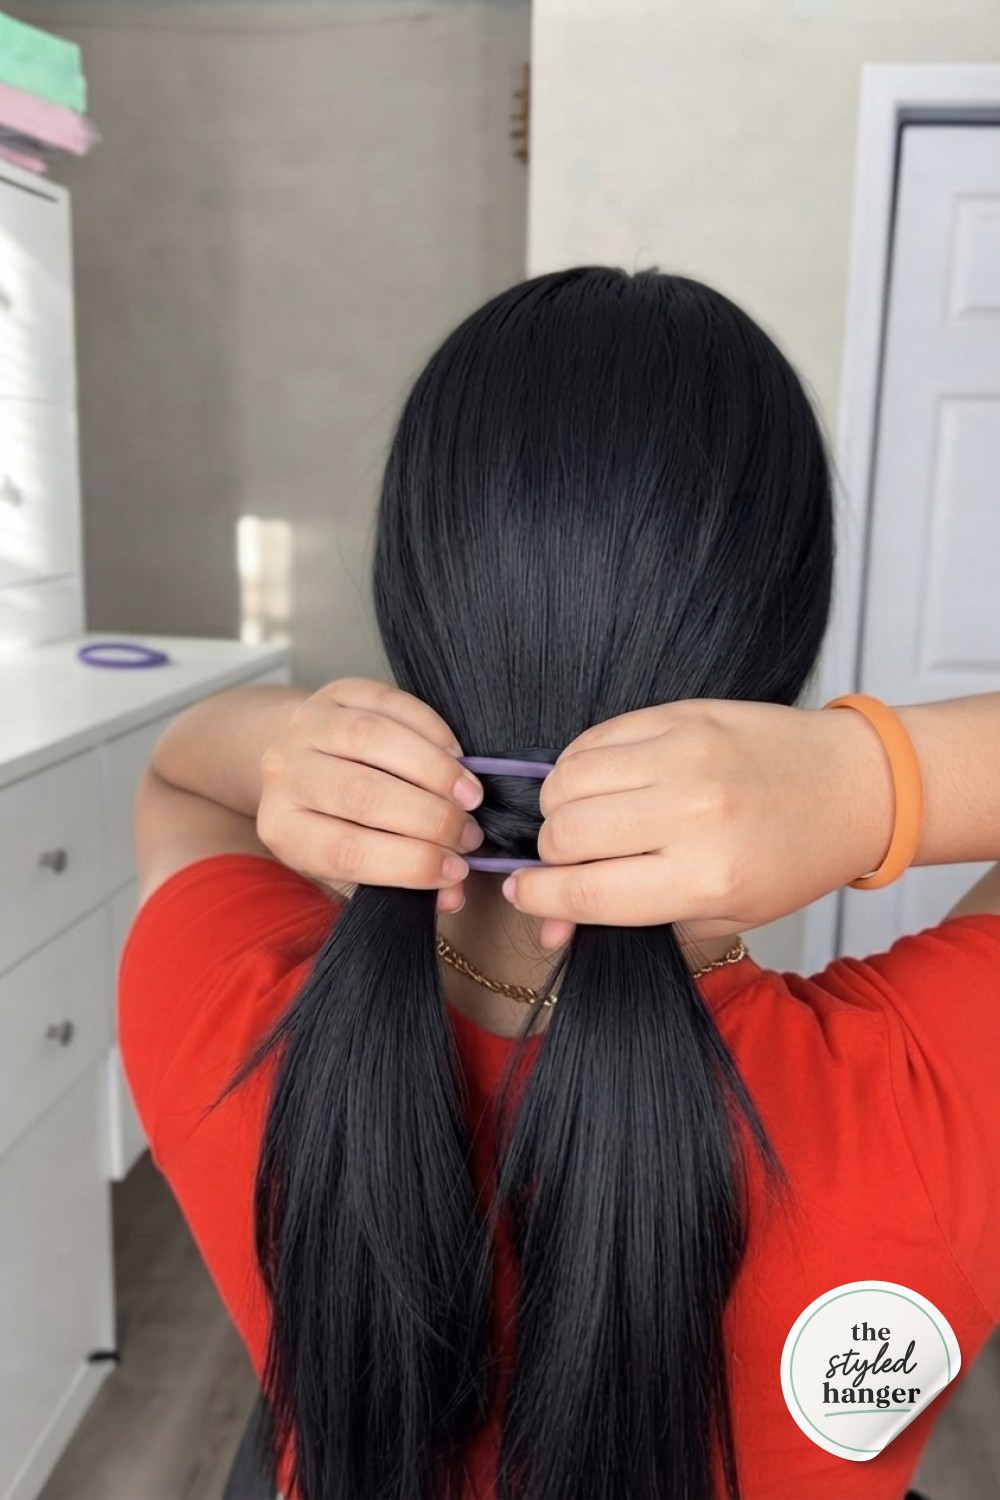
Here's where hair tie number one — the purple one — earns its place. I wrap it around the gathered base just once, snug but not choking, while the orange tie waits on my wrist for its turn. This first wrap isn't your final hold; it's just anchoring the ponytail so your hands are free for the fun part.
A stylist trick I picked up years ago: always wrap your first tie a little looser than feels final. You'll need the slack in a second to split it open.
If your hair is thick or coarse, double-wrap this base tie now — you'll thank yourself when it's time to pull the tail through in the next step.
The Split That Changes Everything
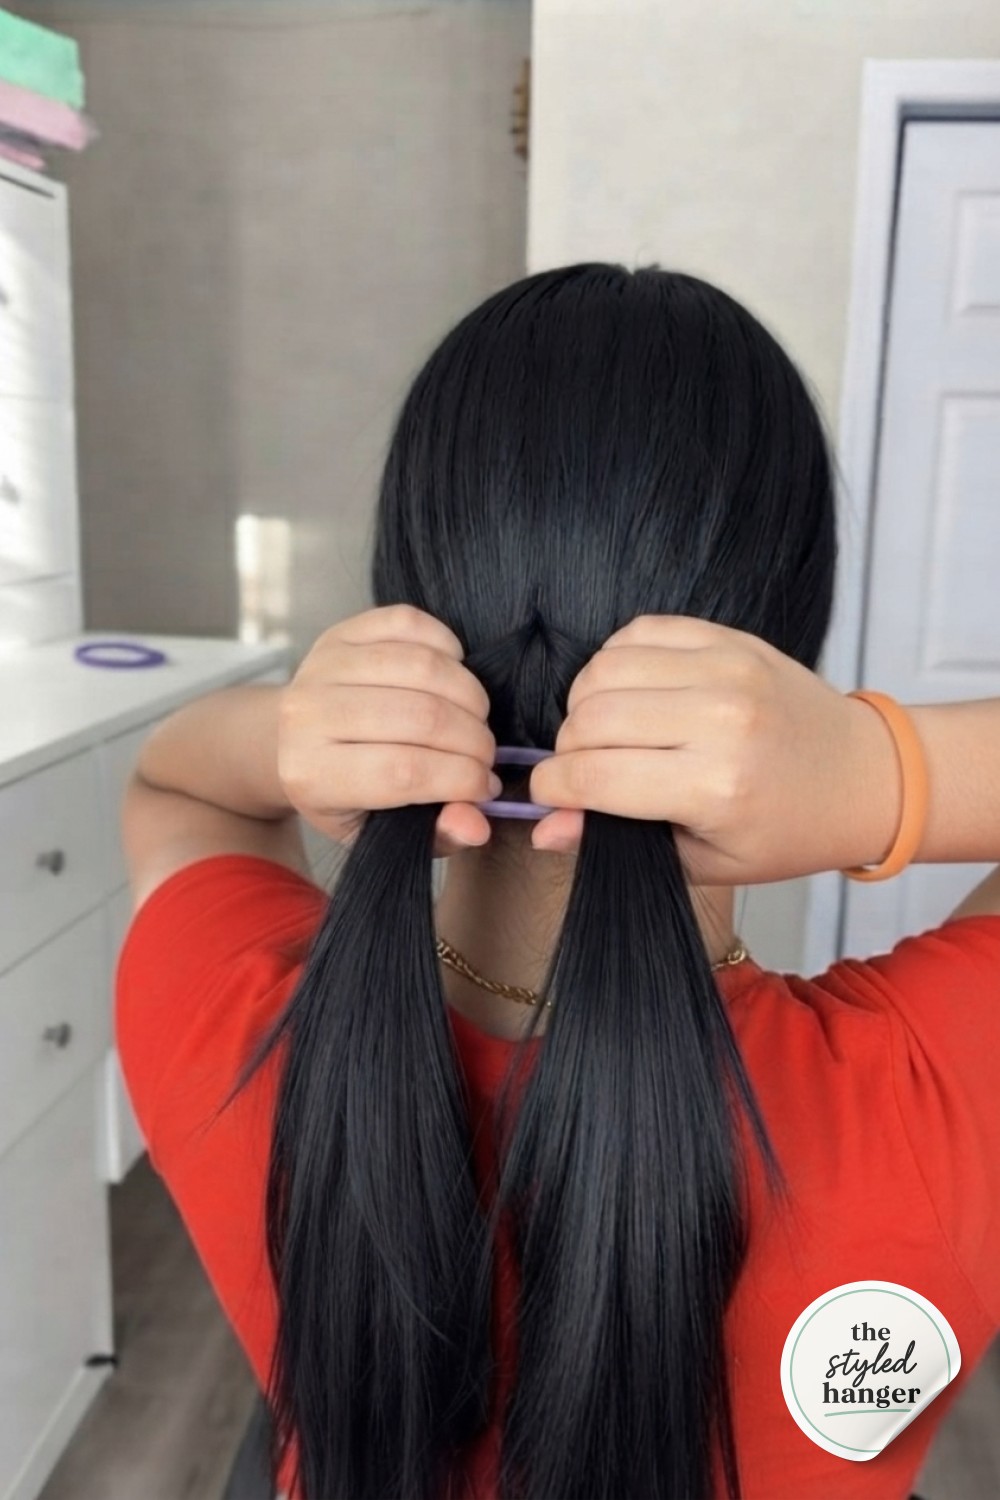
This is the step that turns a plain ponytail into a whole knot illusion, and it's genuinely just two fingers and a little courage. Right above the purple tie, I part the ponytail straight down the middle, opening a small gap with my fingers like I'm making a tiny window through my own hair.
- Keep the gap centered — off to one side and the finished knot sits crooked
- Don't yank — a gentle pull-apart is all the tension you need
- Hold the gap open with one hand while your other hand grabs the ponytail ends
This is the moment where it stops looking like a tutorial step and starts looking like a magic trick — I promise it comes together in the very next move.
The Tuck-Through Moment
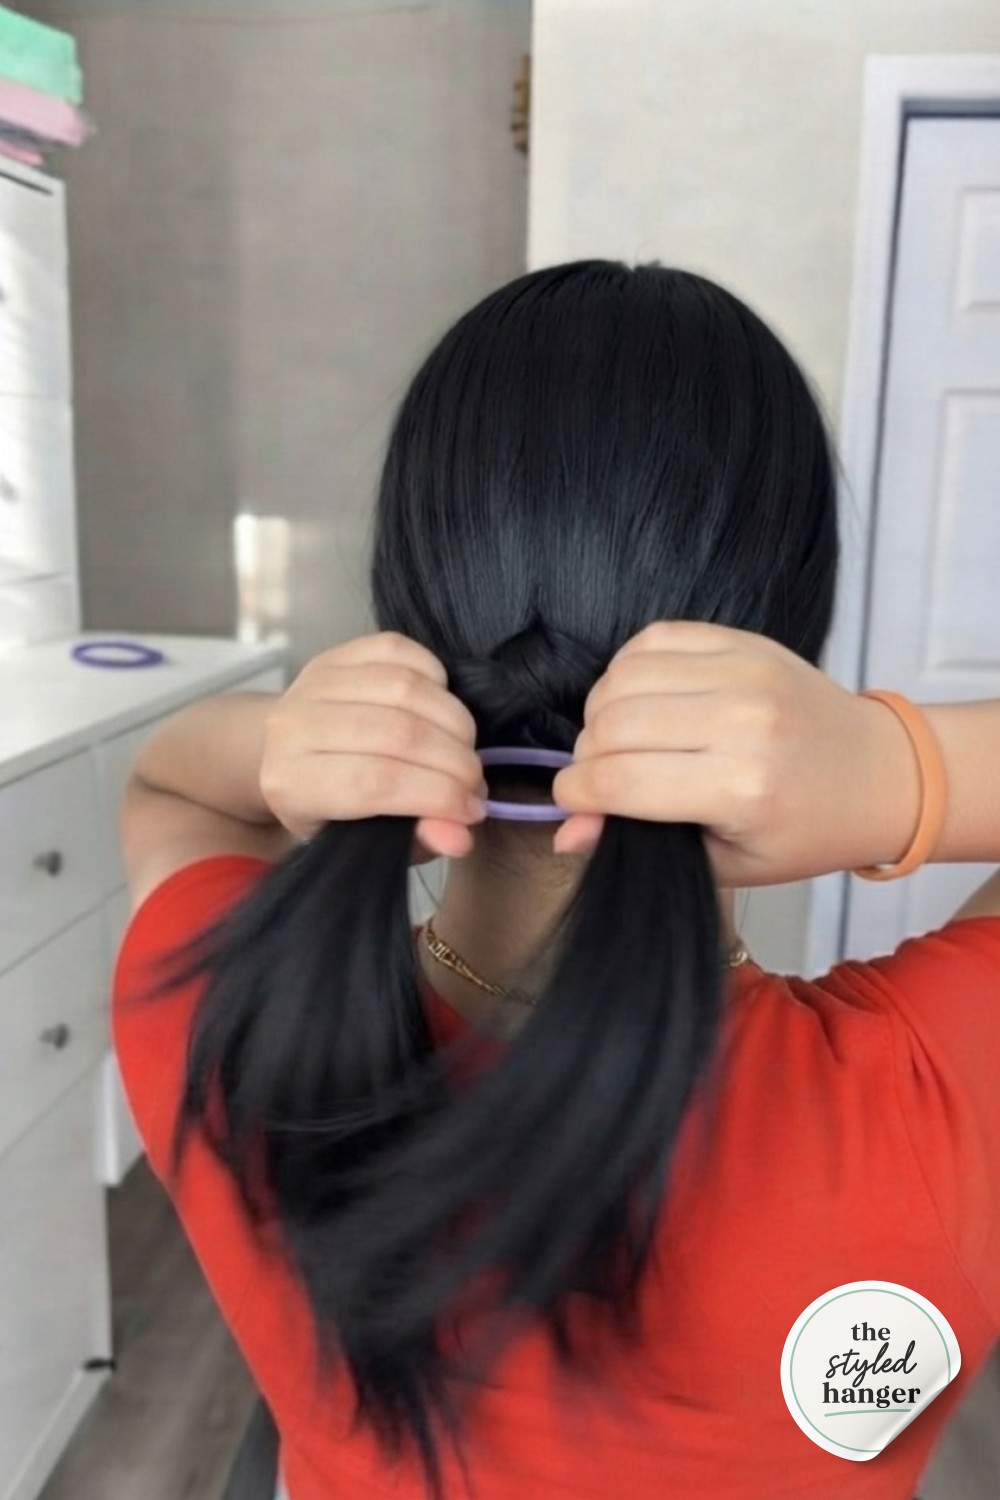
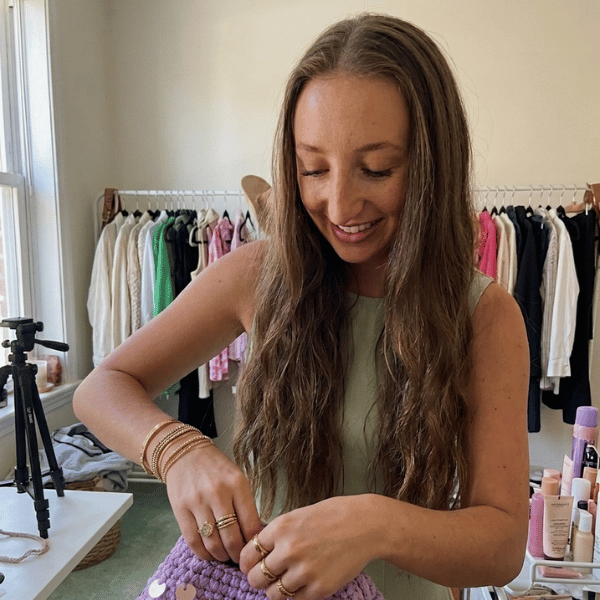
Now for the actual hack: I take the entire tail of the ponytail and flip it up and through the gap I just created, pulling it all the way through like I'm turning my ponytail inside out. It's slightly awkward mid-motion — my hair is loose and half-committed in this photo, and that's exactly how it should look right before it clicks into place.
Once the tail is fully through, give it a gentle downward tug to seat the twist against your head. This single tuck is what fakes a knotted, three-step braid using nothing but a pull-through — no actual knot-tying skill involved, which is my favorite kind of hack.
If it looks loose or lopsided: undo the tuck, tighten your base tie by a half-turn, and redo the split slightly smaller. A tighter gap makes a tighter, cleaner knot every time.
The Reveal
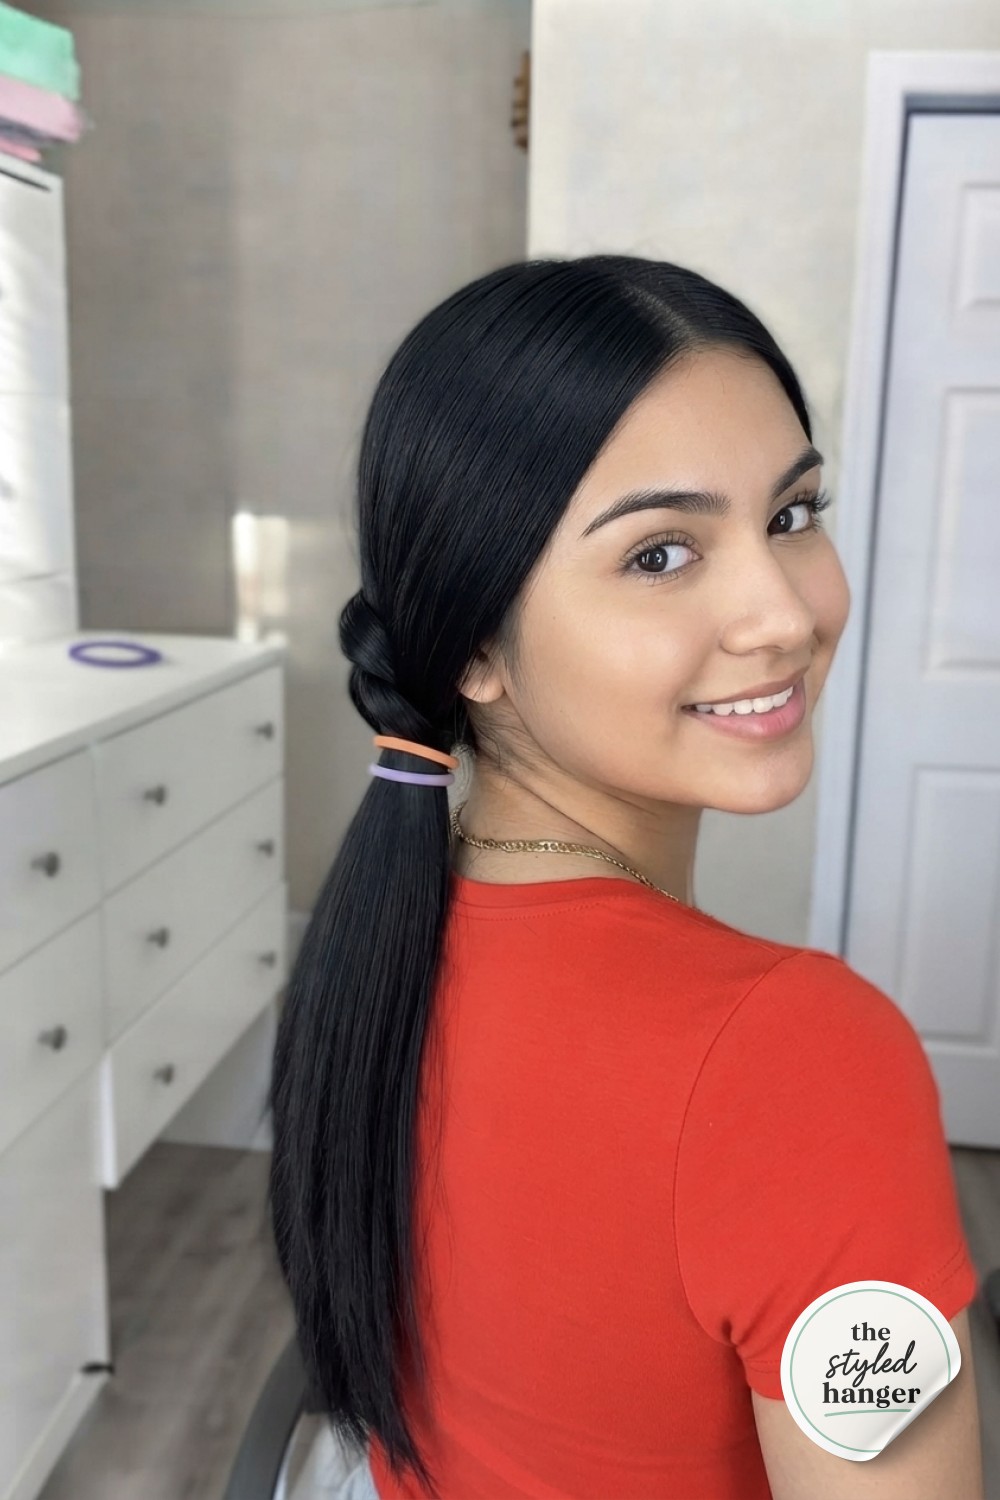
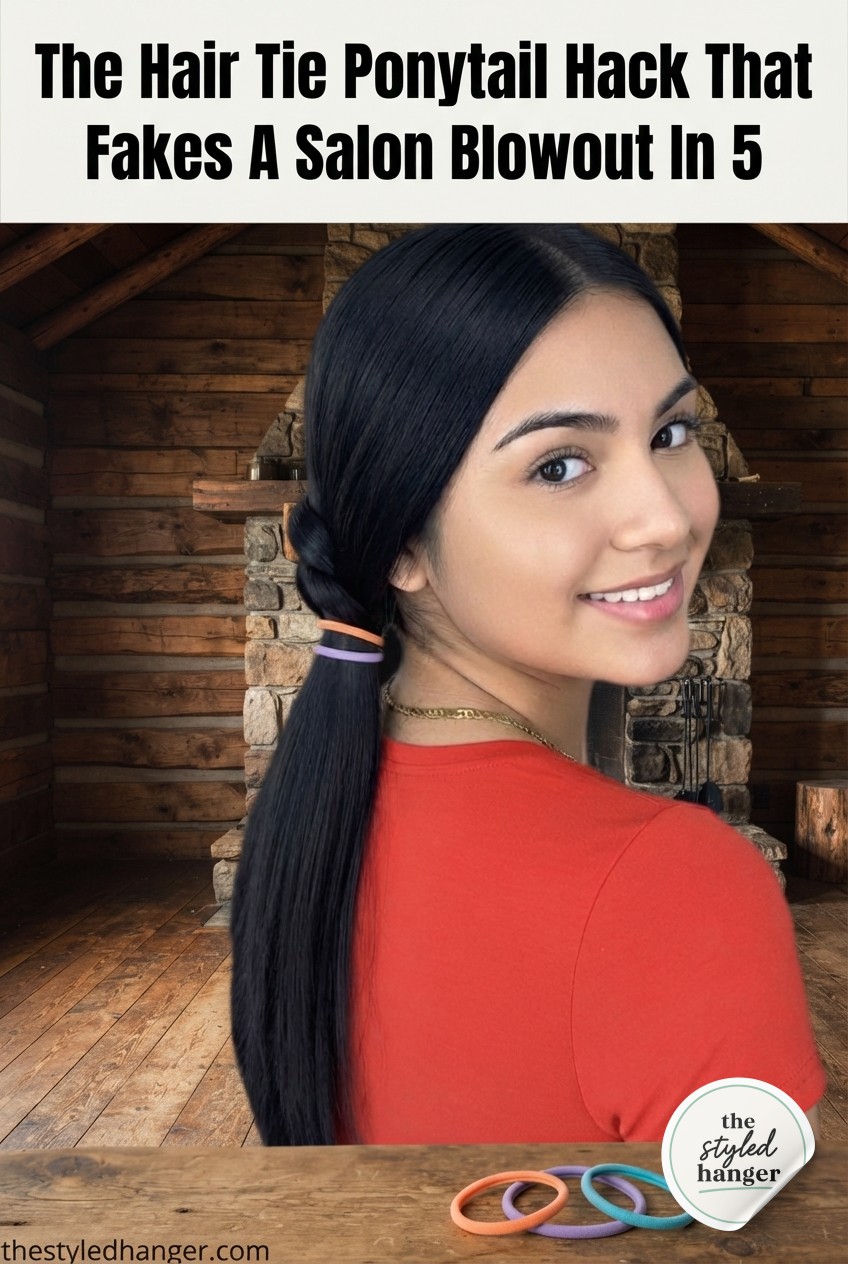
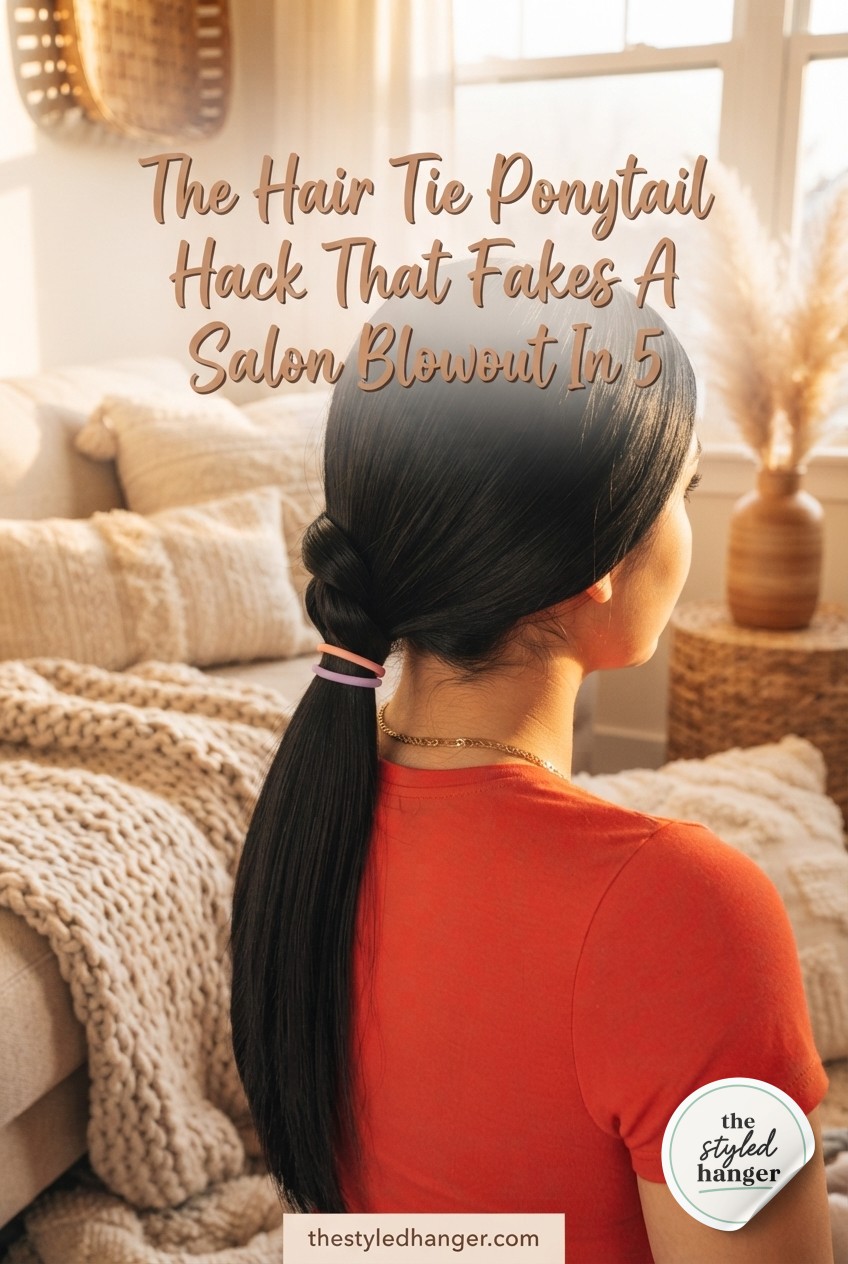
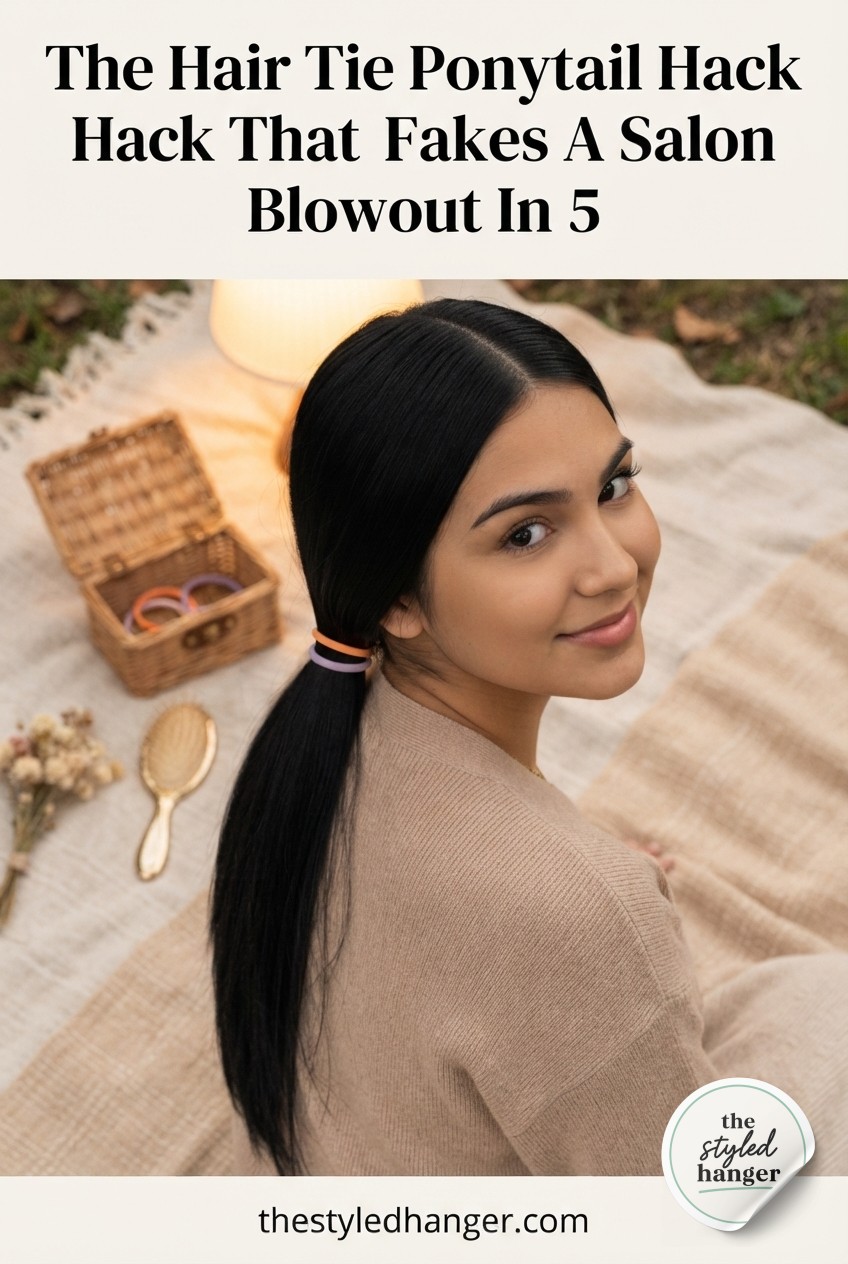
And there it is — a sleek low ponytail with a twisted knot sitting right at the base, both the orange and purple ties peeking out just enough to look styled instead of accidental. This is the whole appeal of the hair tie ponytail hack: it reads as an intentional, slightly undone-luxe detail, but it took me one wrap and one tuck.
I left mine here, smooth and shiny, but this base also holds up under a low bun twisted on top, or half-up with face-framing pieces pulled forward. Either way, the knot stays put through a full day — I wore this exact style to a client meeting and it didn't budge until I took it down myself that night.

- Hair Ties & Tools

Final Thoughts
This is the kind of hack I love most: five minutes, two hair ties I already had in a drawer, and a finished look that photographs like I tried way harder than I actually did. Give the split-and-tuck a couple of practice runs in the mirror — your hands will figure it out faster than your brain expects.
Your Questions, Answered
Does this hair tie ponytail hack work on shorter hair?
Yes, though you'll want at least shoulder-length hair with a few extra inches — you need enough length in the tail to comfortably pull it through the gap. If your hair is right at the edge, keep your base tie looser so the tuck has more room.
Will this hold up for workouts or long days?
I've worn this through a full workday and a hot yoga class without a redo. The tuck actually adds extra grip compared to a plain ponytail, since the hair is anchoring itself through itself.
Do the hair ties have to be different colors?
Not functionally, but I genuinely recommend it while you're learning — it makes it so much easier to track which tie is your base and which one is peeking through the finished knot.